Where Bloggers Create 2015

I’m so excited to include my craft room in the Where Bloggers Create summer roundup. I’ve wanted to participate for several years, but things got in the way, so I jumped on it this year! Thank you, Karen, for letting all of us share our pages.

If you haven’t already, go check out her blog. This annual feature has a great collection of craft and sewing rooms, and the ideas are endless. I set aside a whole day each summer to browse and jot down ideas. Some of the rooms are too pretty to use!

If you followed the link, you are on the original post (and not here, so I’m not sure why I’m talking to you, lol), but in case you got here through some other way, I’m posting pictures again. I won’t waste too much time with comments because most people just want to see the pictures. If you have any questions, though, I am happy to answer them in the comments! I do want to say that my husband built all of the furniture for me and helped me design it so that it would be most usable. I know, right?! He’s perfect. Sometimes I just want to stare at him in amazement, but that’s for another post. Here we go . . .

new craft room 2 006


This is my room when you walk into the door. Complete with a fat cat.

from the doorway


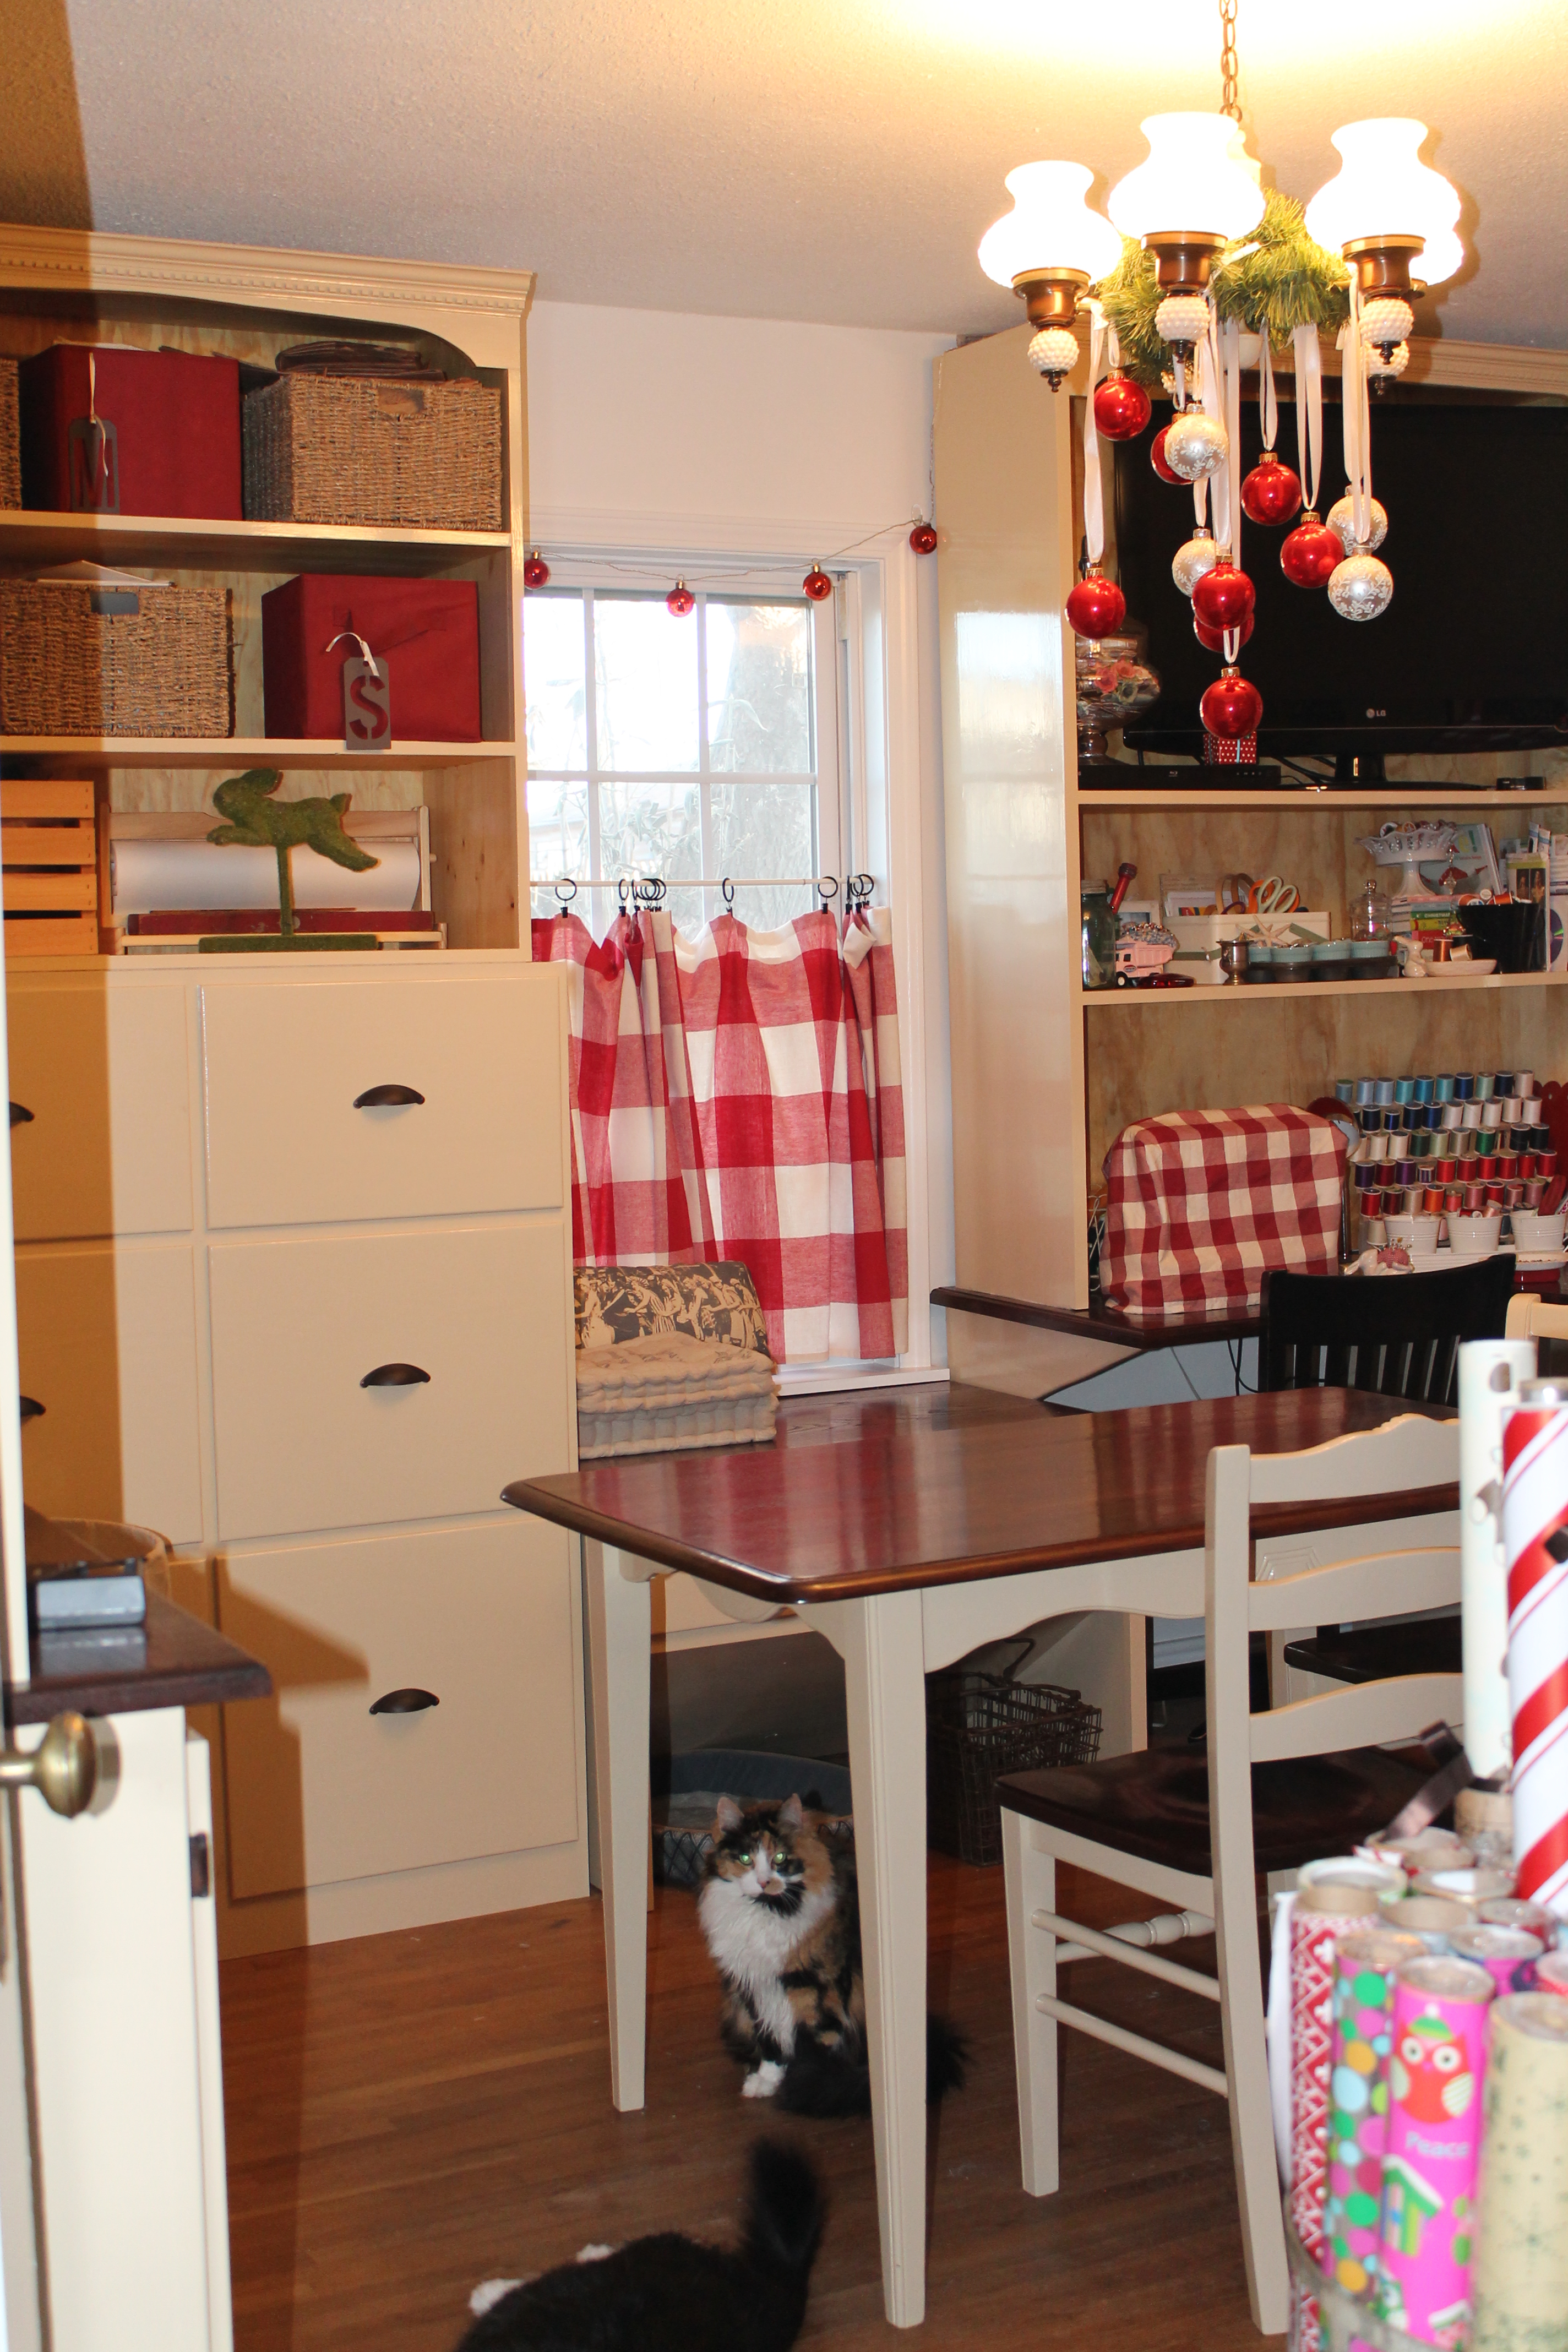
I couldn’t leave out Callie. She looks fat, but she’s just furry. This table is an old kitchen table that my wonderful, amazing husband refinished for me.

new craft room 2 011

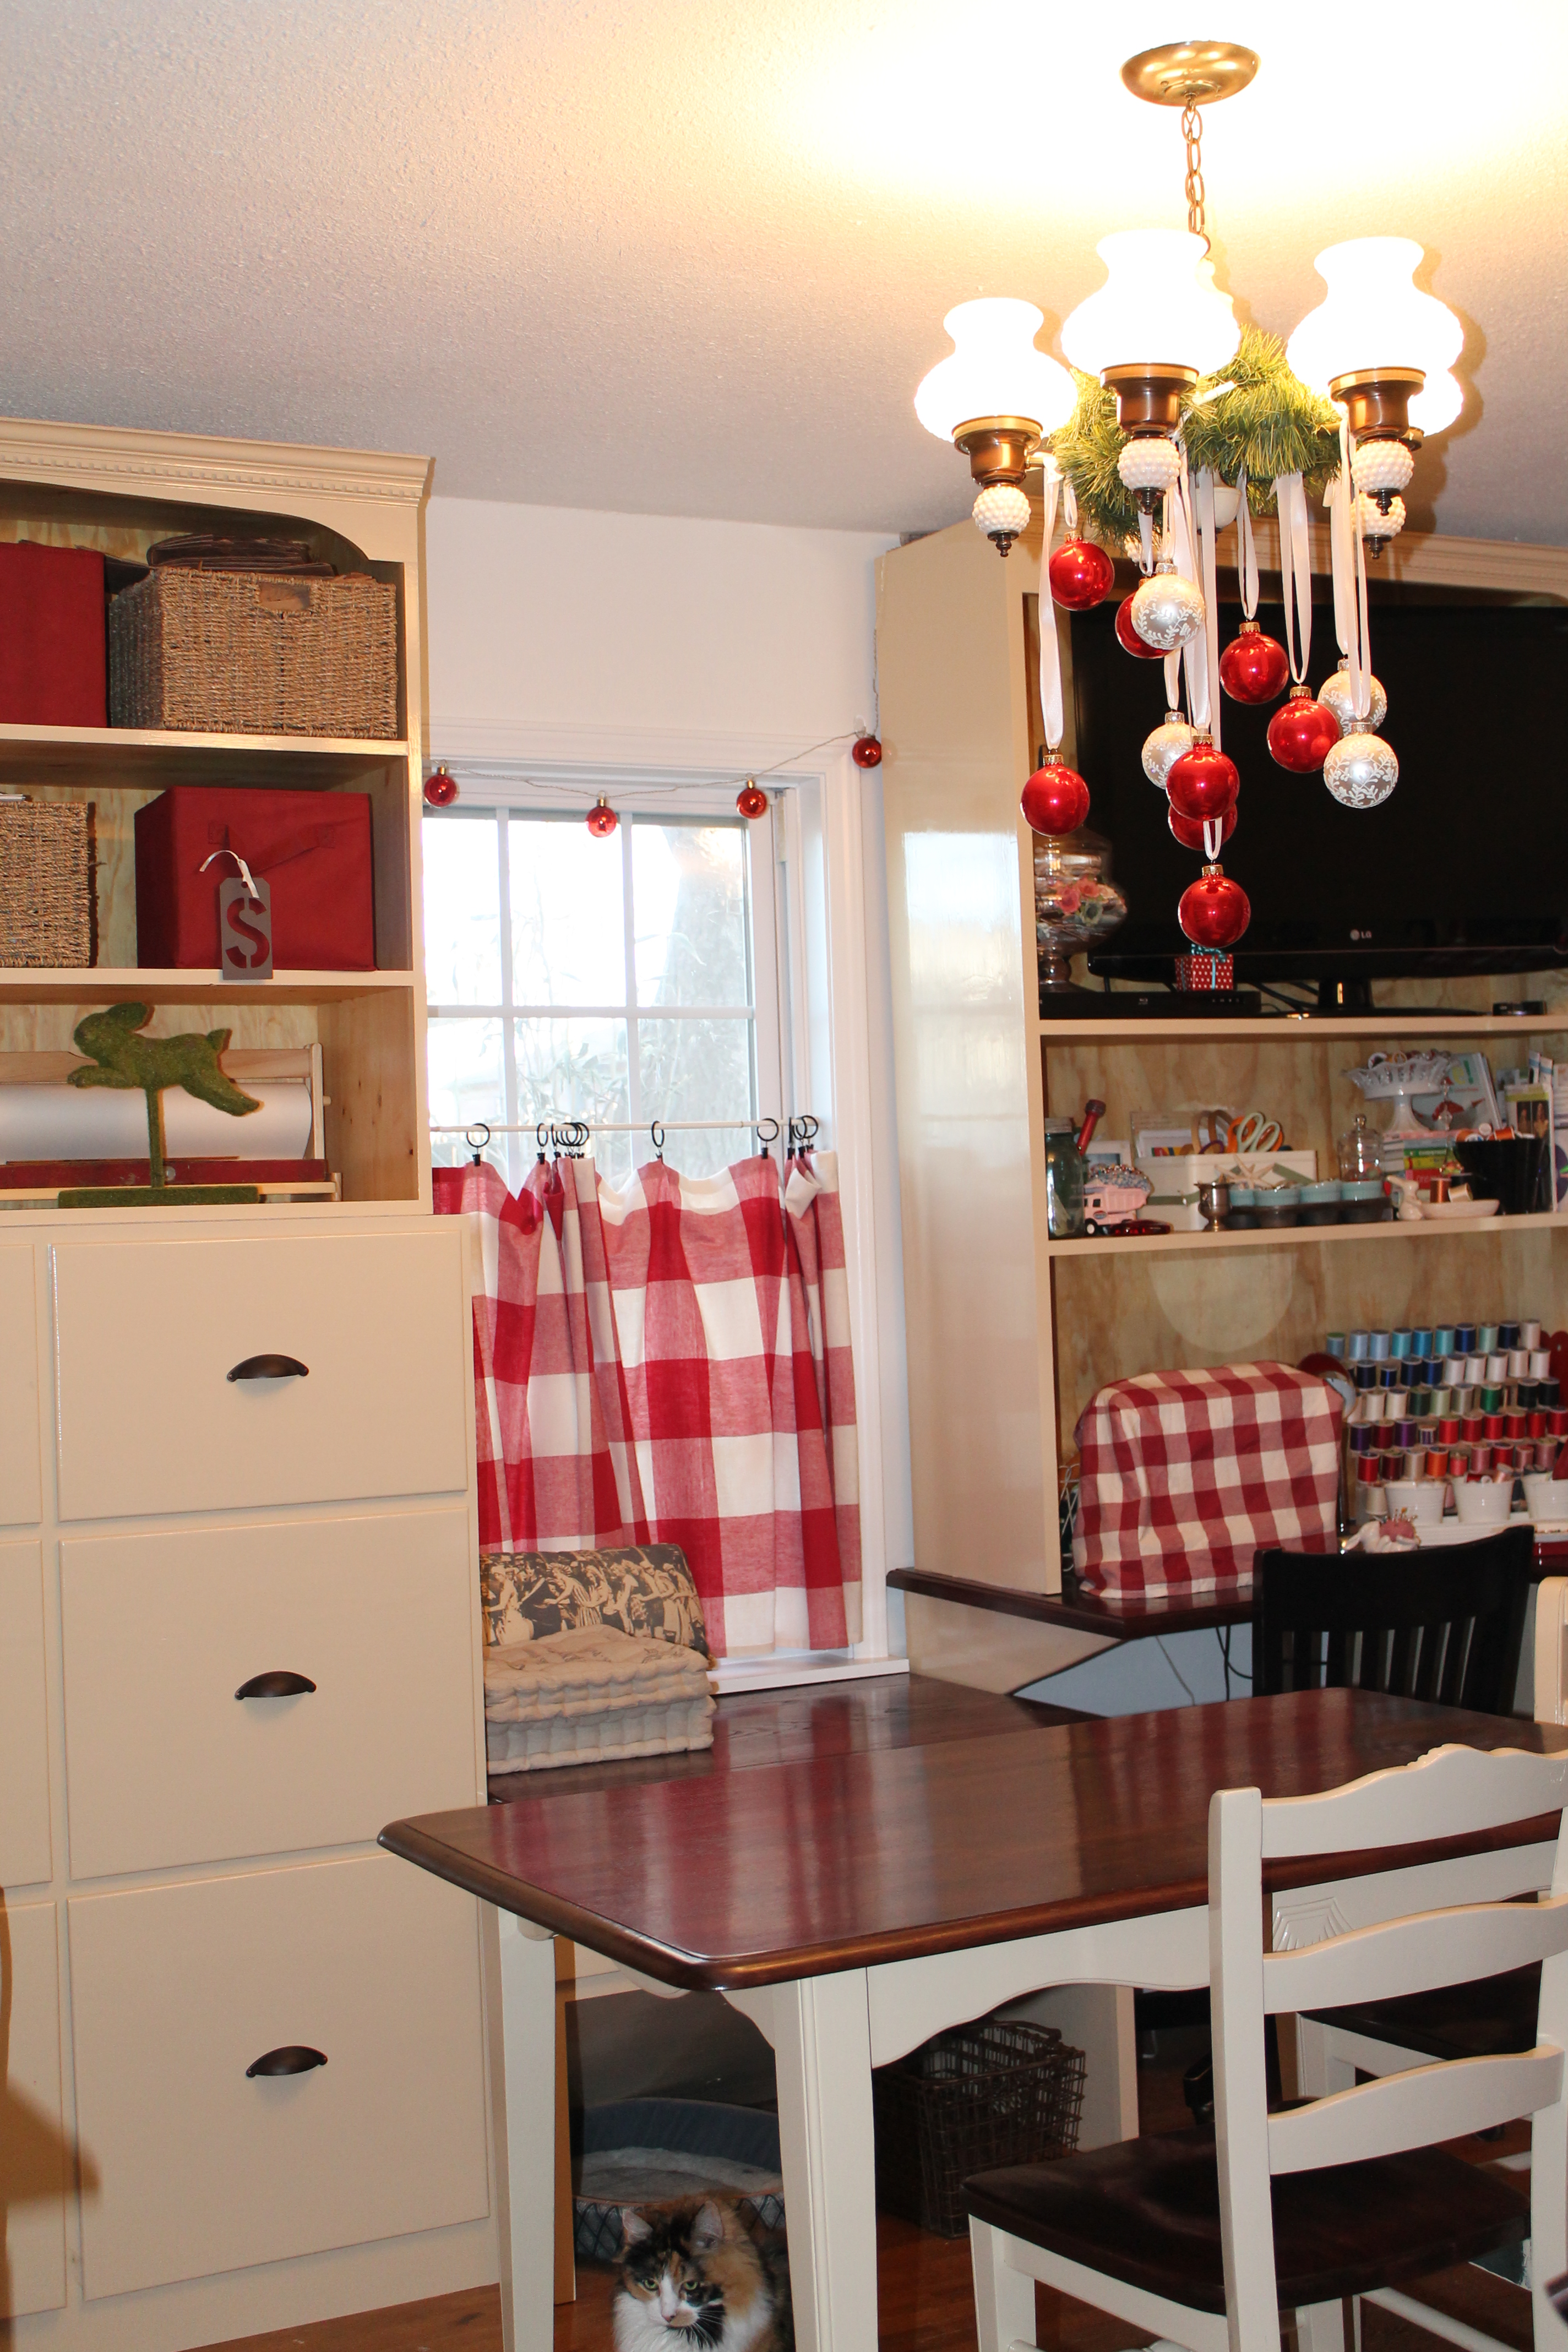
This is the view from a different corner. The cart holds my paper, my Cricut and Silhouette, dies, stamps, and paper cutters. See the little wheels at the bottom? Yeah, my husband was smart enough to know we might need to move it to get something into the room, so he added wheels. The drawers are deep and sturdy. the cabinet next to it is storage for all kinds of things, mostly blanks and stabilizers for embroidery. The other cabinet holds fabric and polyfill, and the baskets hold glue, tape, paper bags, and other things.

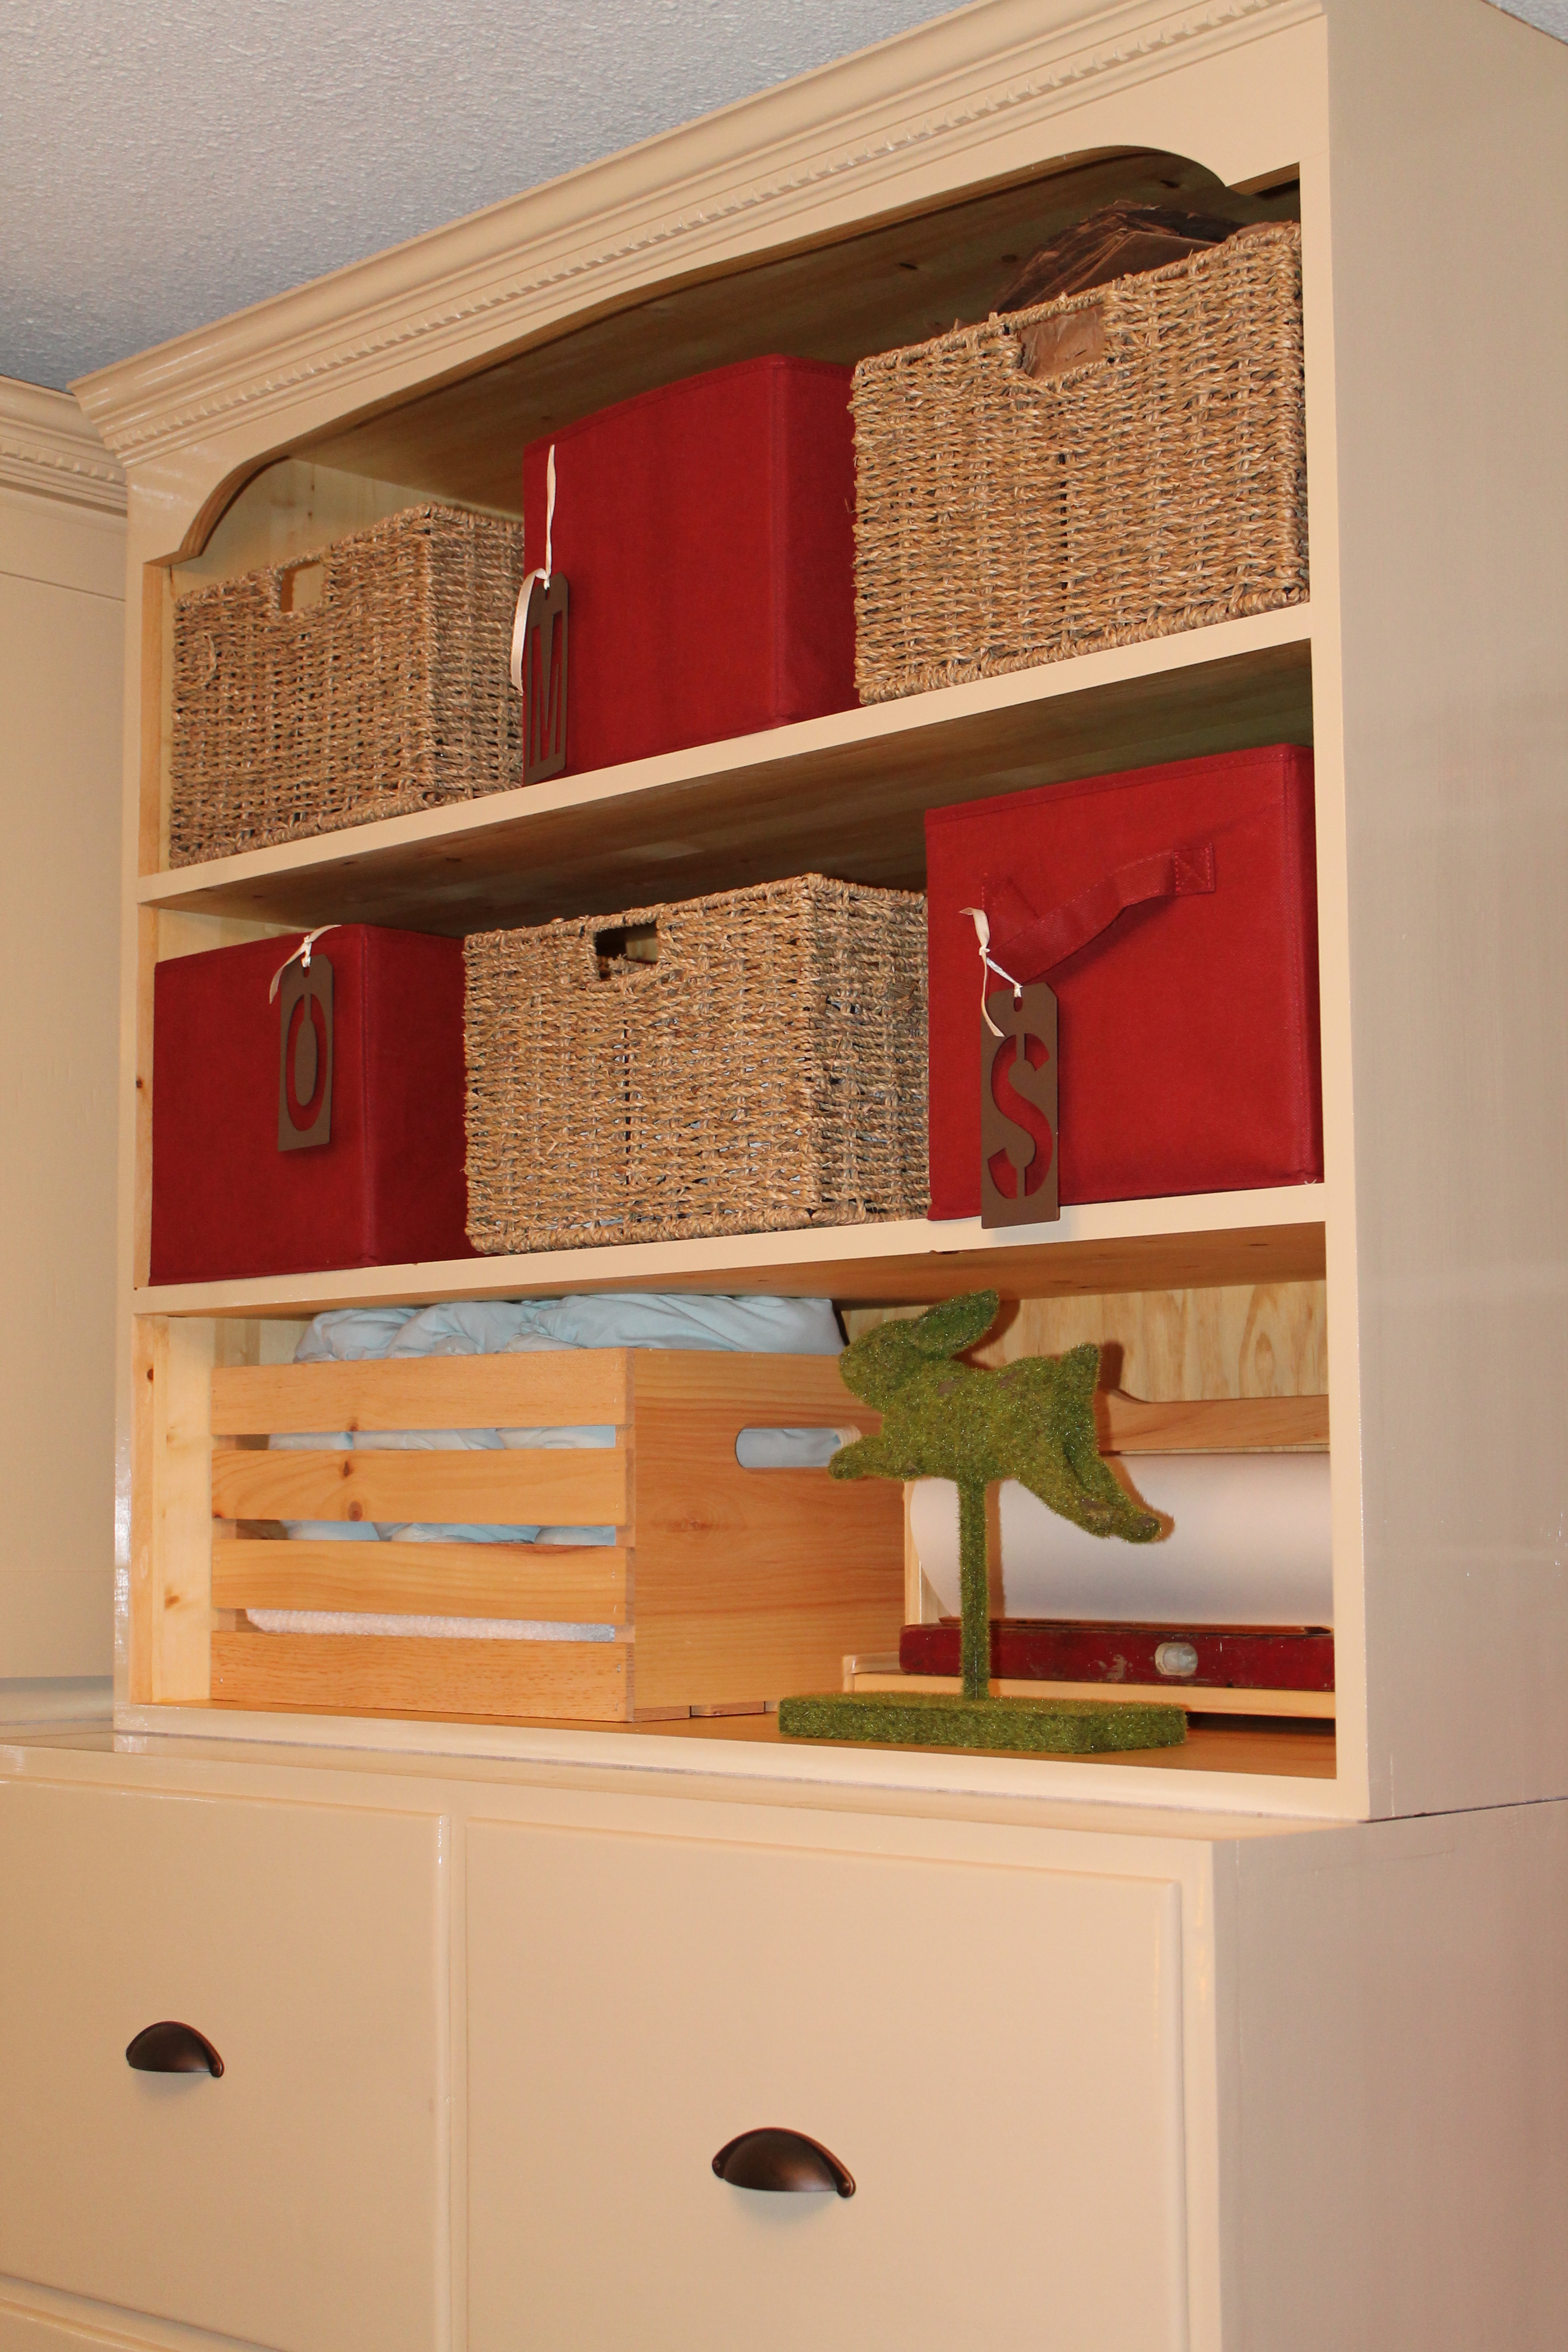
The picture below shows the shelves on the cart, and I have lots of great things stored in baskets and bins. The inside of the cabinets, including the shelves, are left natural so that they will age and get a beautiful patina. He convinced me to paint the walls and trim white since the cabinets are painted in a wheat color, and I think it was a great decision because the room looks less busy.

009


new craft room 2 039 new craft room 2 038 new craft room 2 037 new craft room 2 036 181 180

171 167


157 156 154 153 151 147

new craft room 2 013

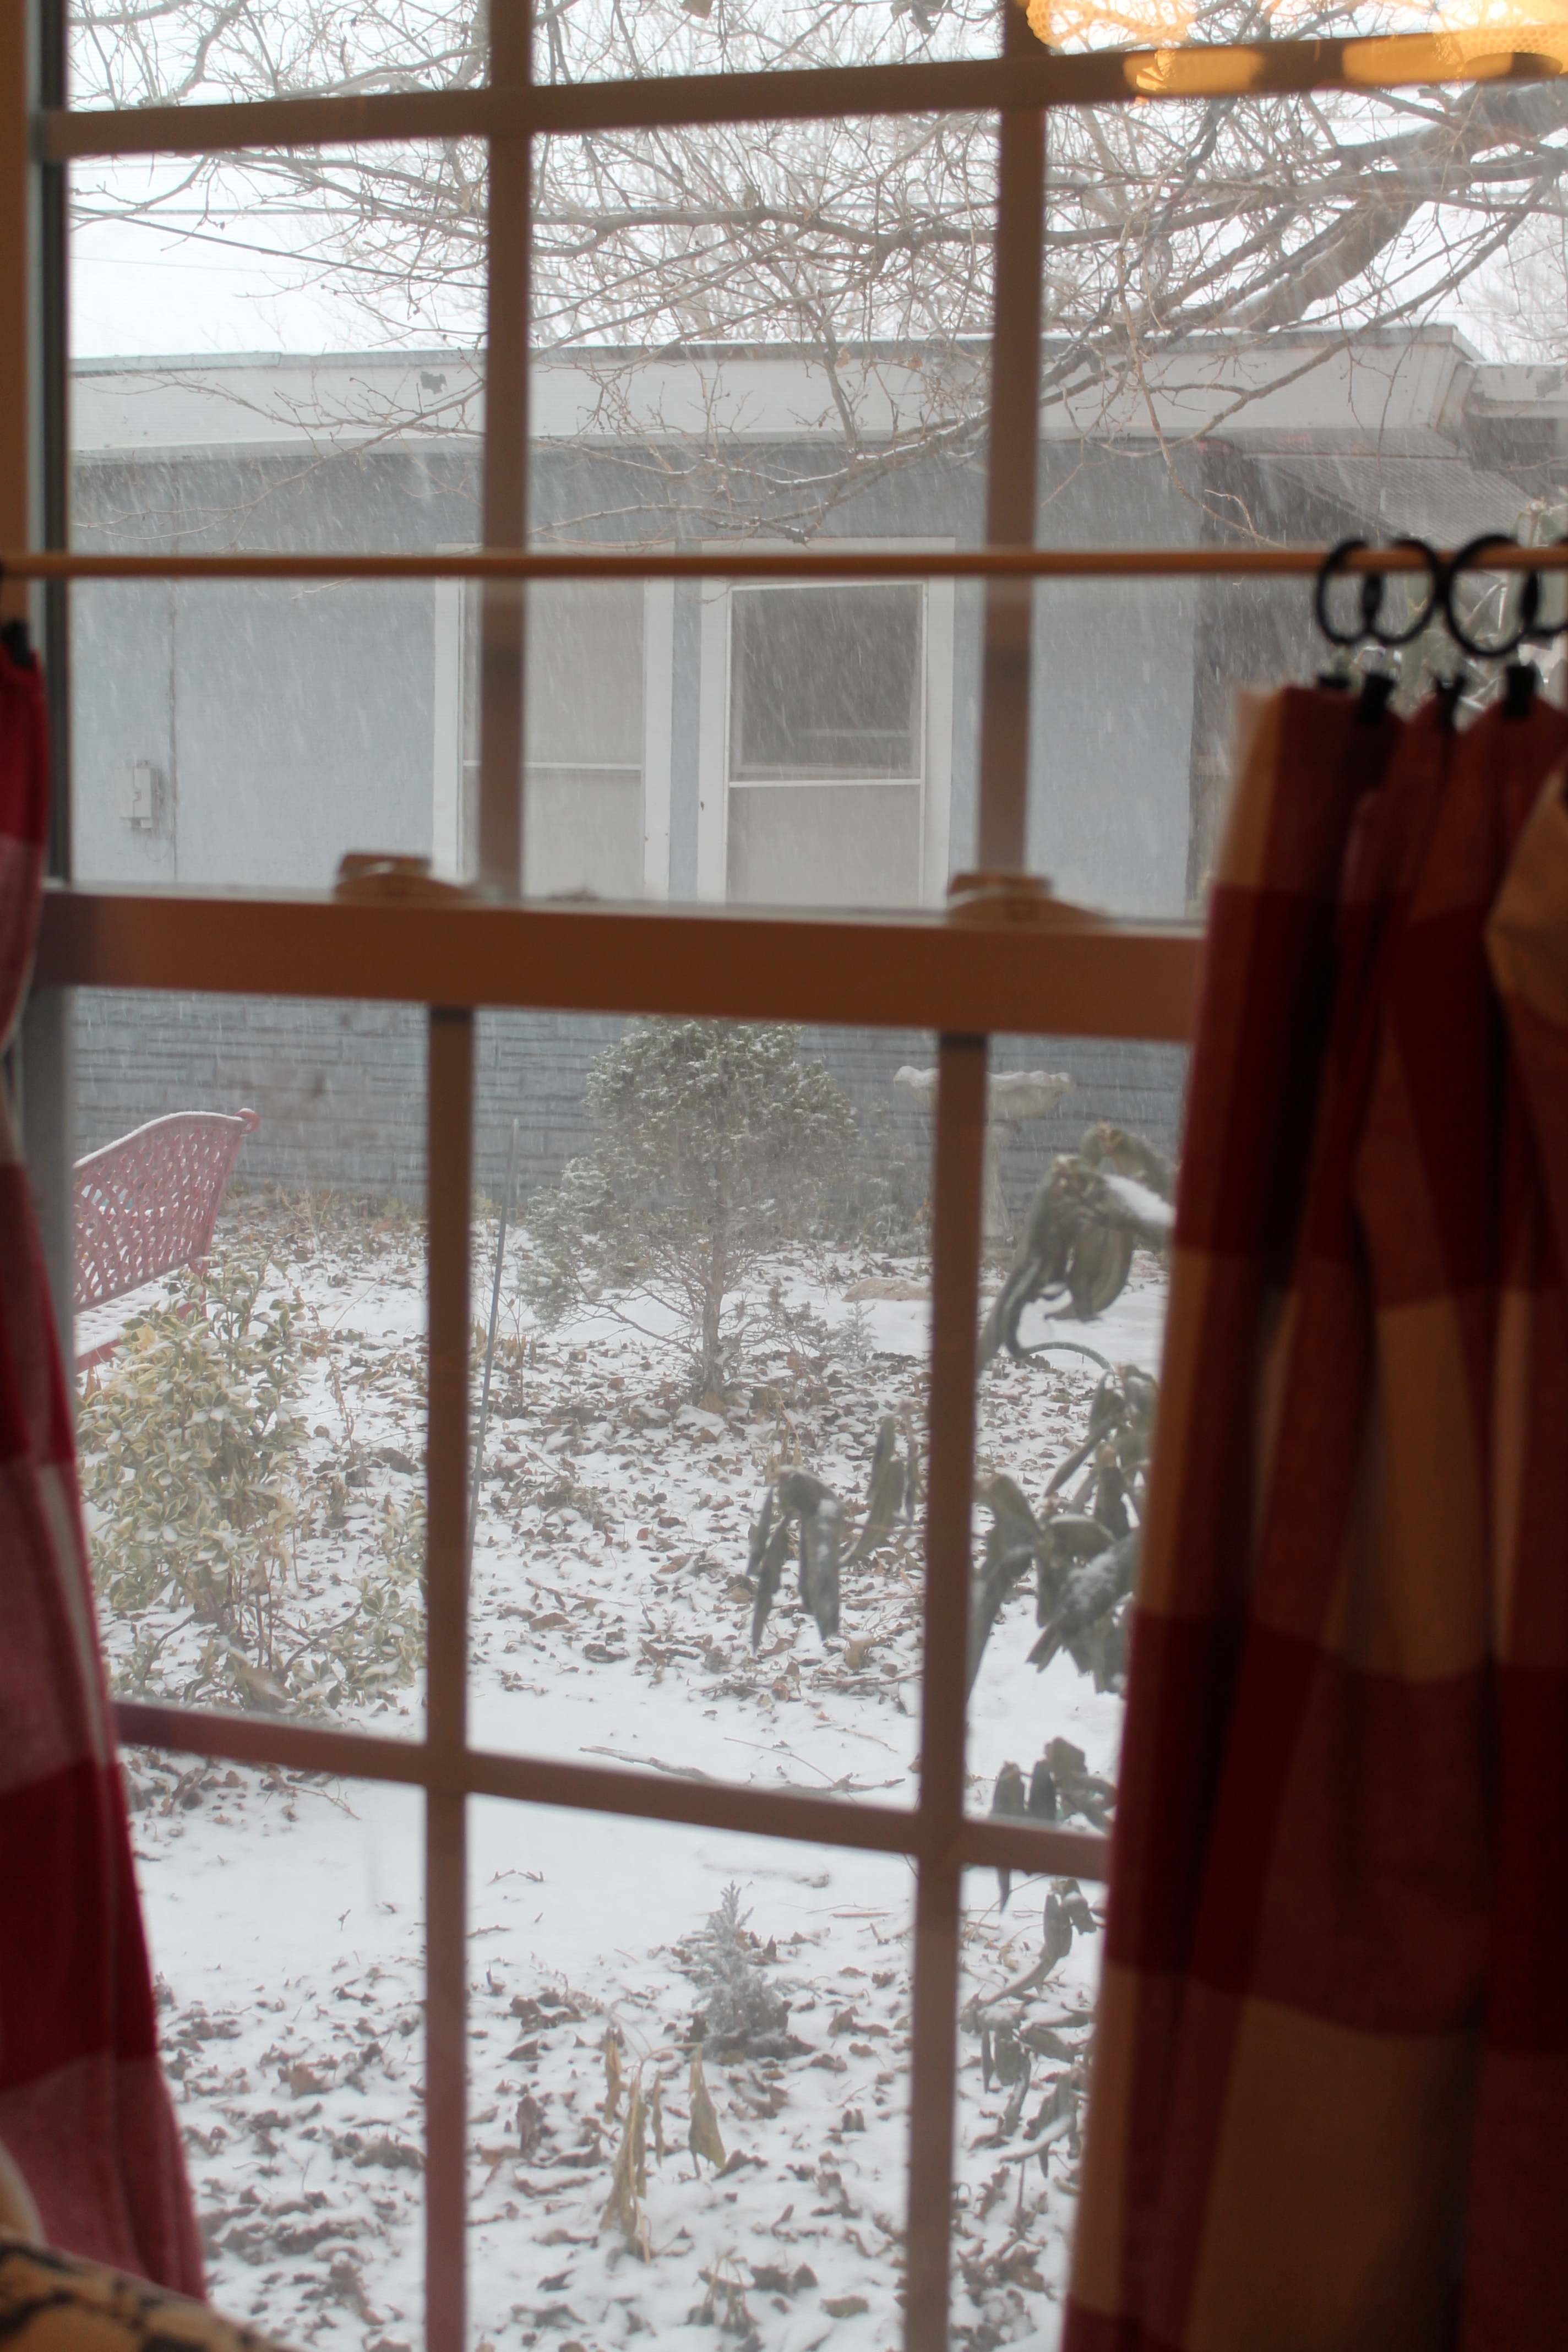
We didn’t want to do anything to cover the windows, so he built a window seat for me. He angled the bottom to allow the air vent to work properly.

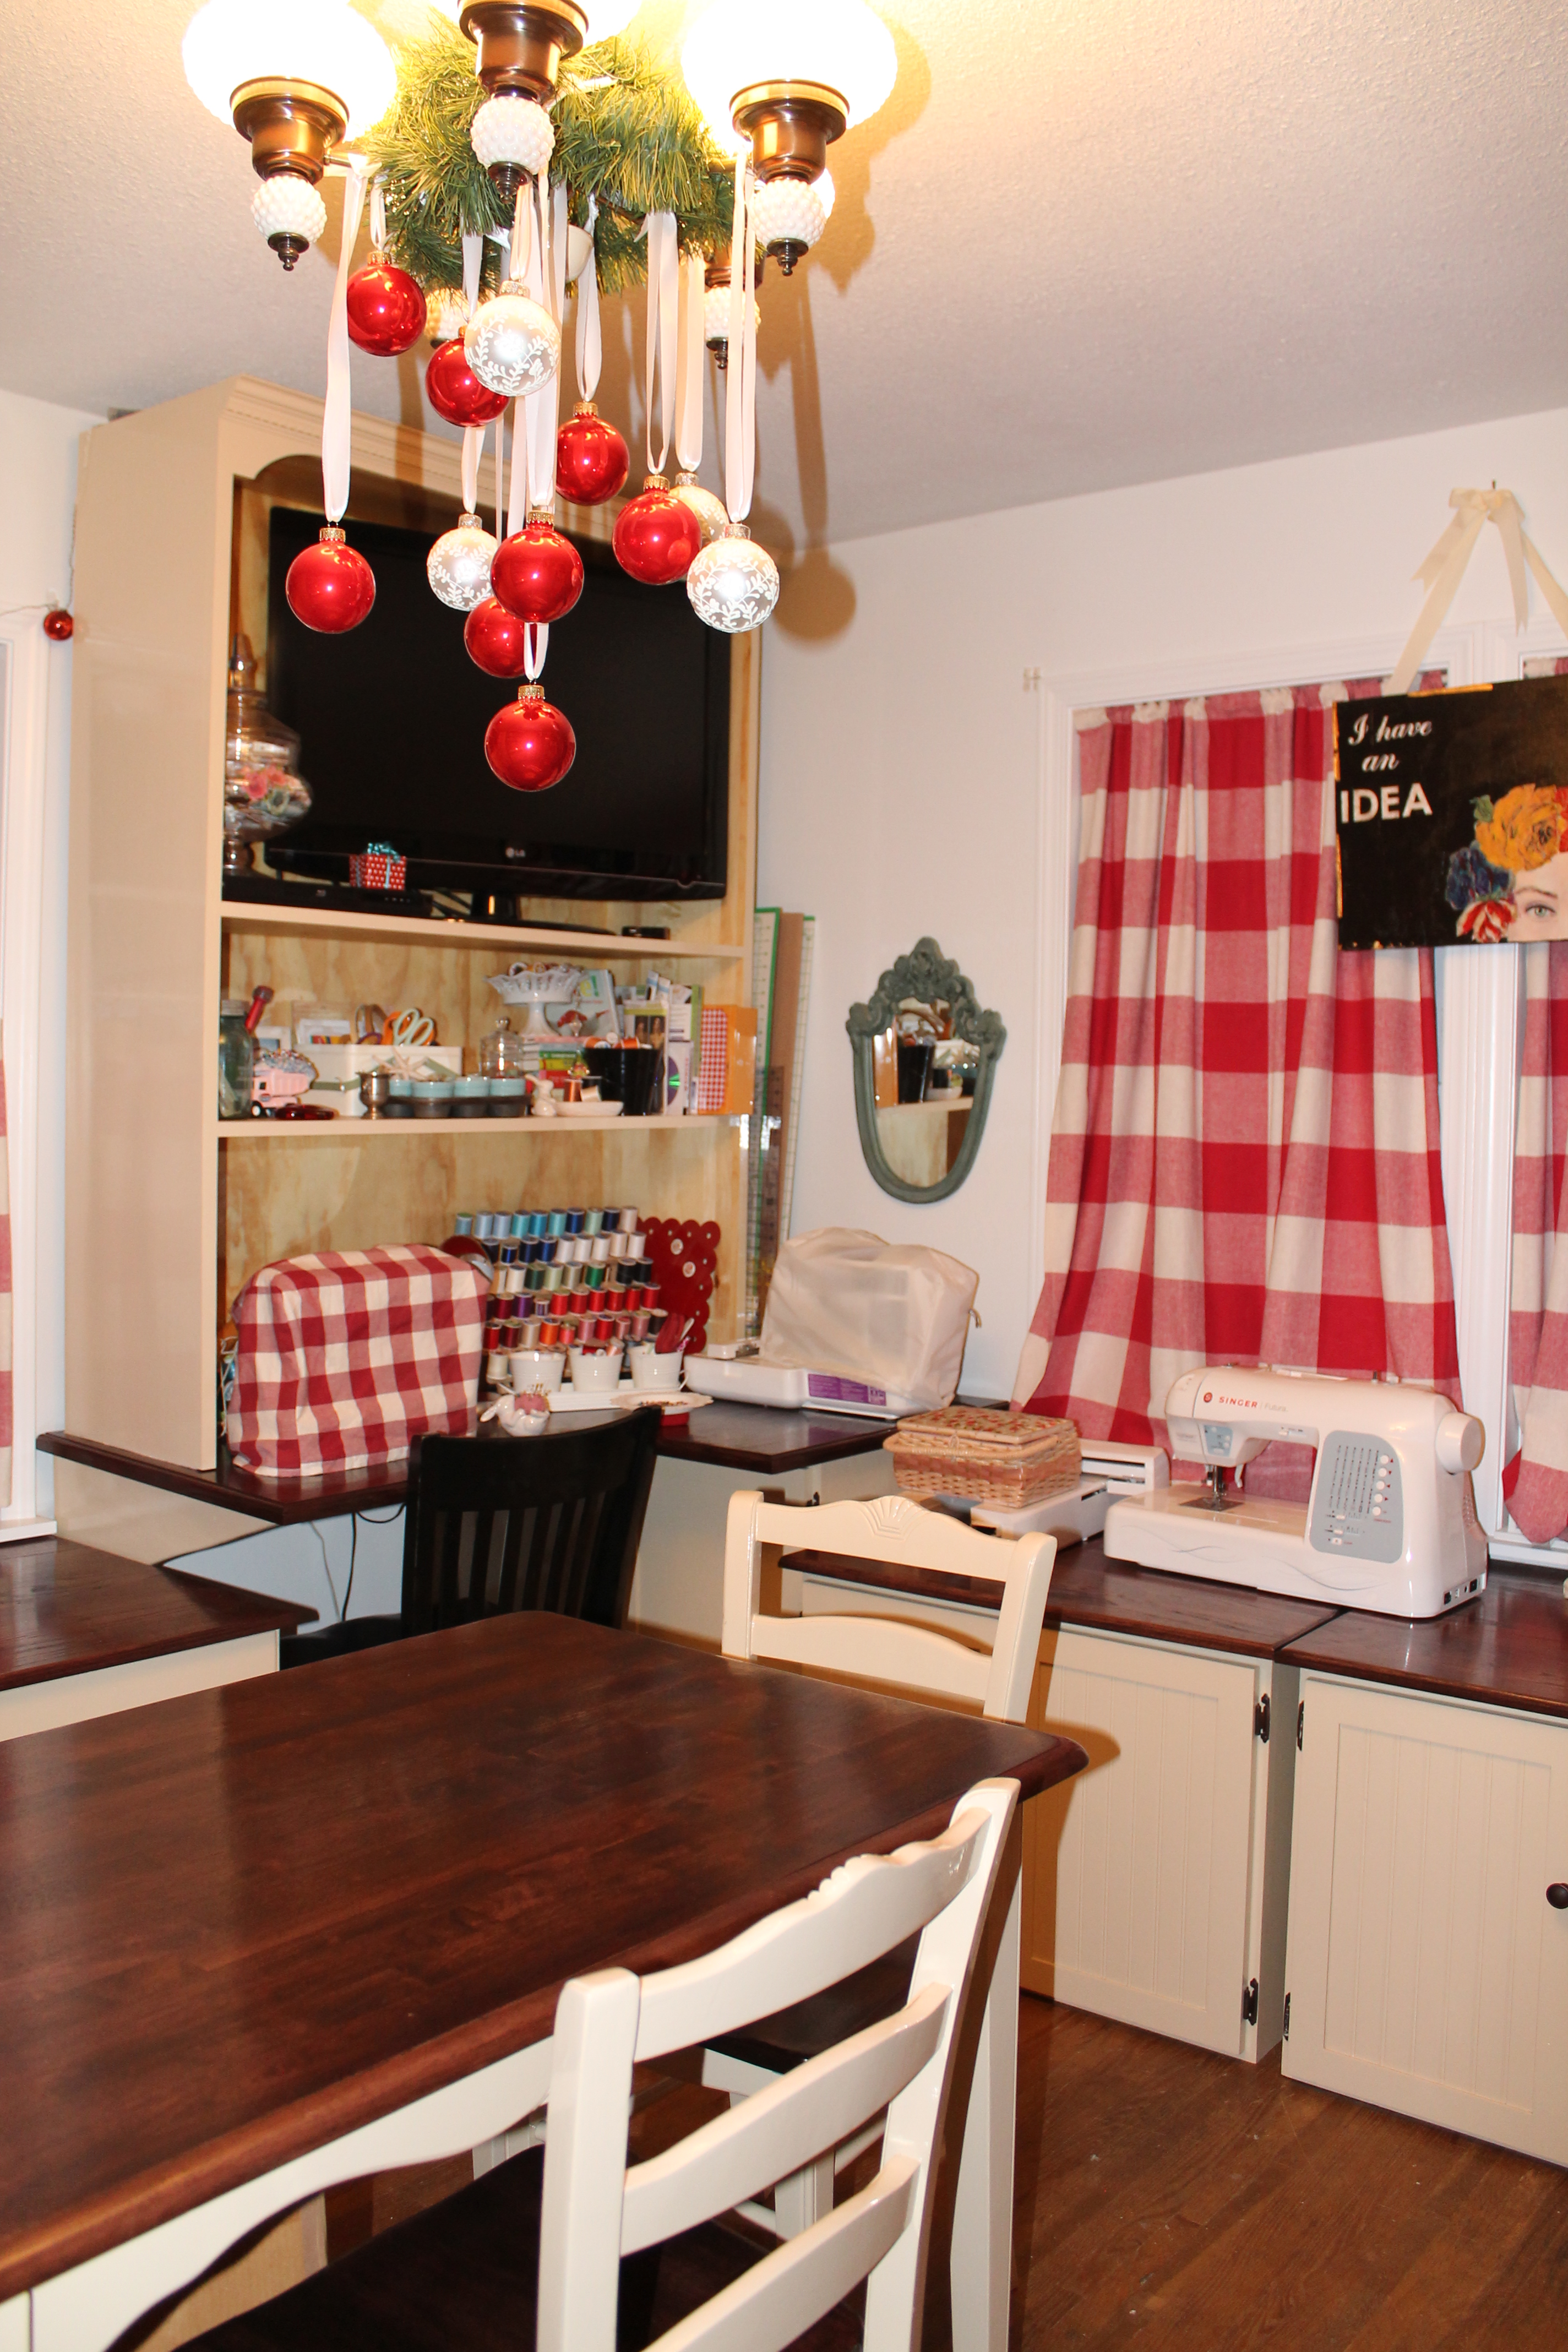
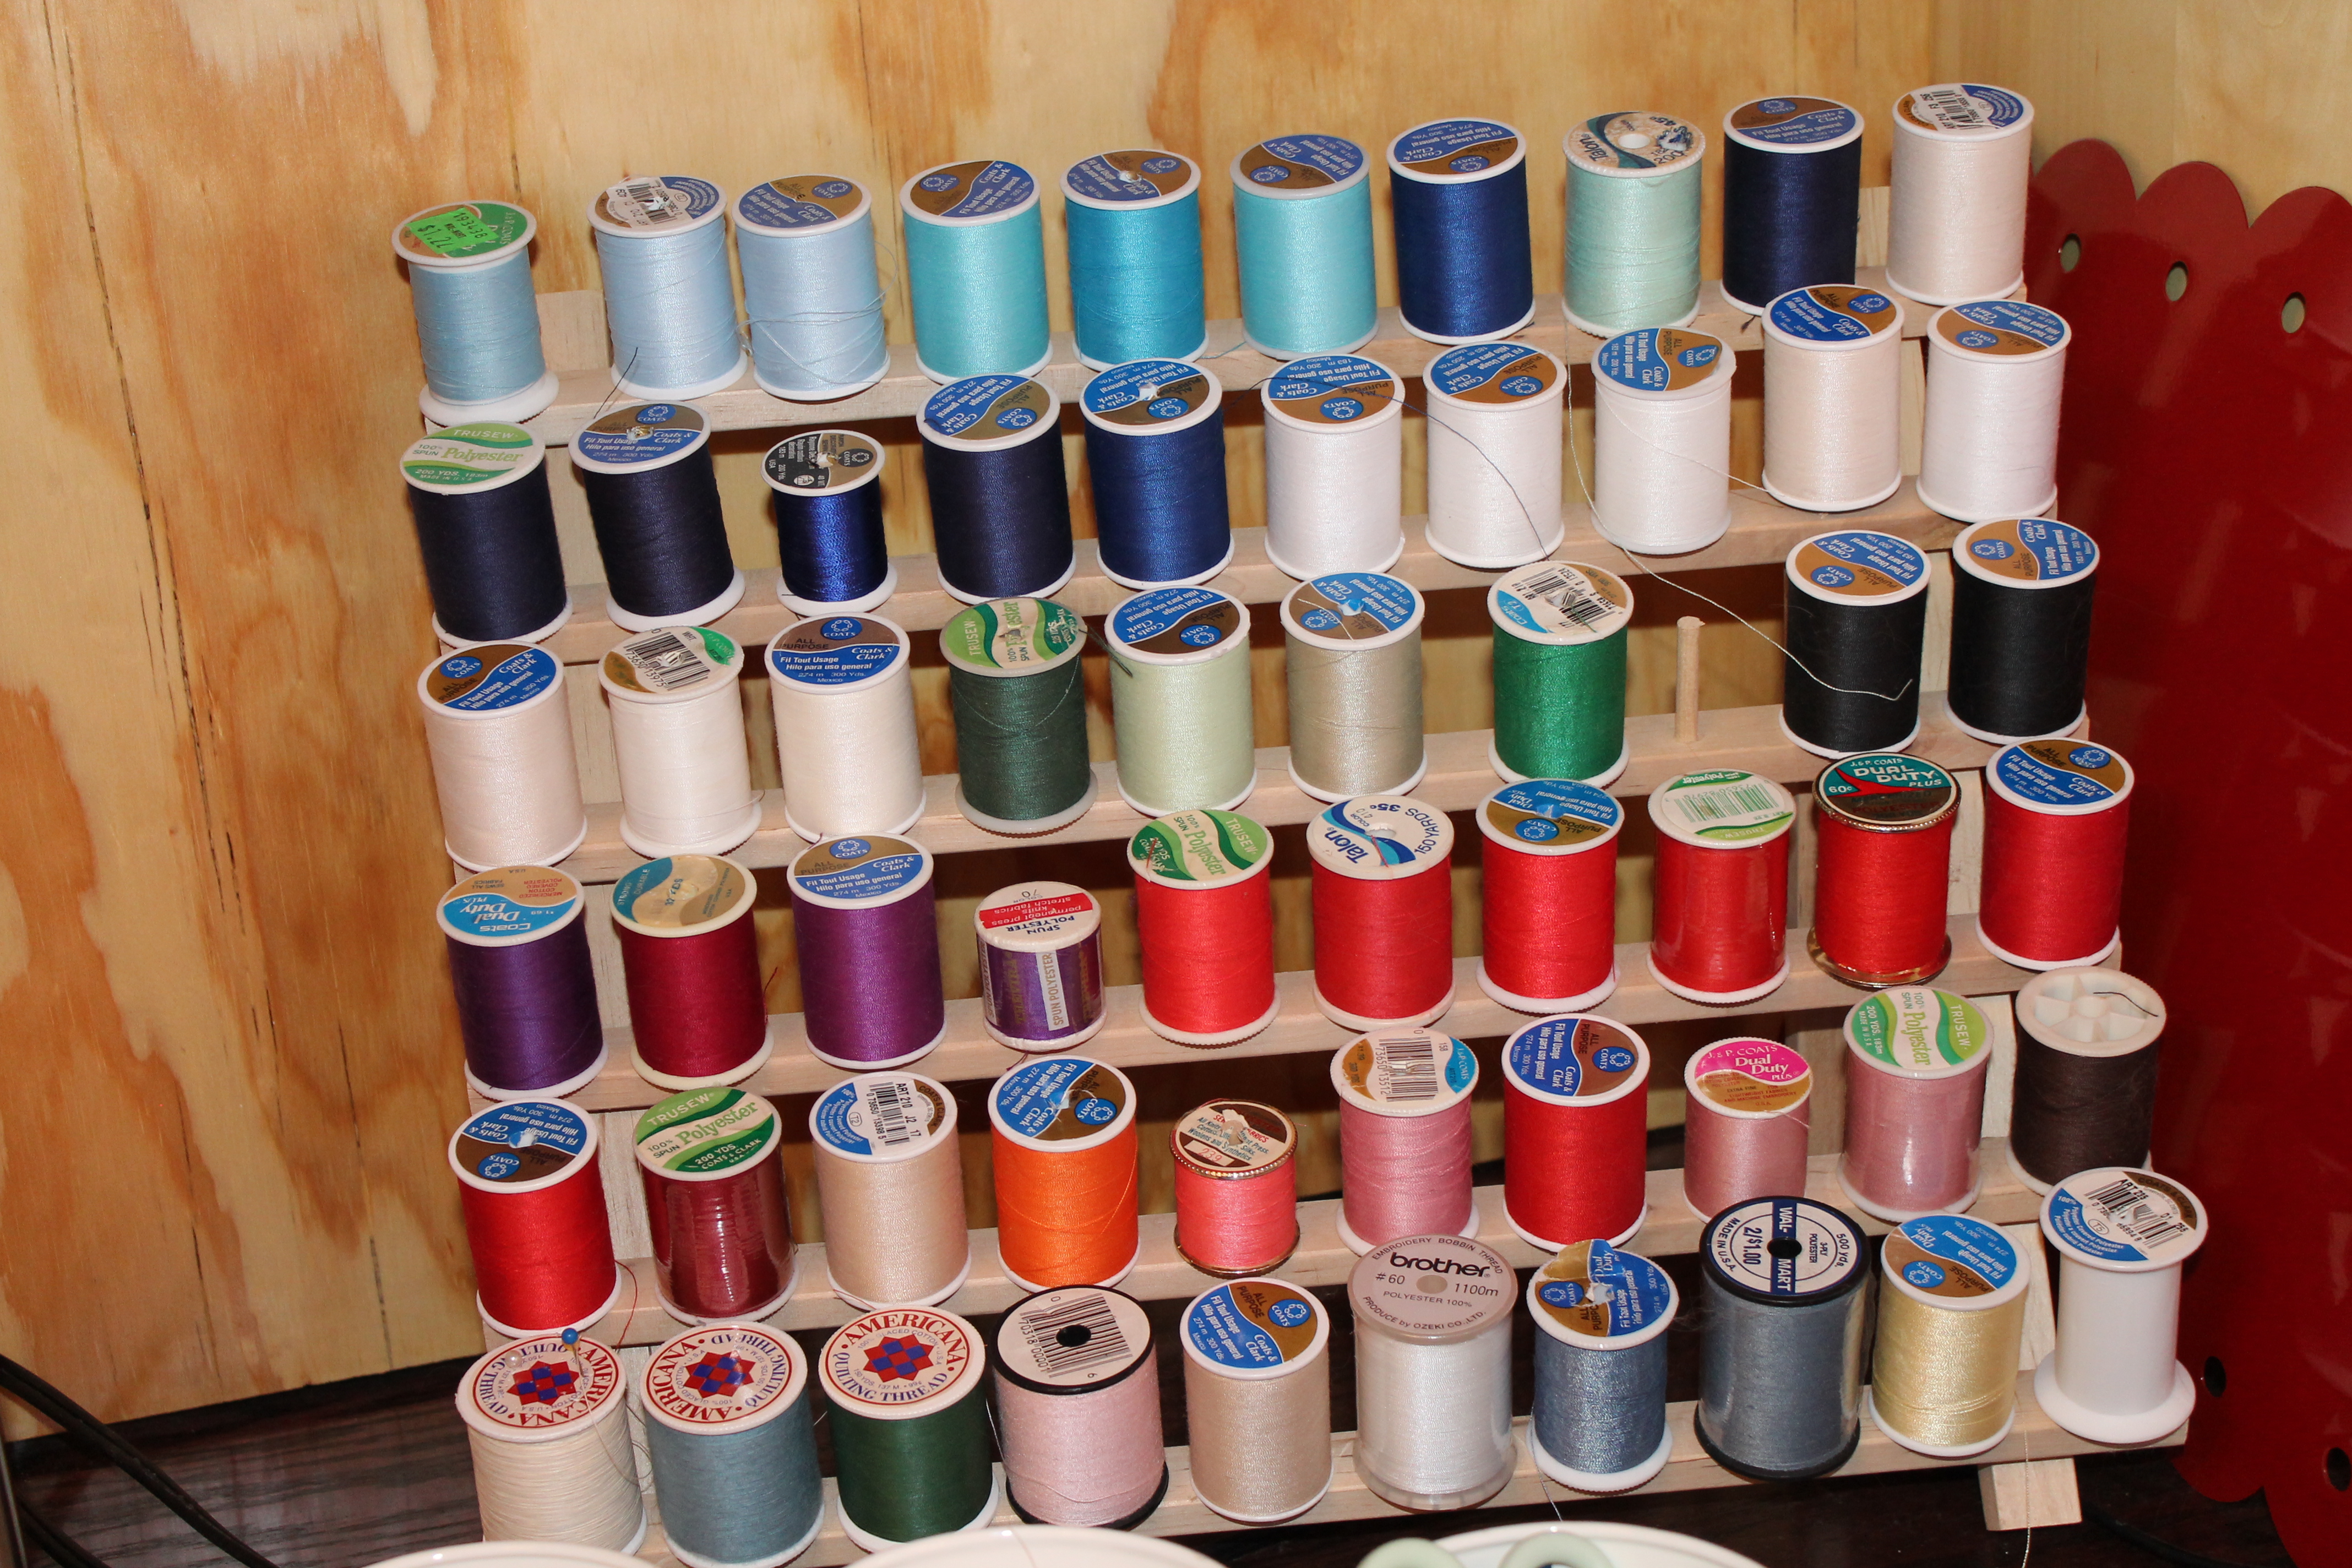
This corner is my sewing corner. I have my Brother sewing machine and my Brother SE400 embroidery machine on my sewing table.  I made the curtains and the sewing machine cover. As you can see, my cats follow me everywhere. I’m including some closeup pictures so you can get an idea of some of my storage solutions.

new craft room 2 016

new craft room 2 046  new craft room 2 044      new craft room 2 022 new craft room 2 024   new craft room 2 015 208 207


205 201 198

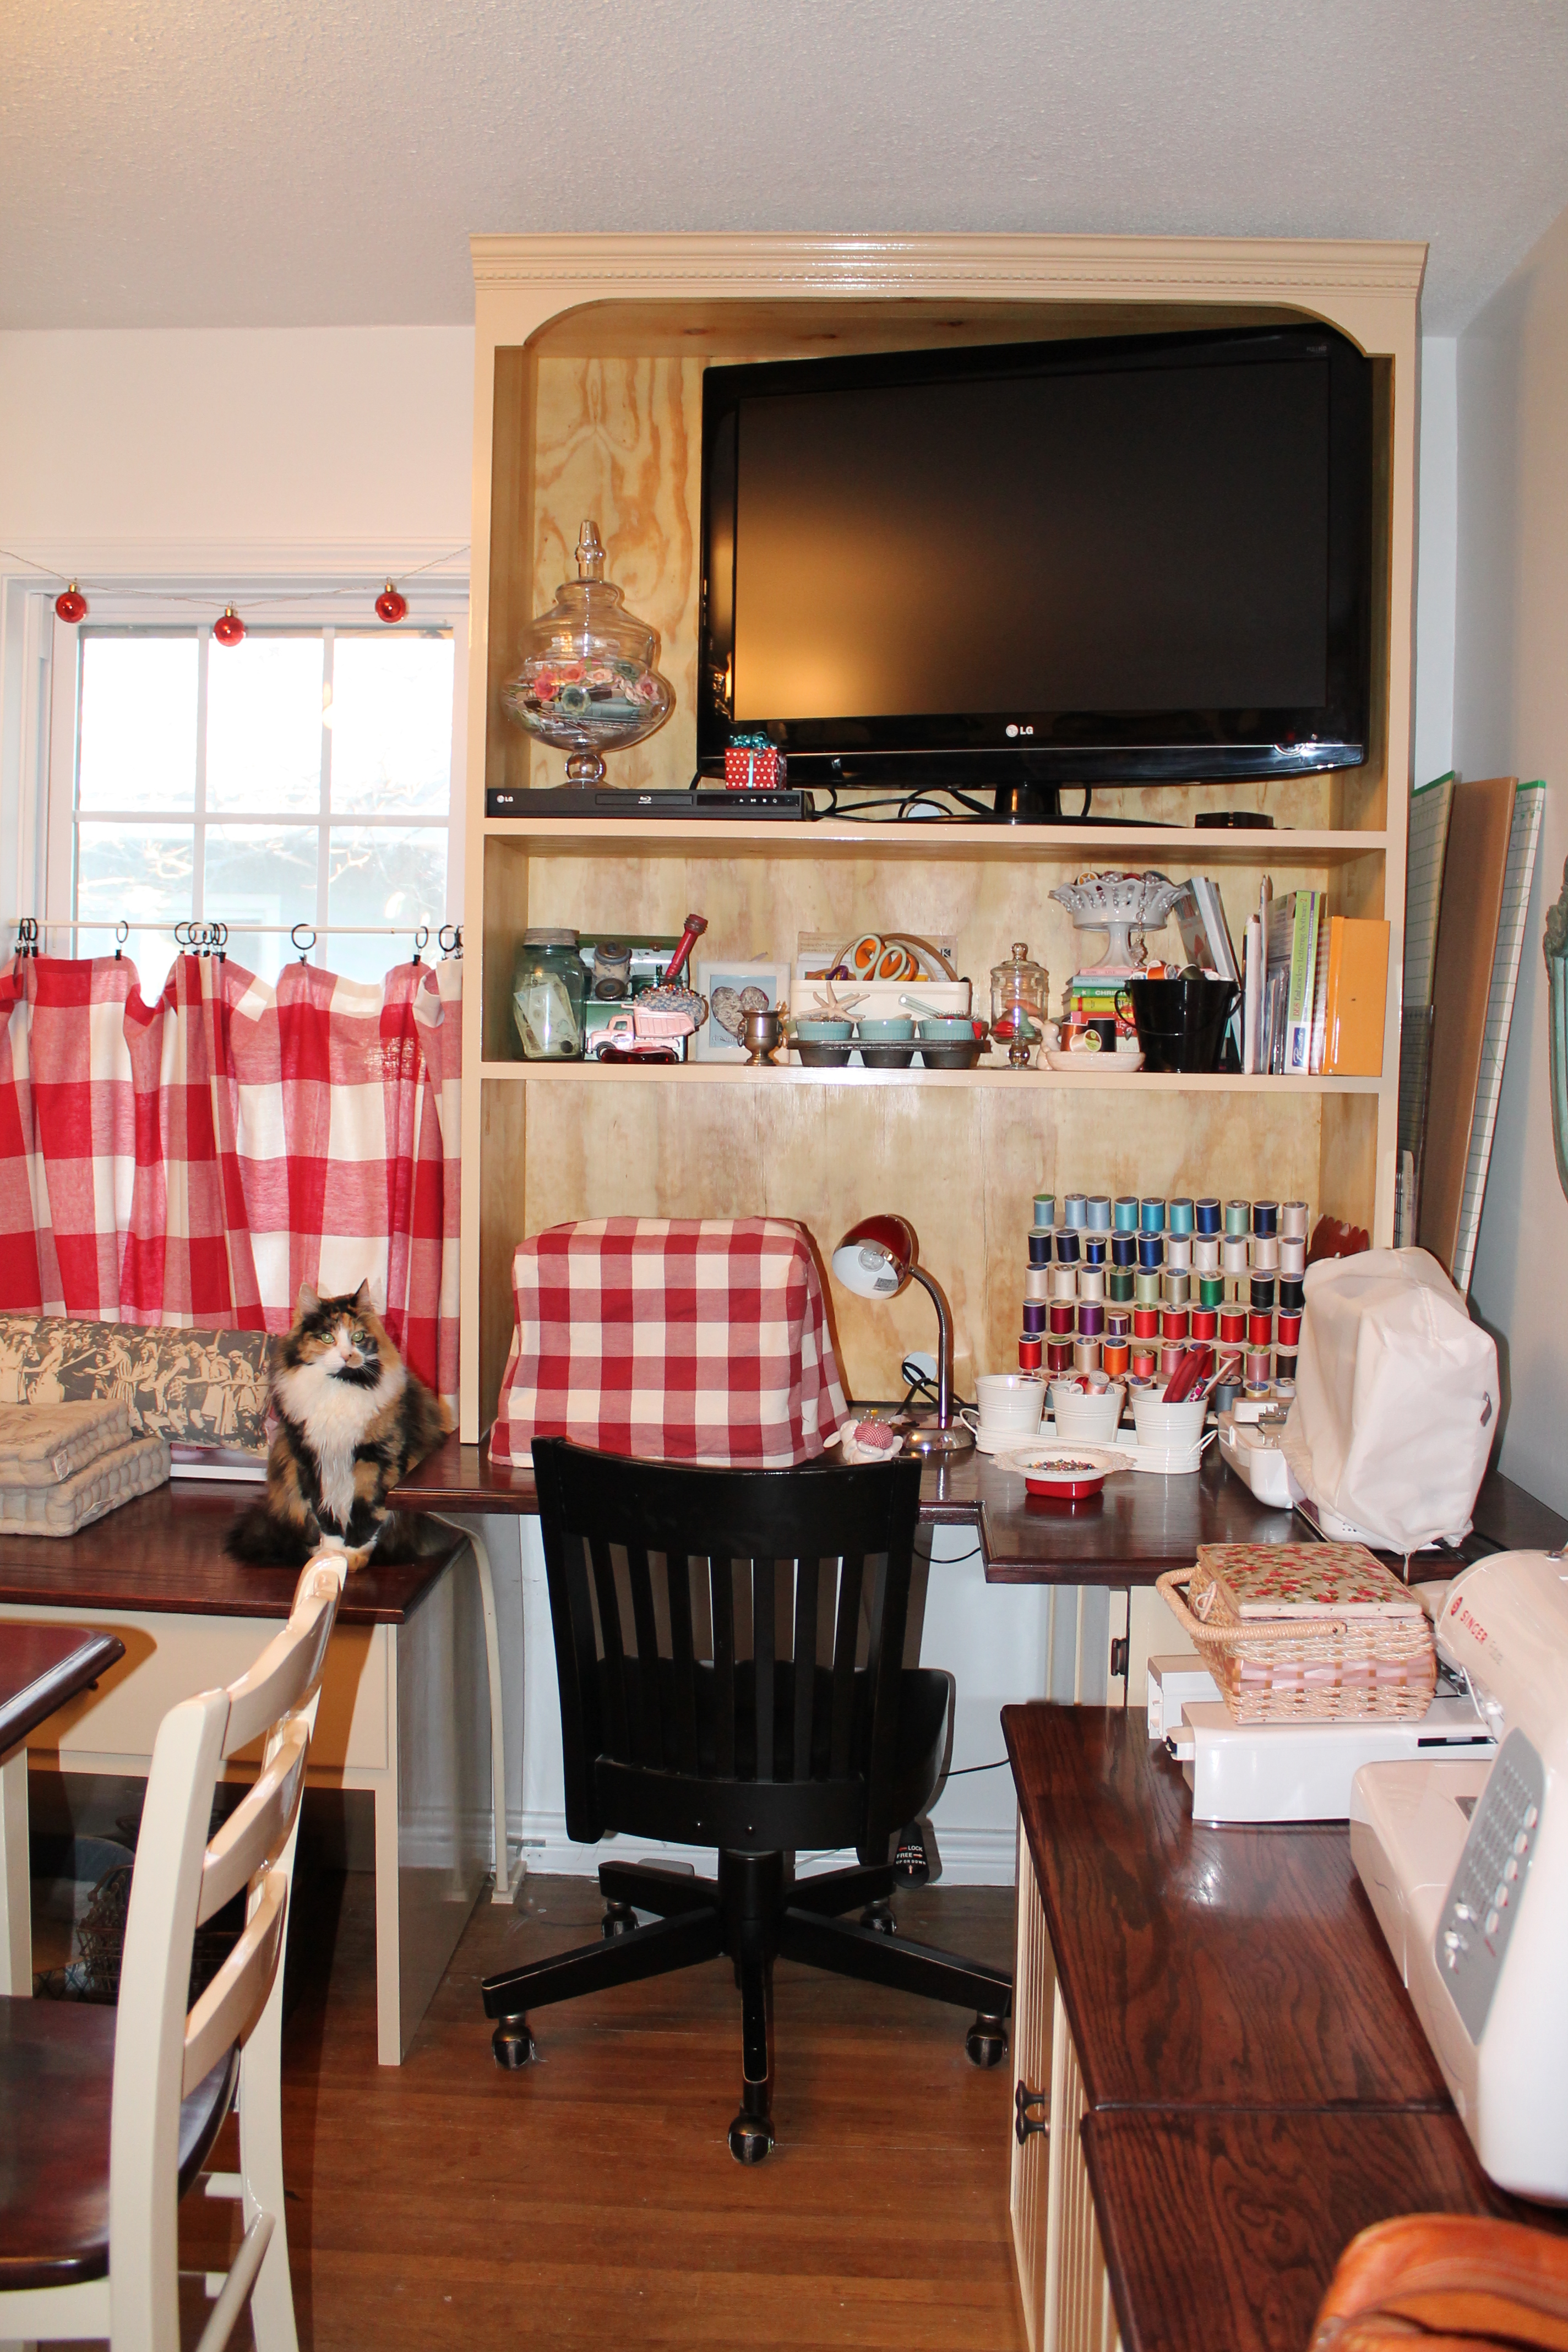
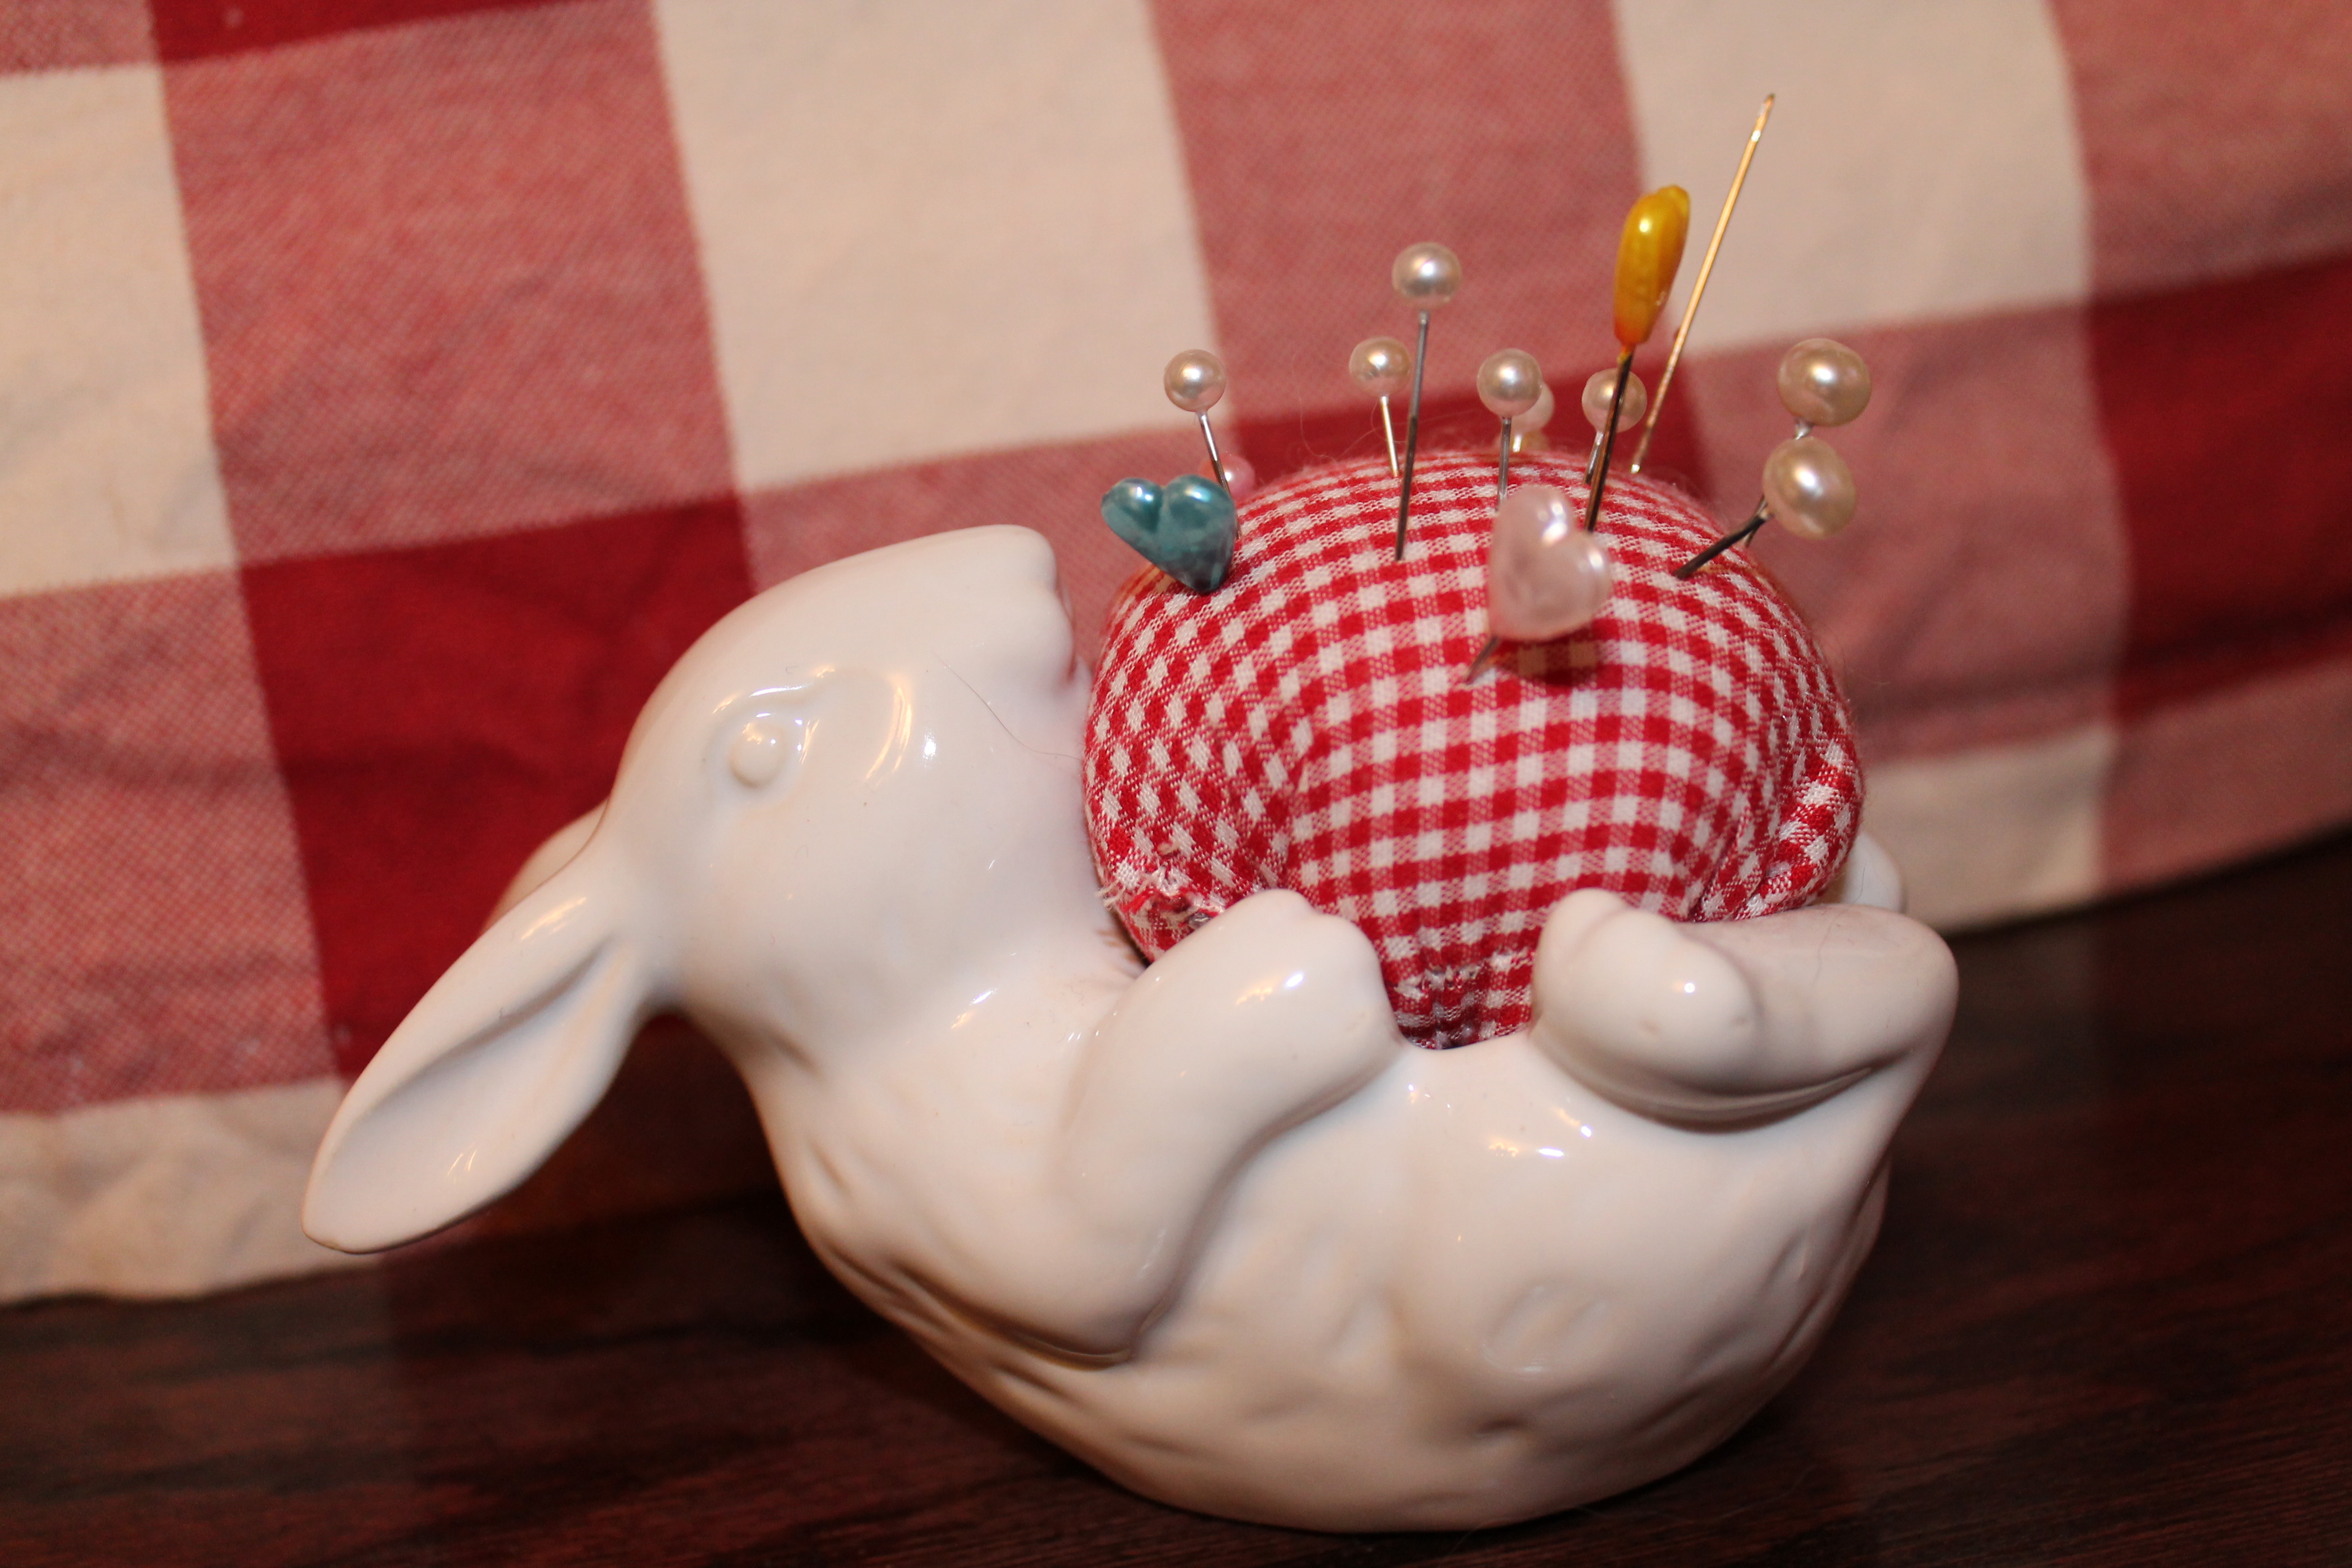
I made this little pin cushion from an egg cup I got at Pottery Barn. It is so much fun to use. You can also see the hole in the back of the cabinet for my sewing machine cords. It is really nice not to have to mess with them running down in front of the cabinet. 179

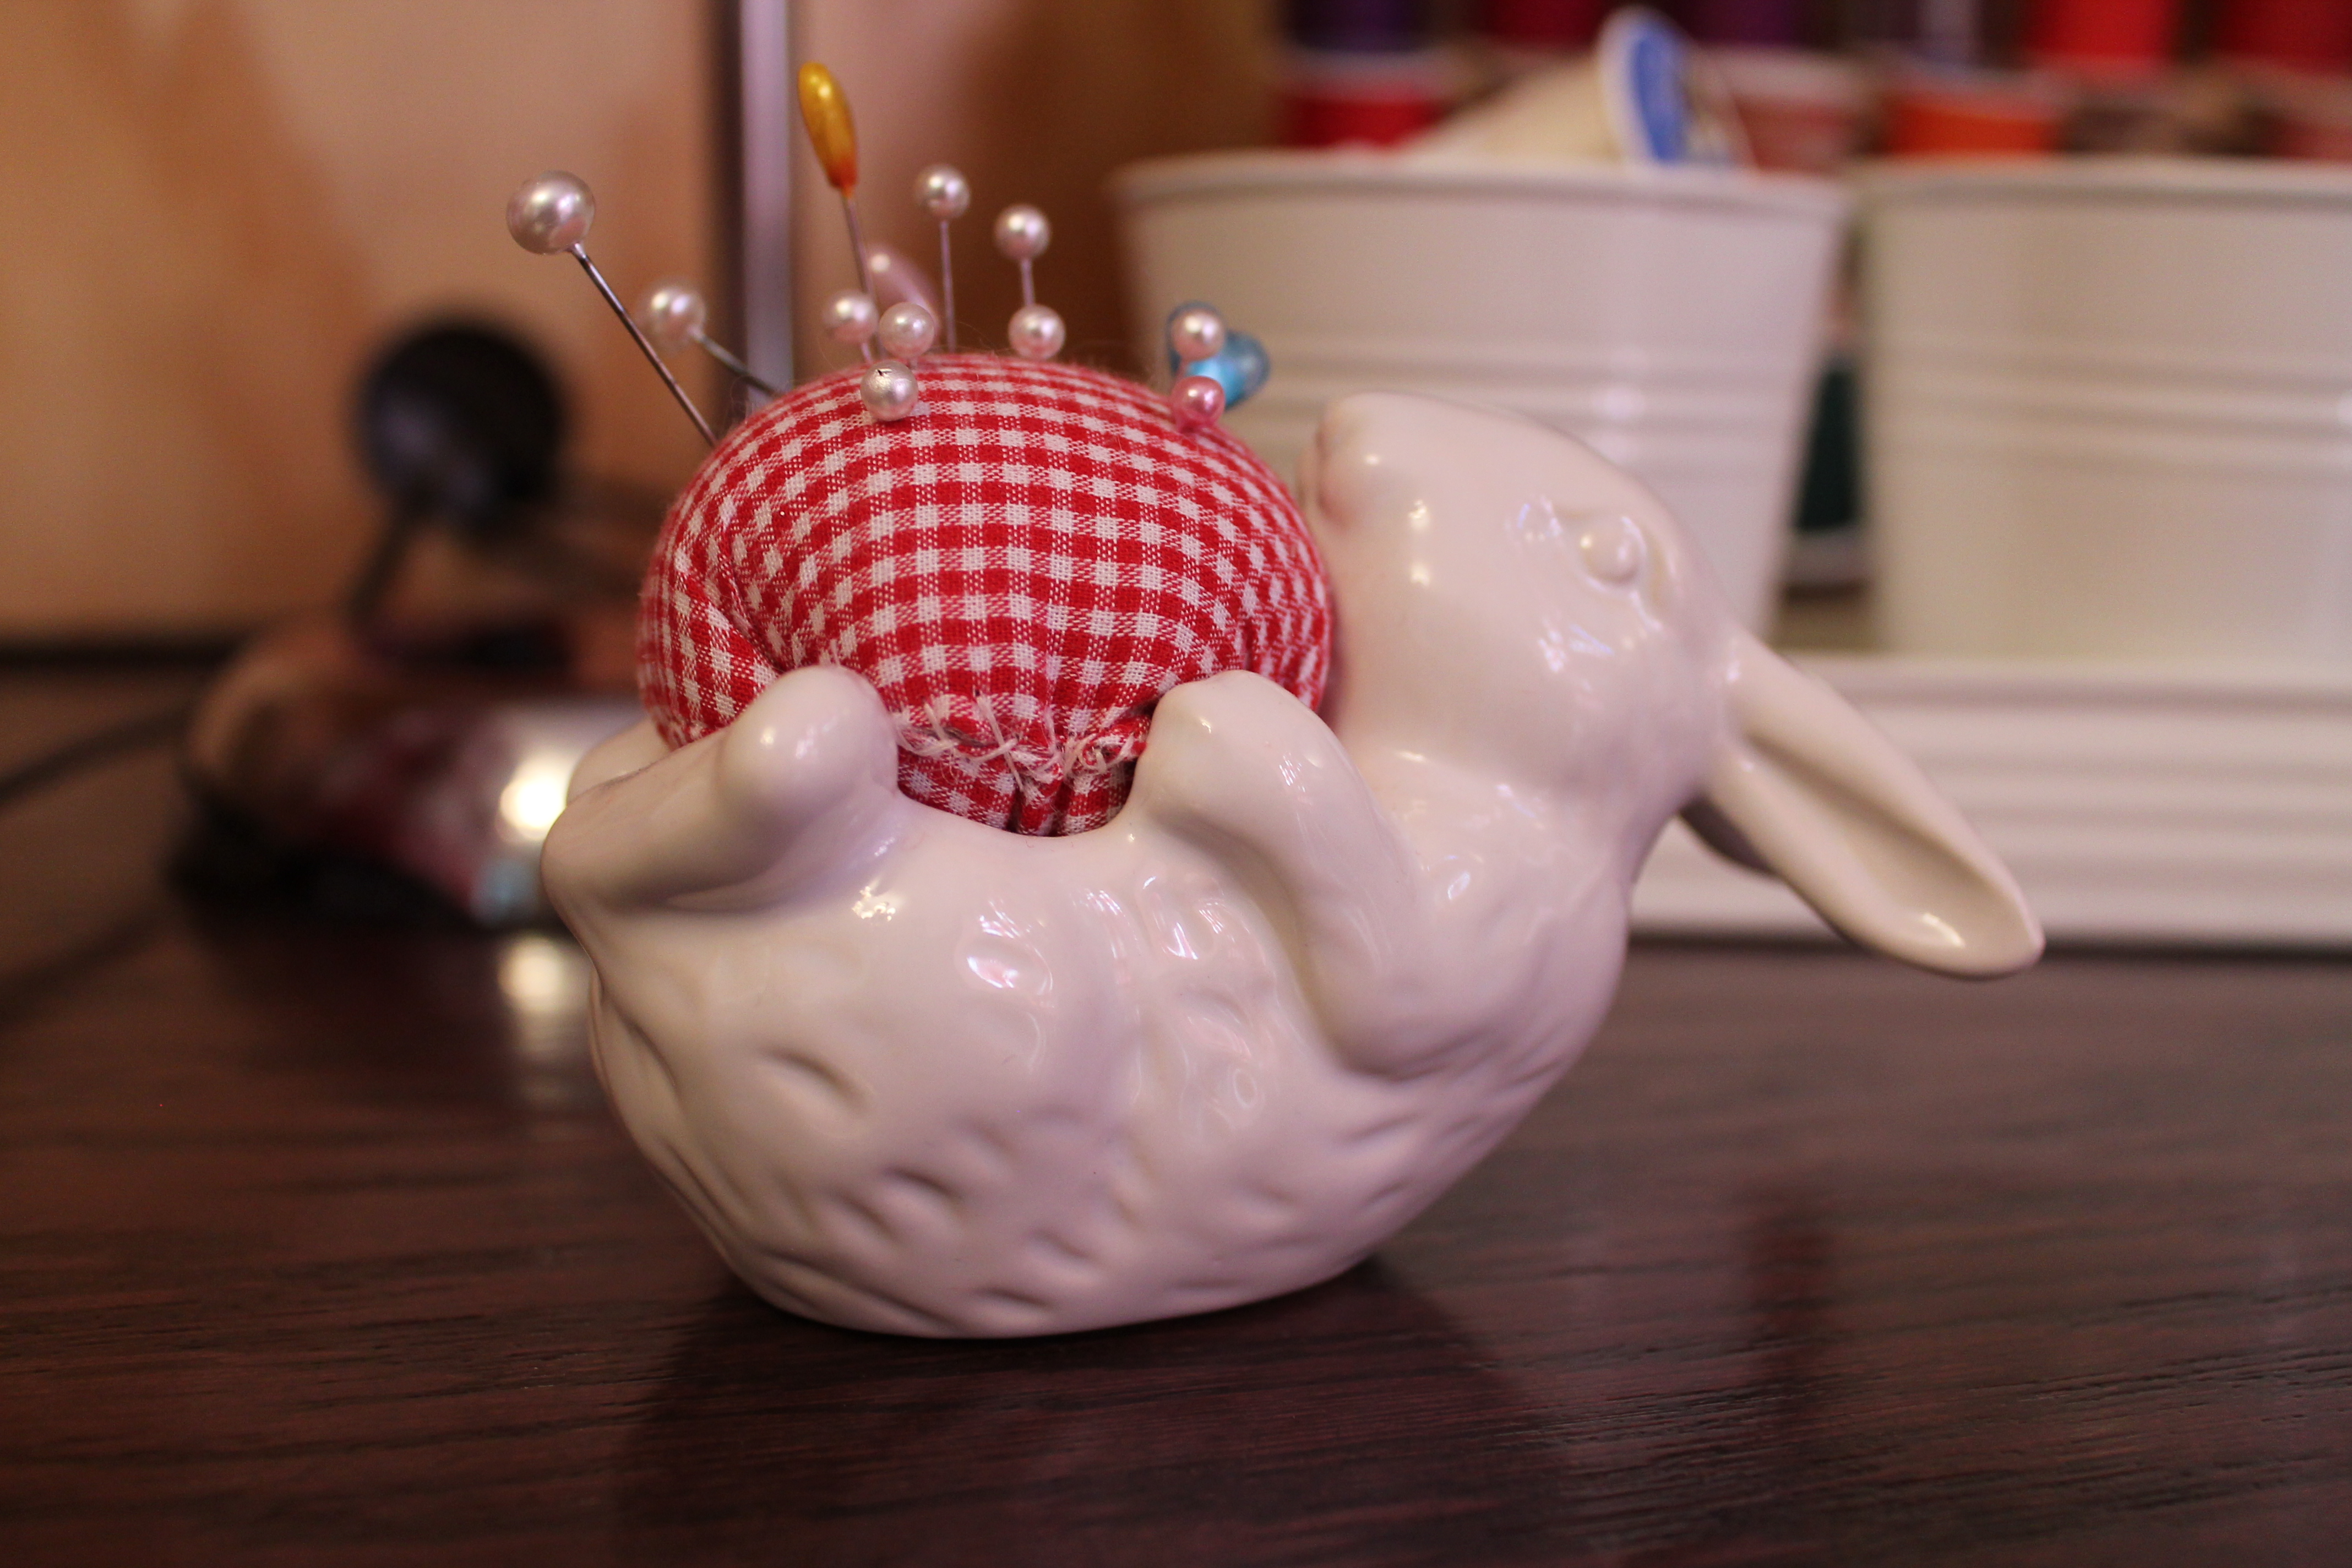
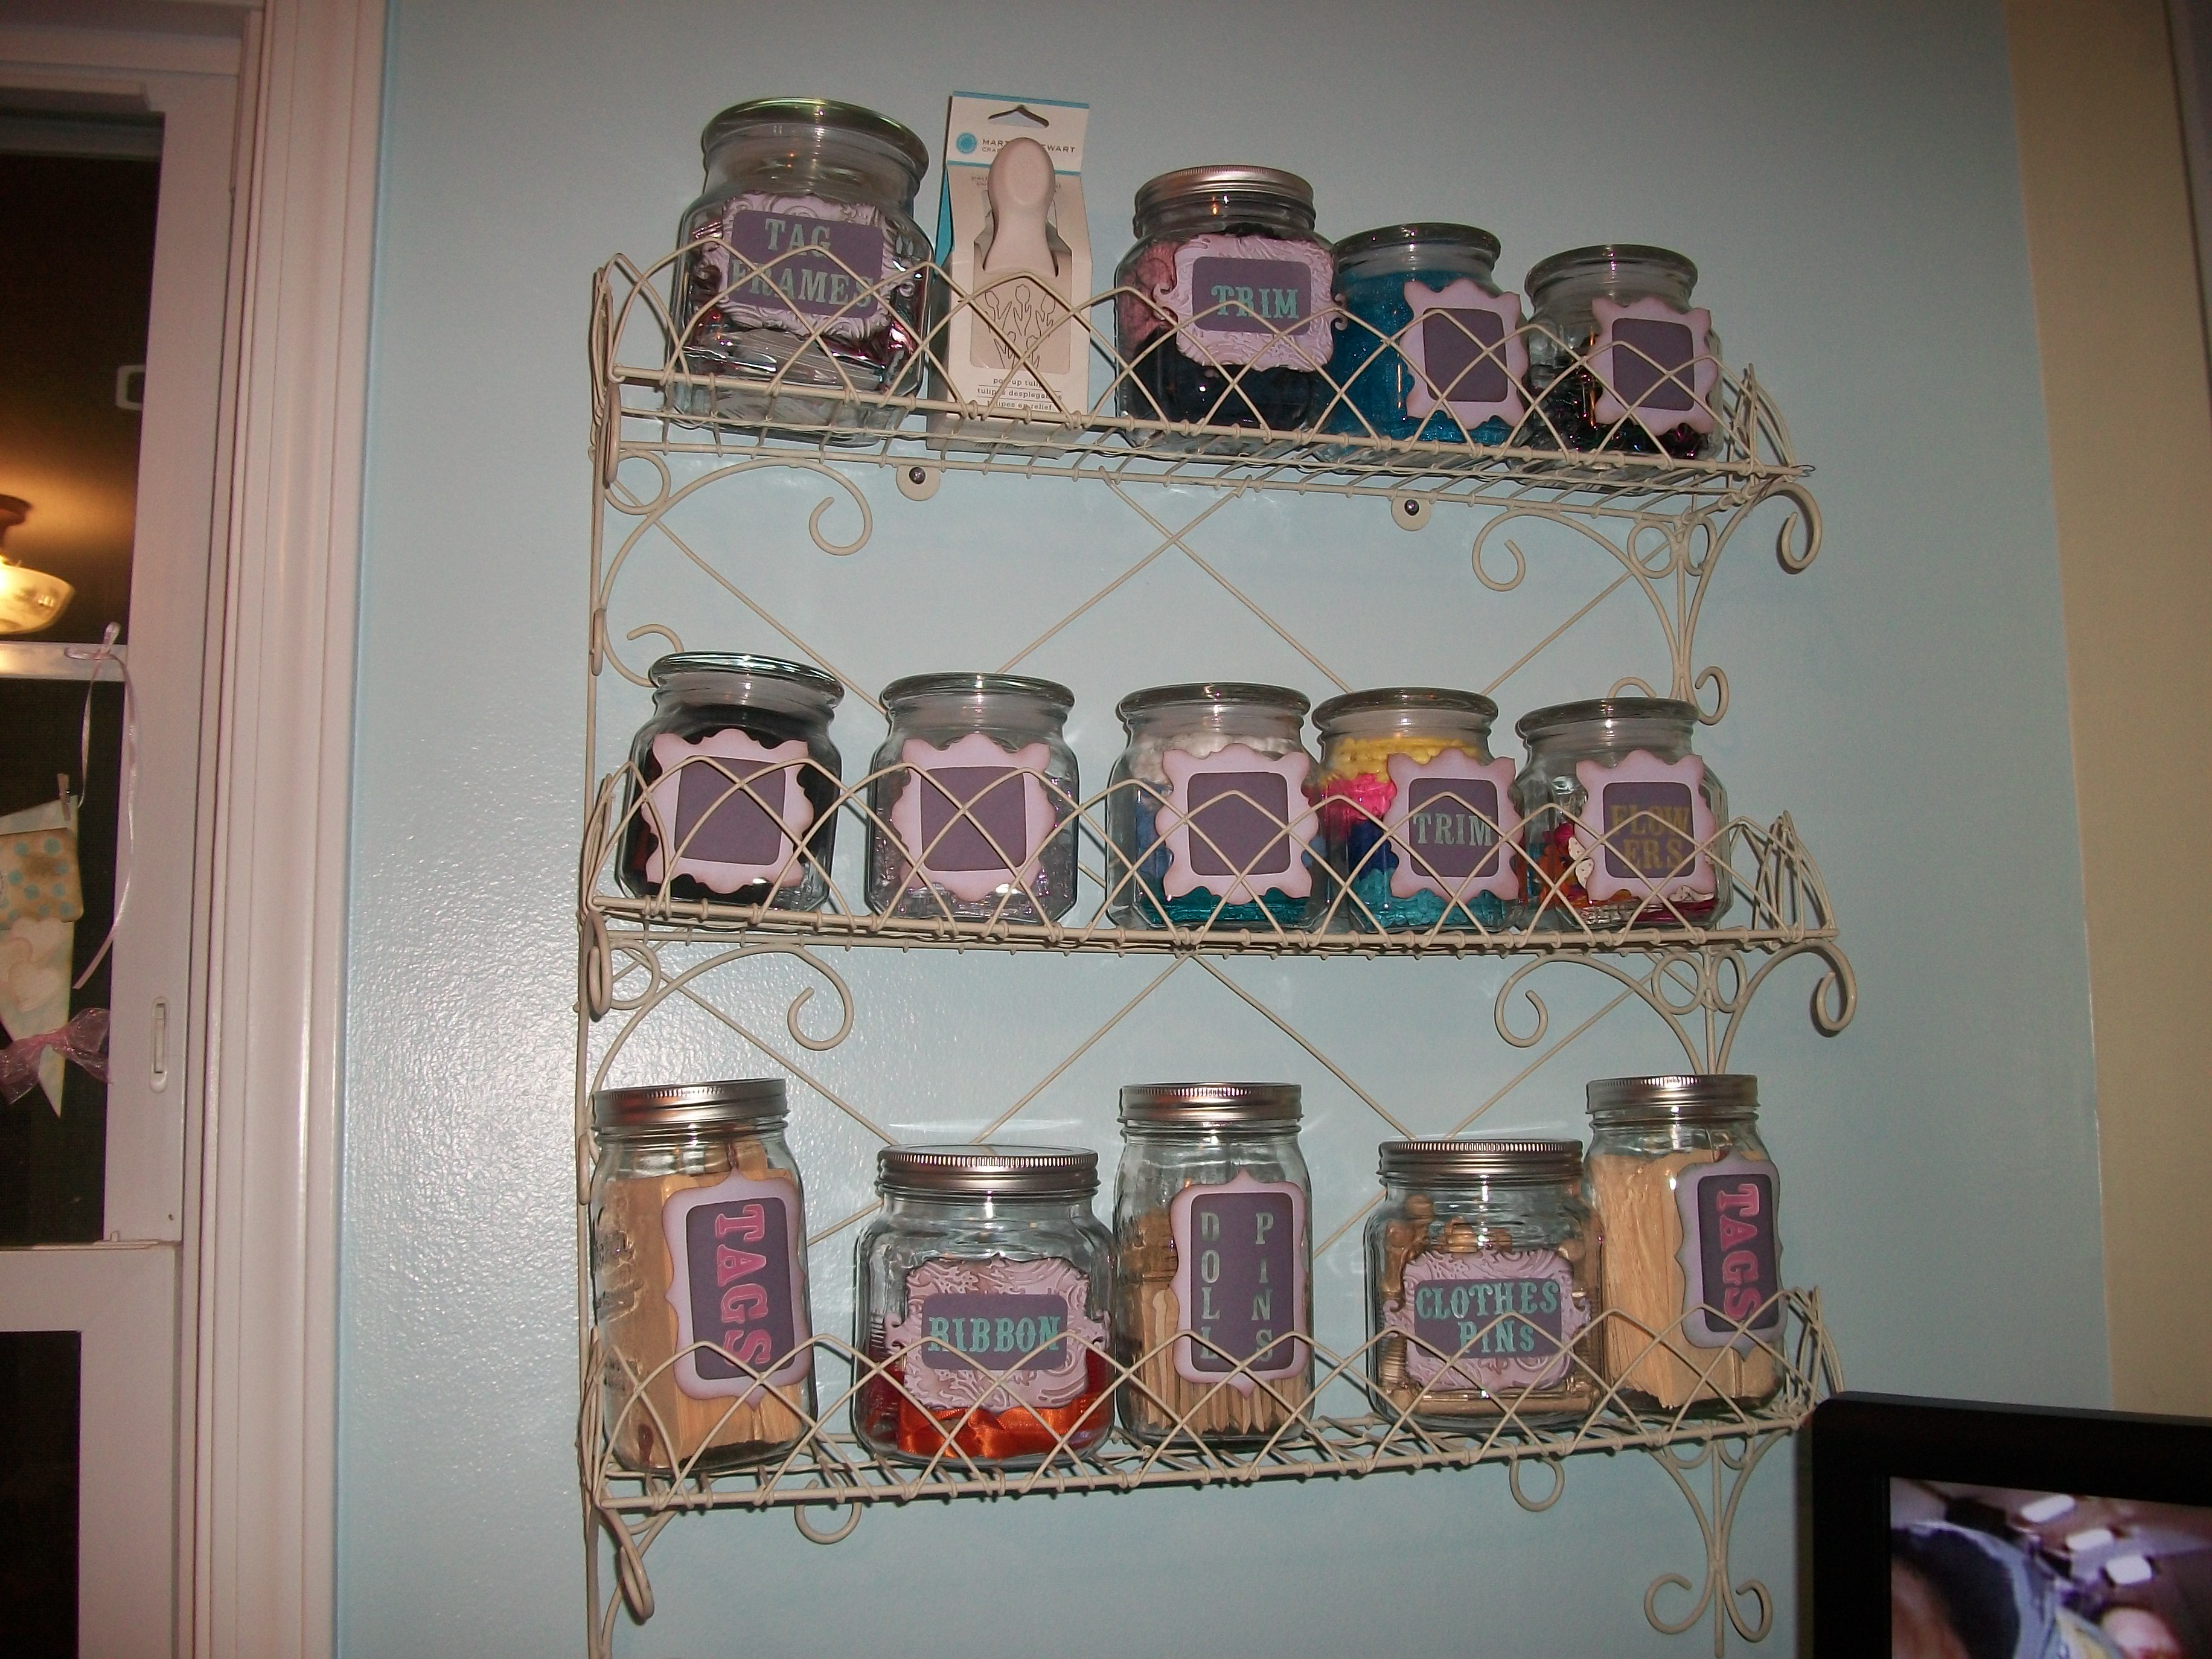
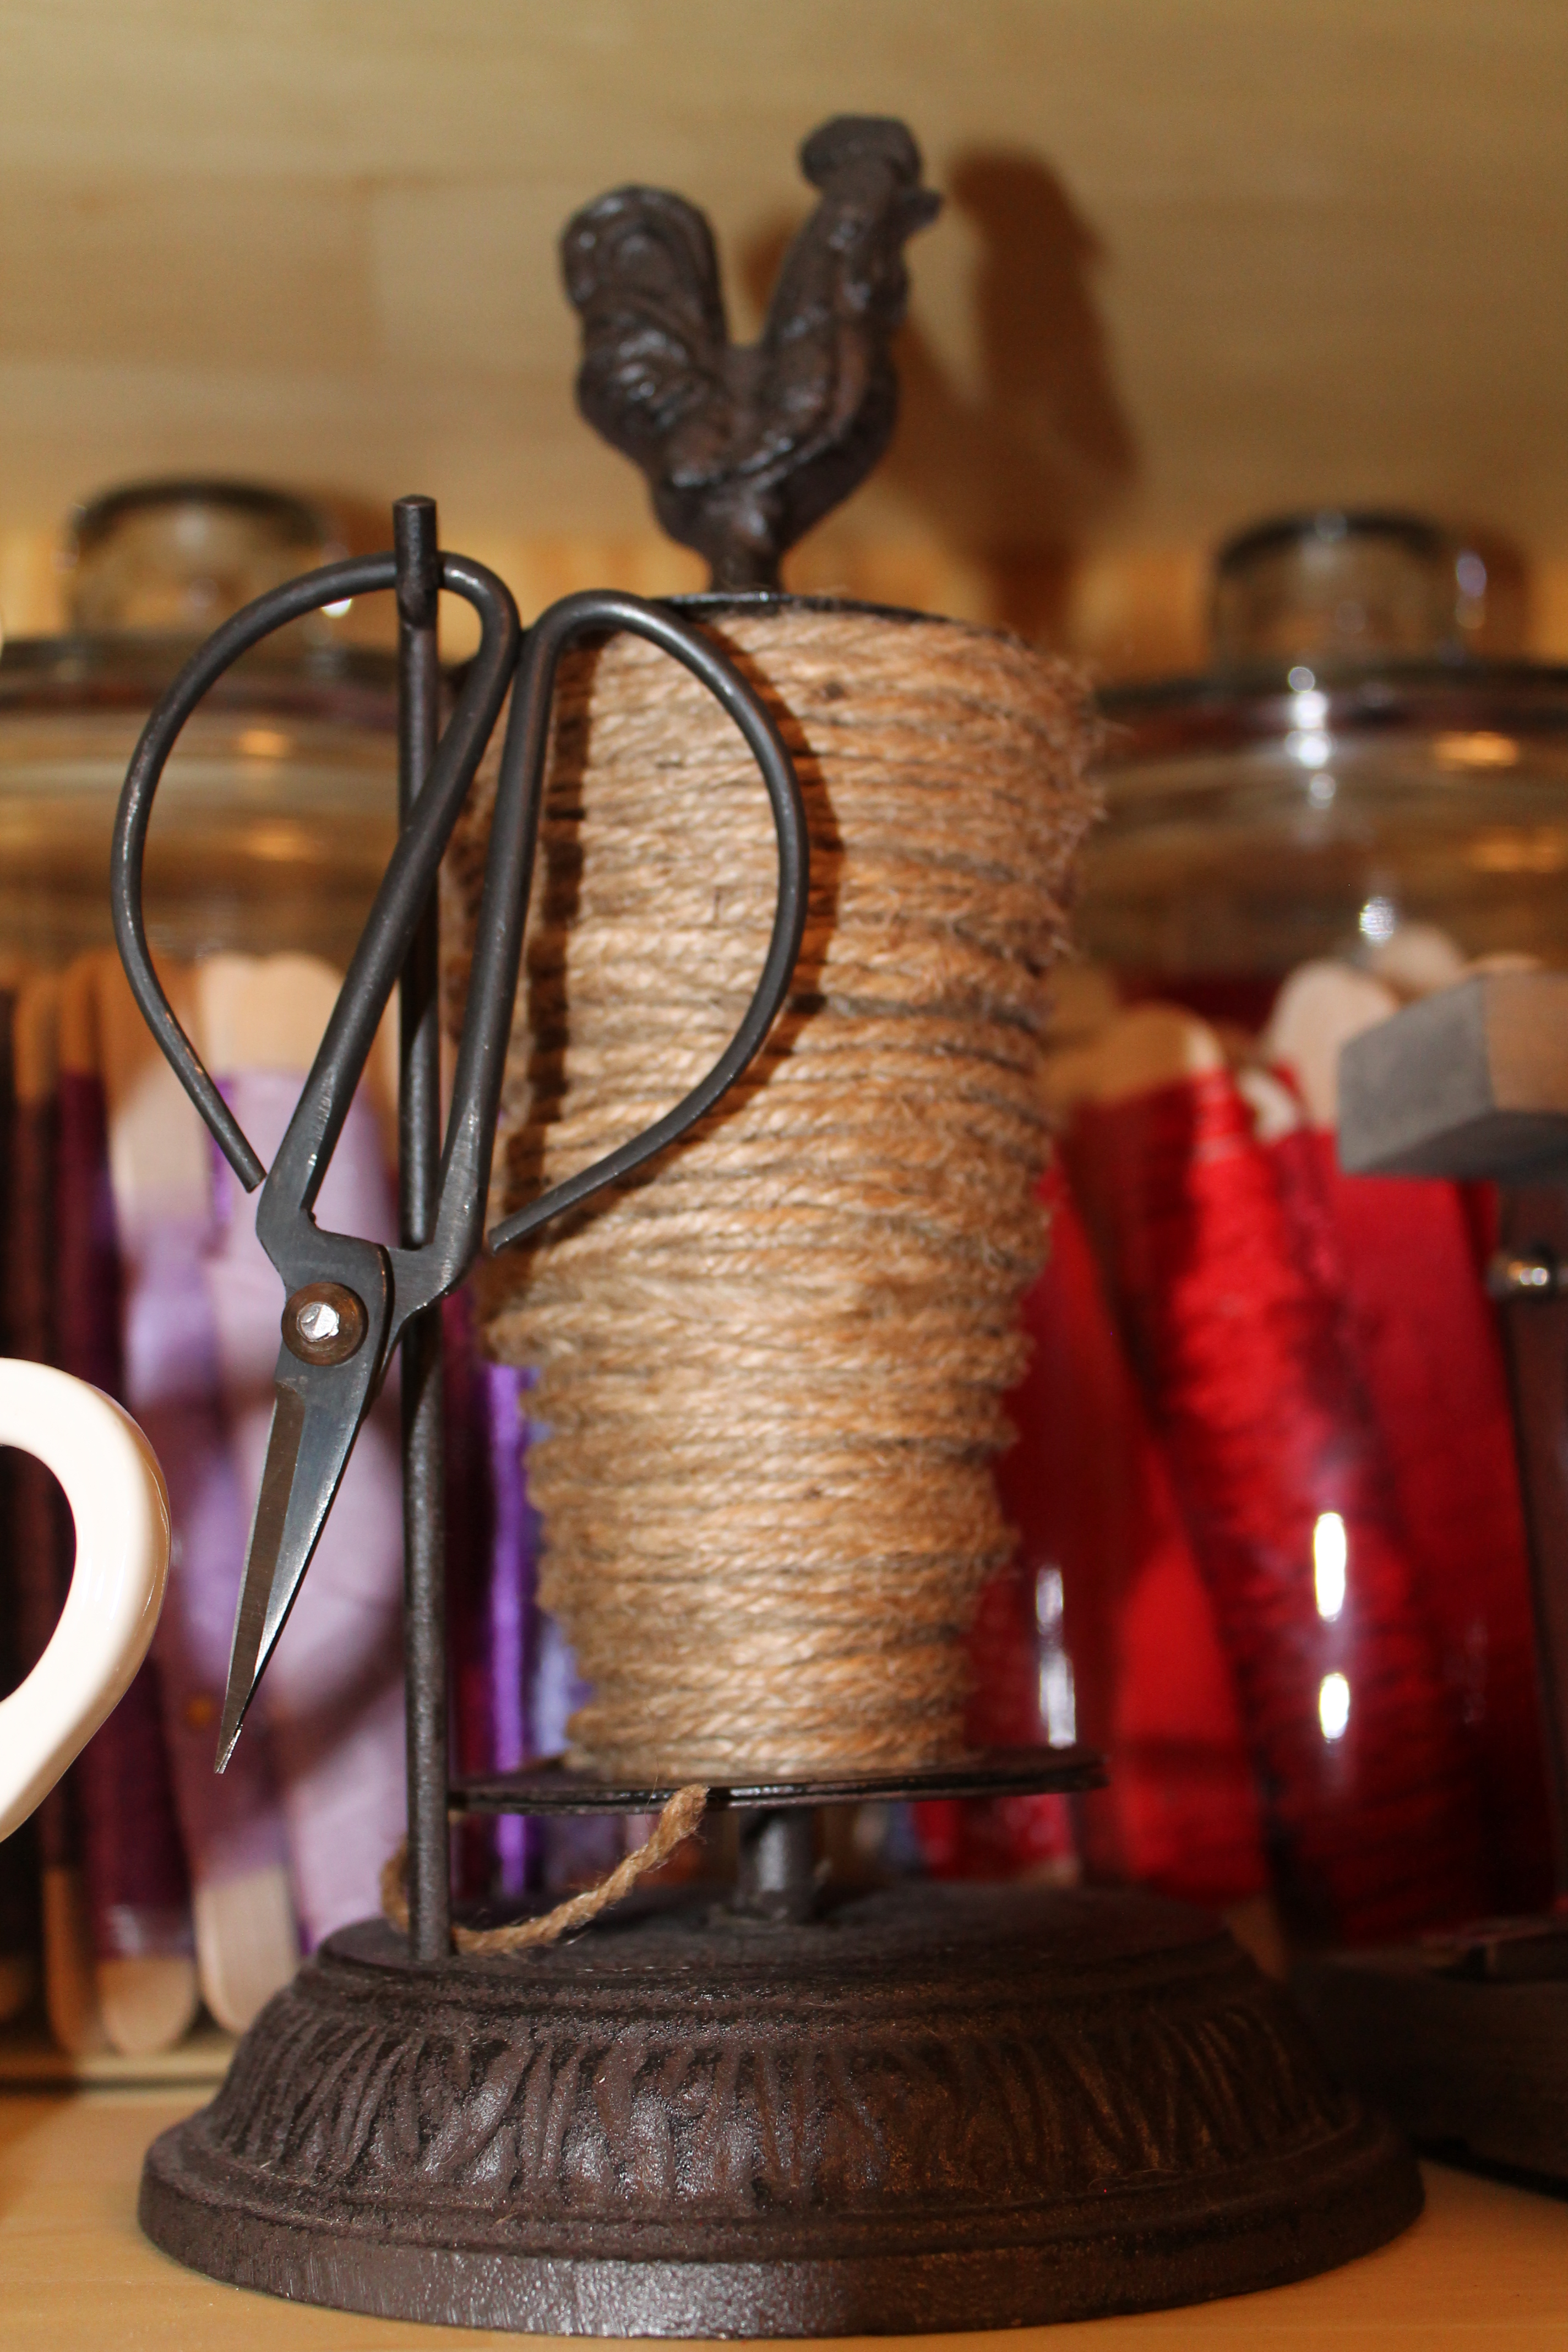
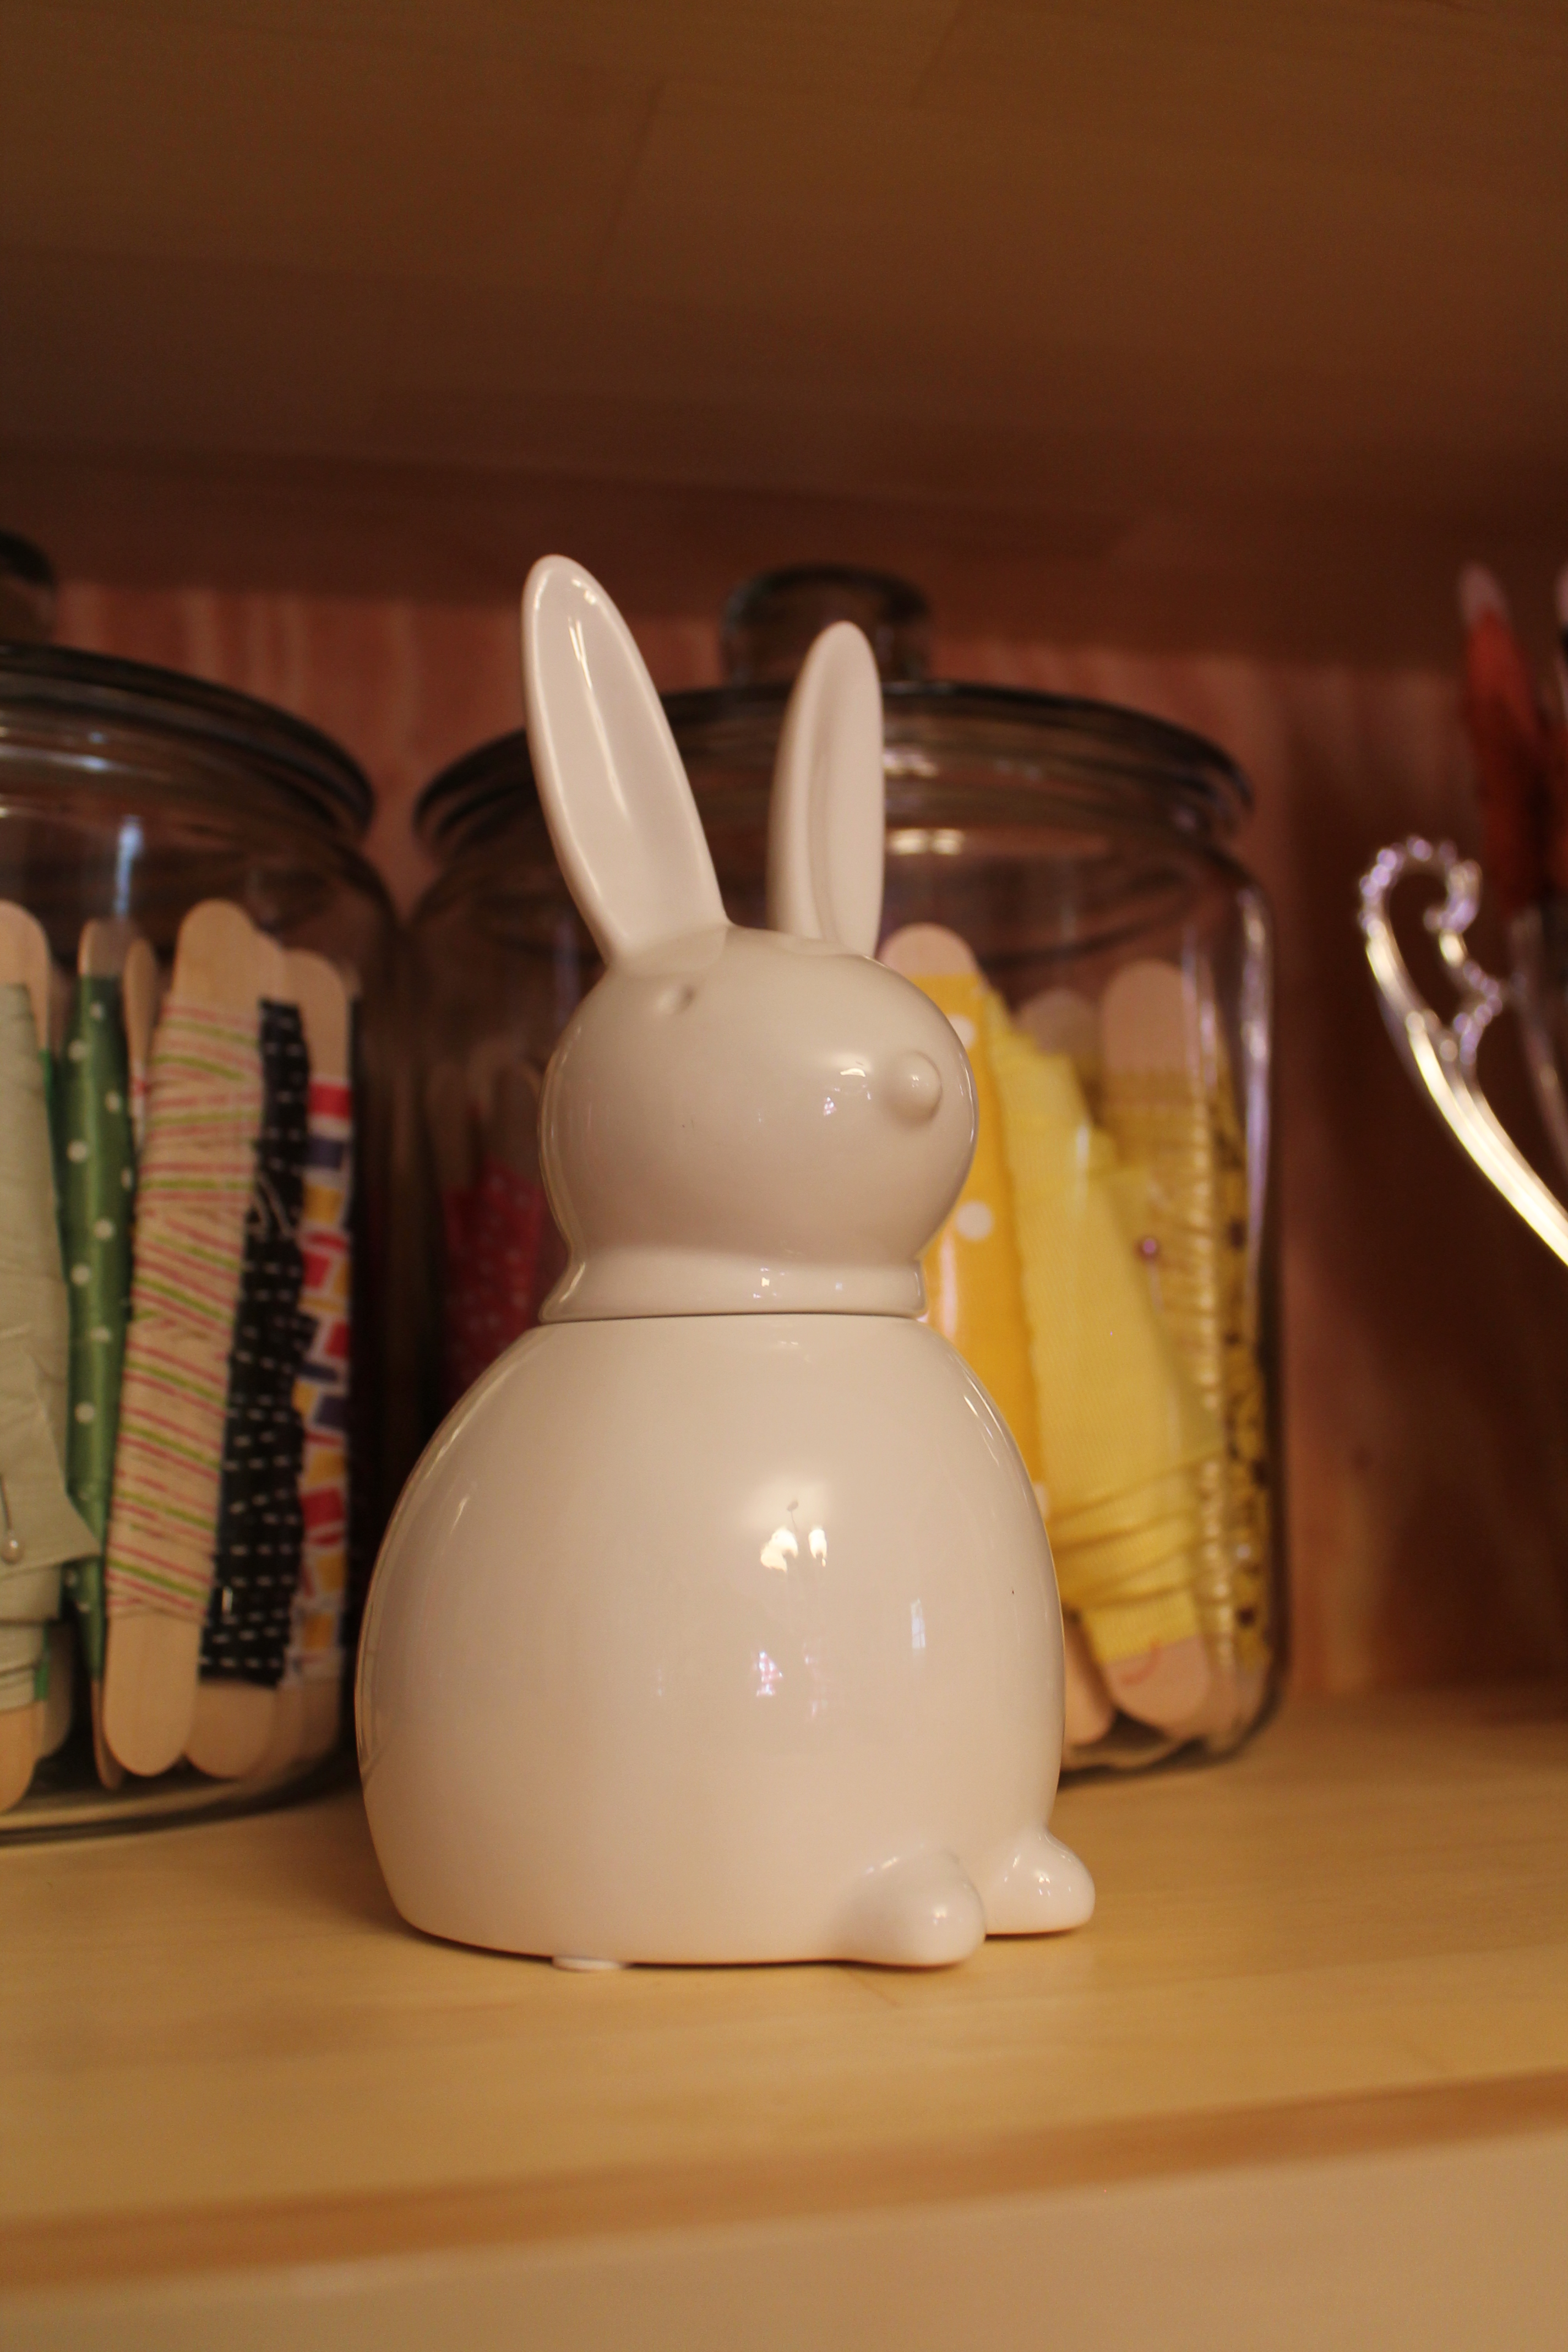
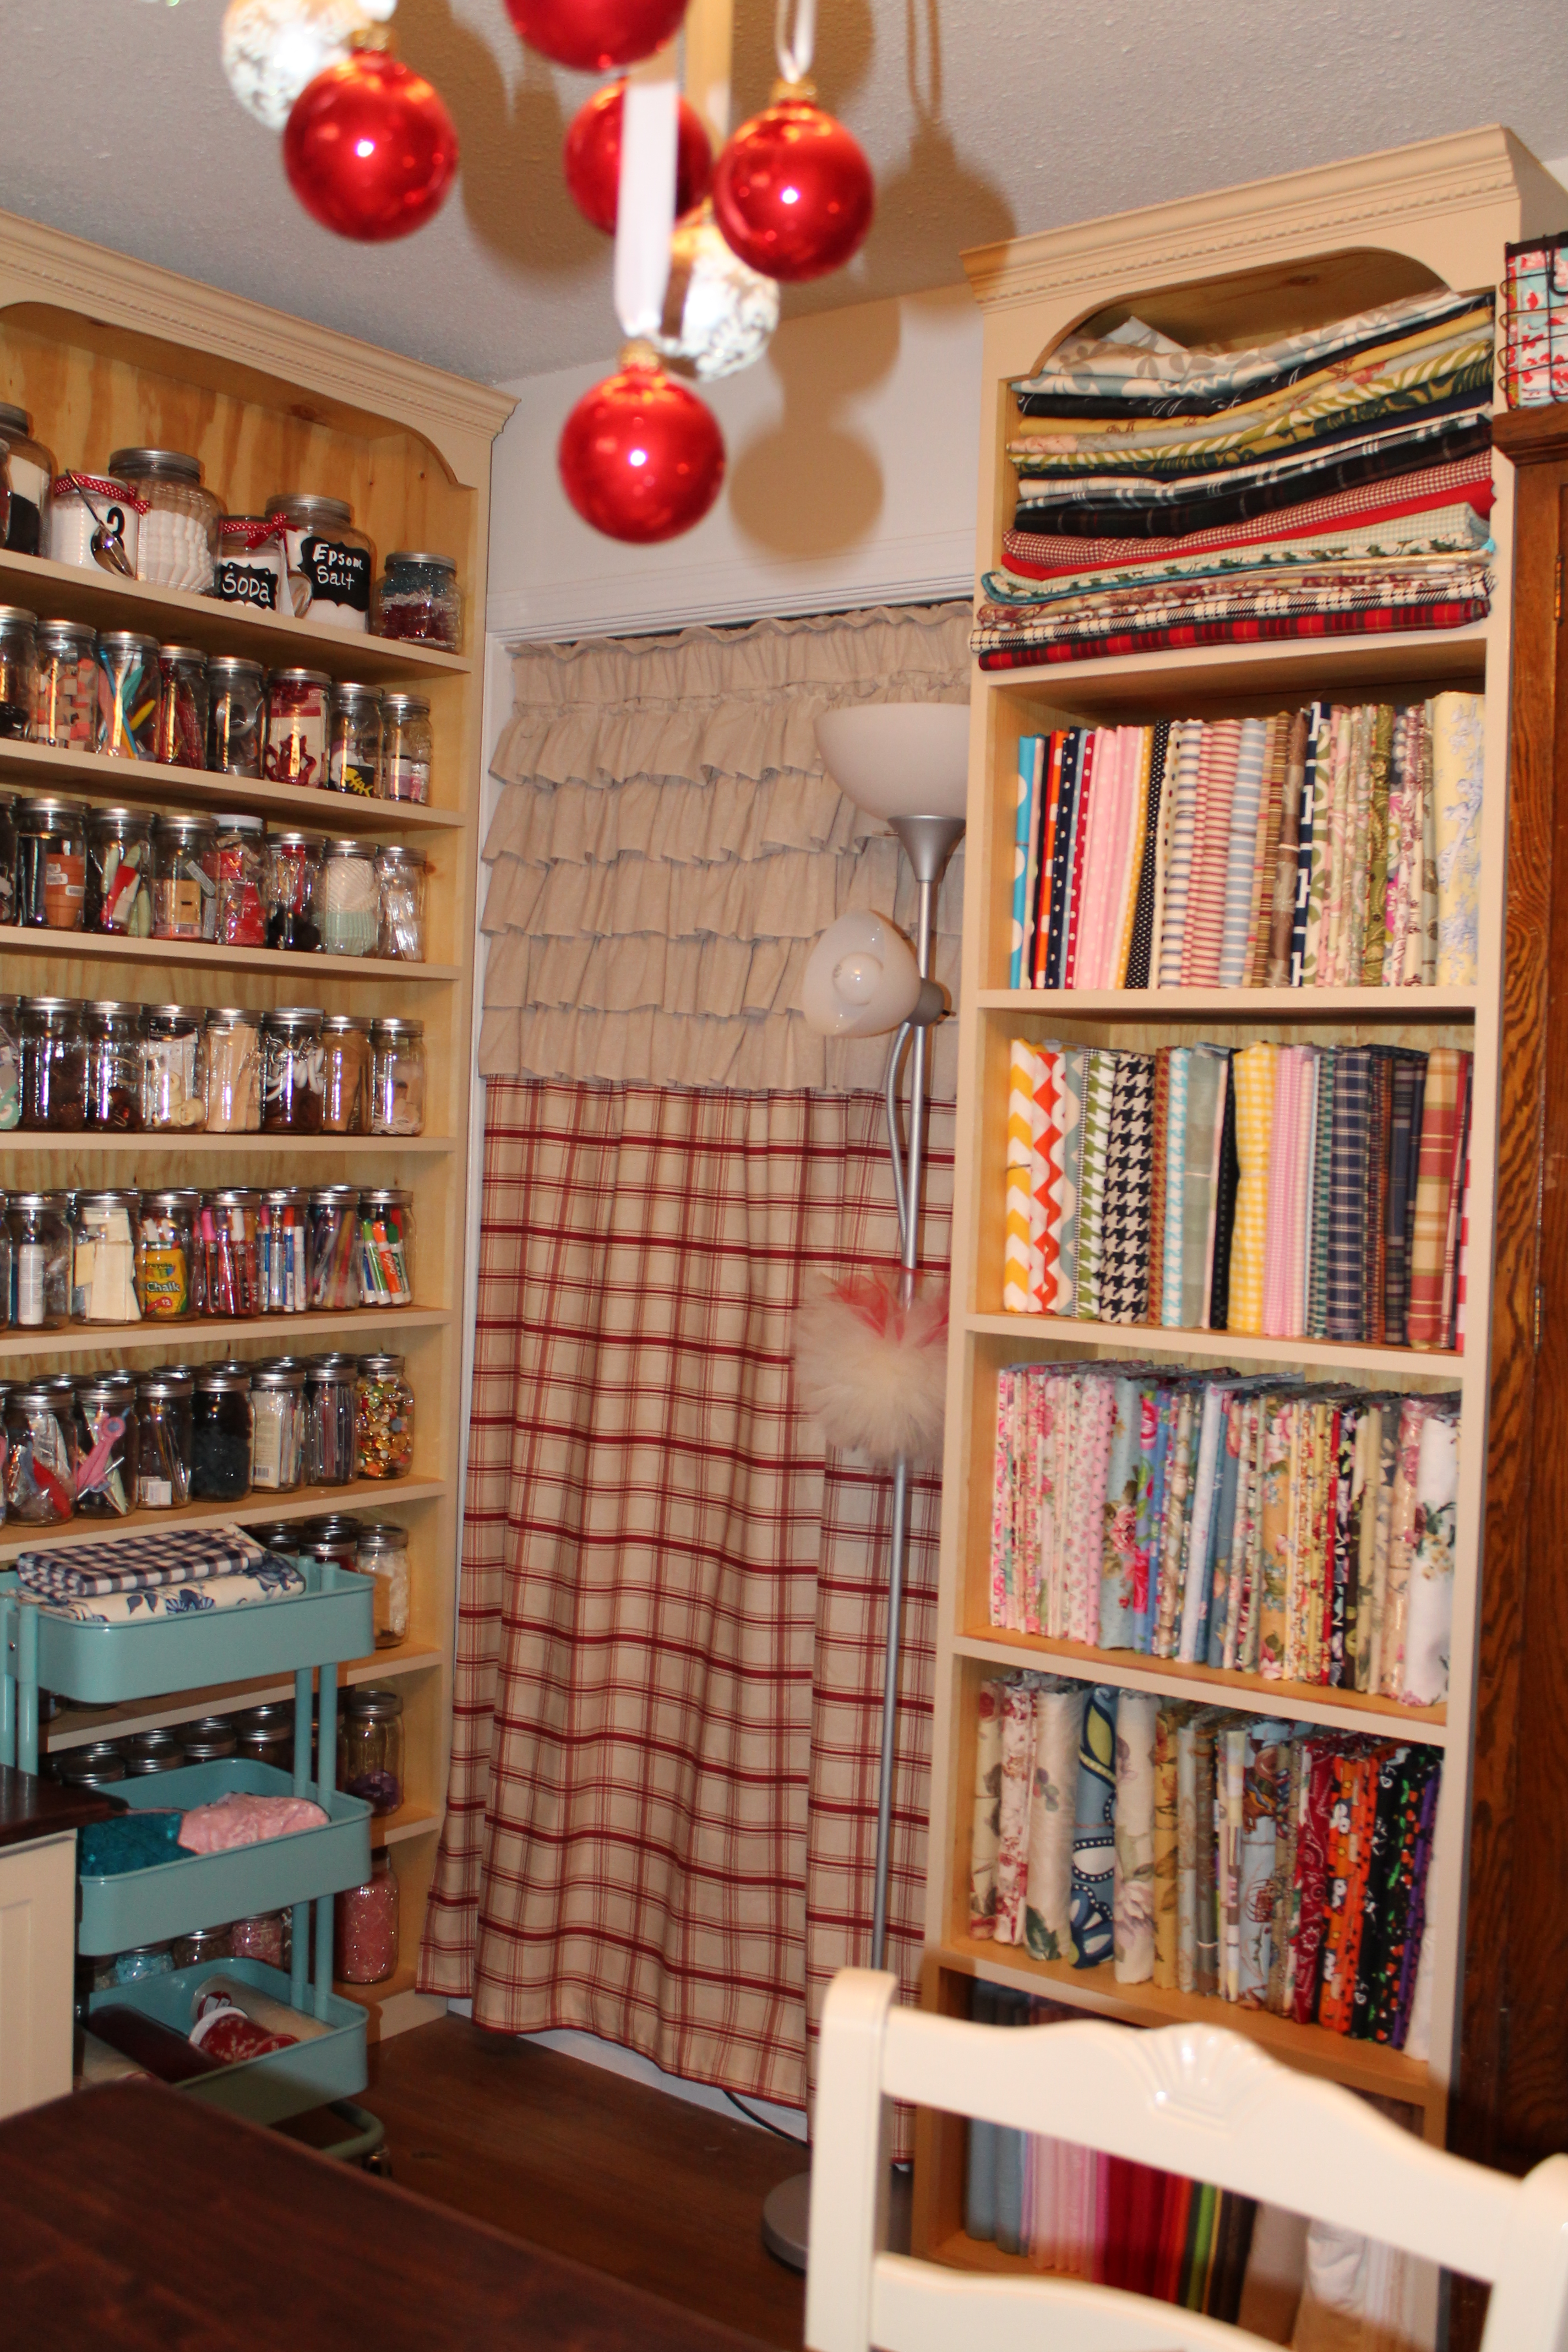
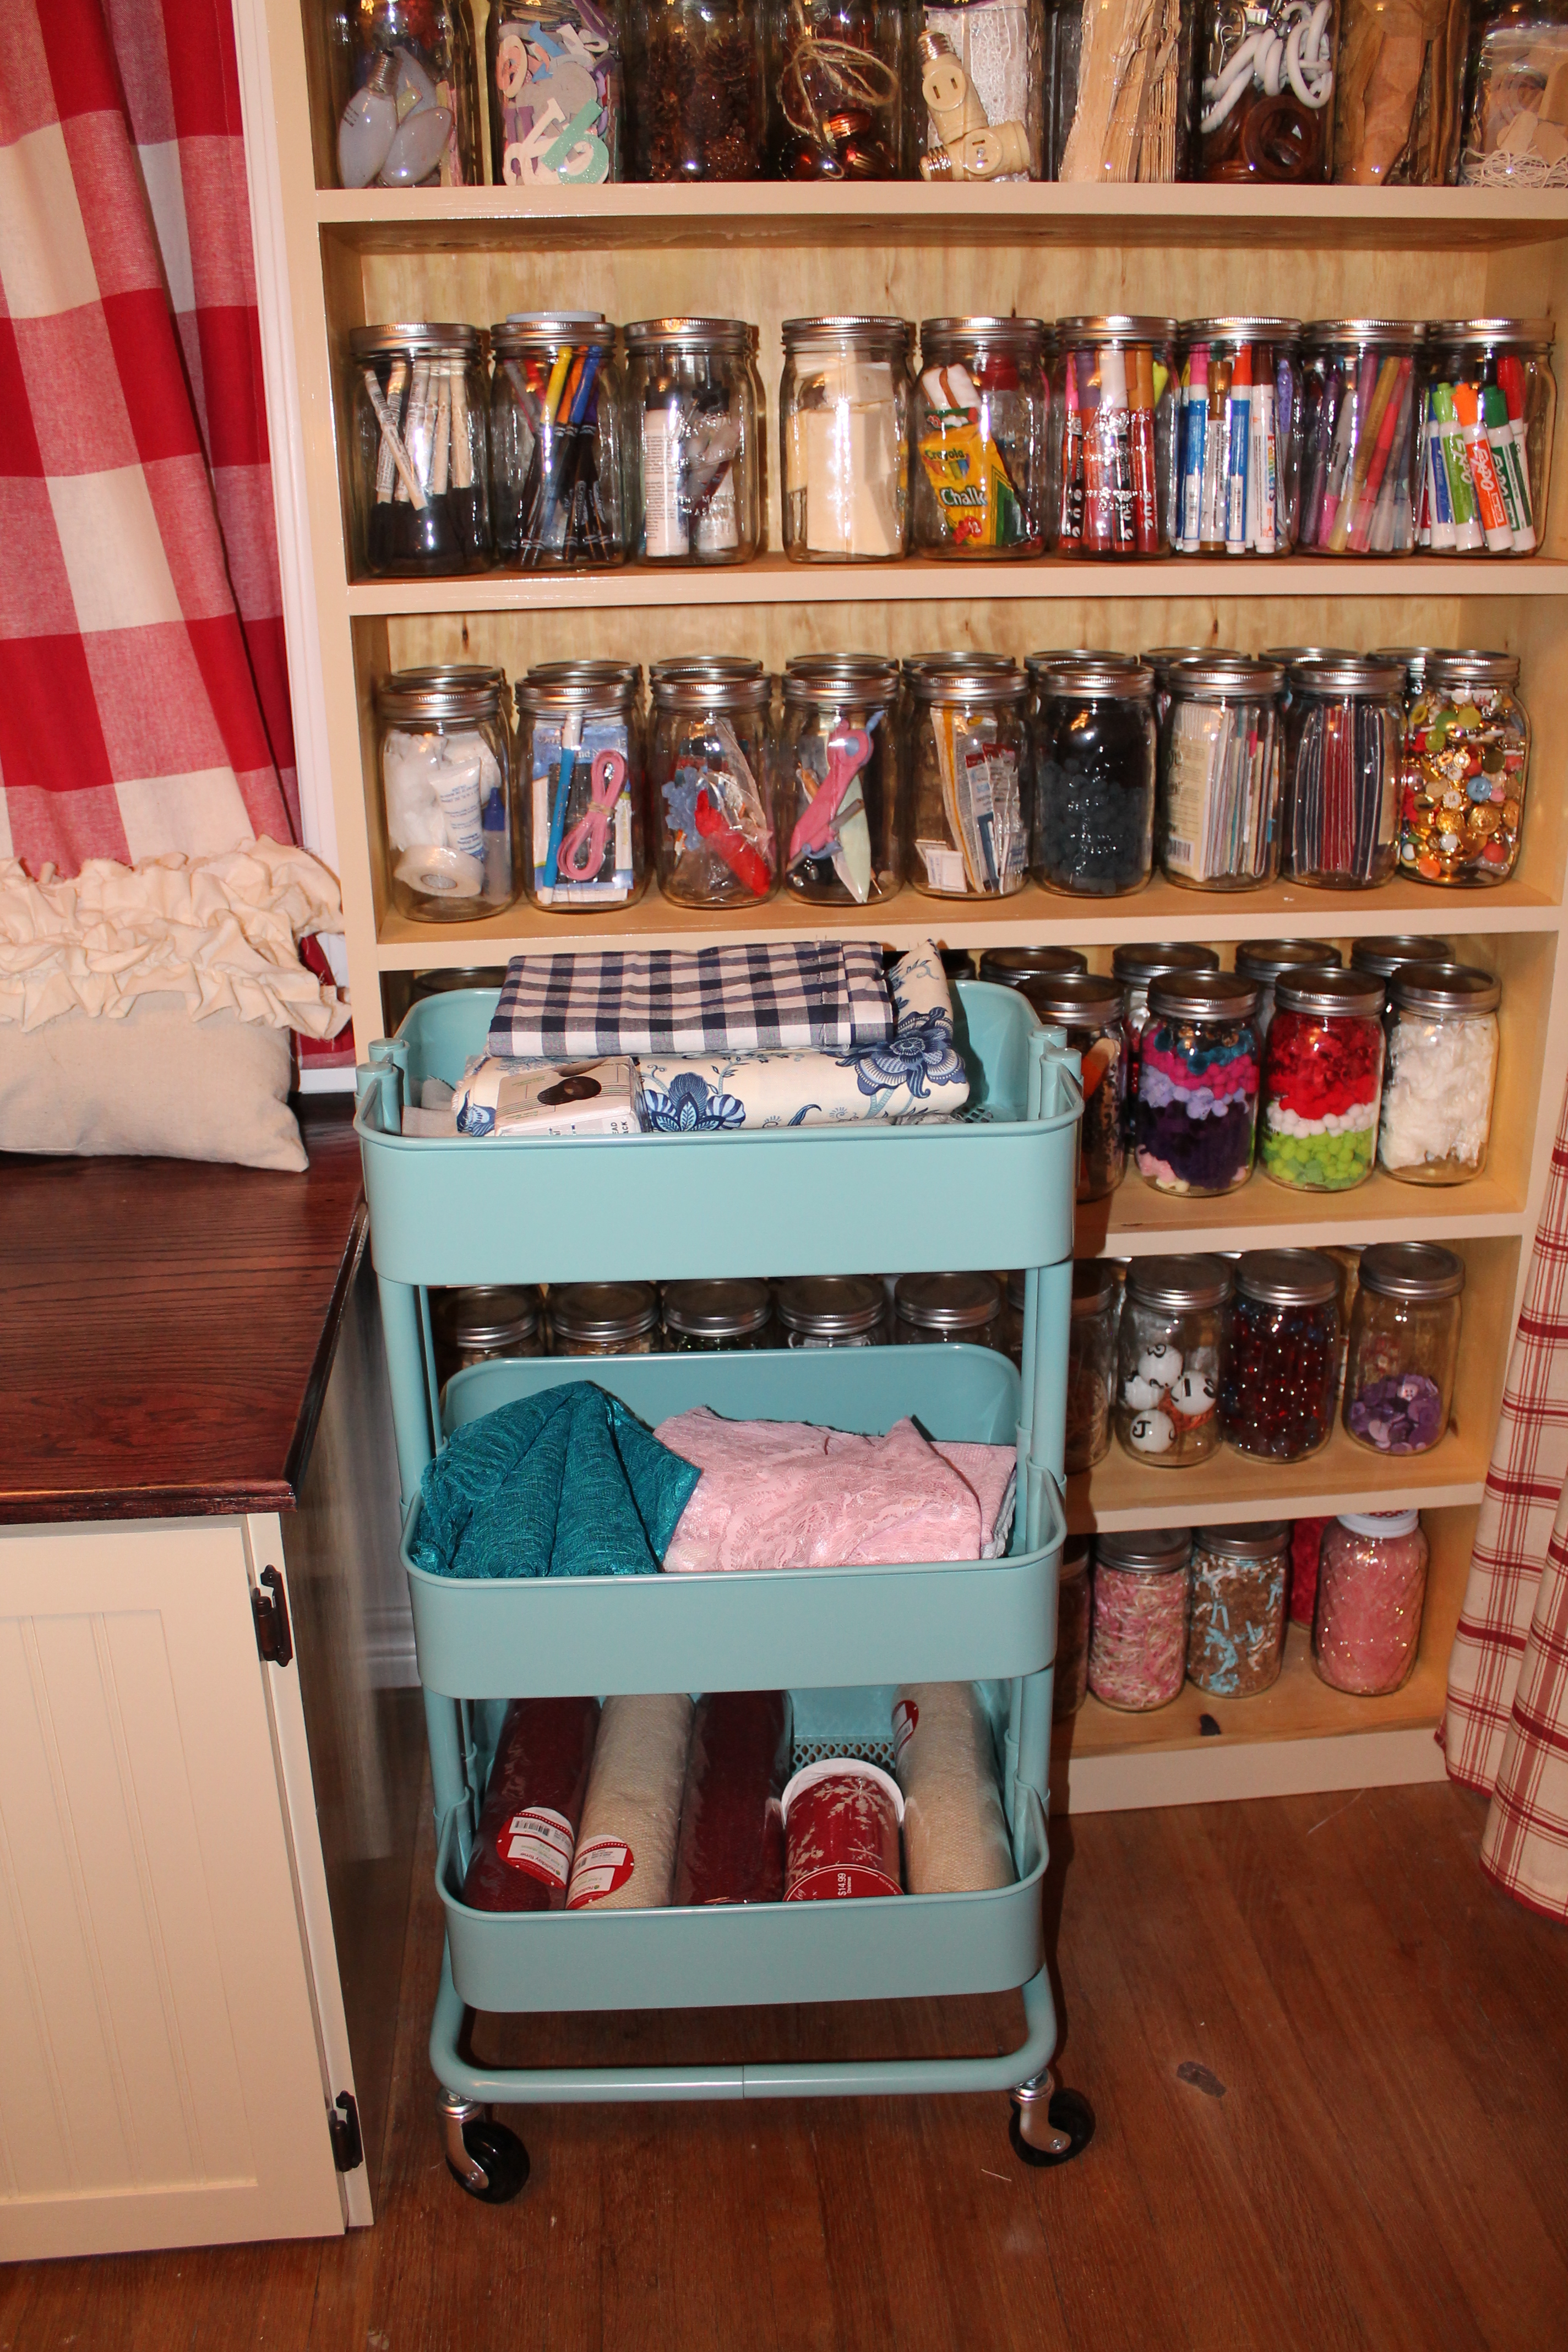
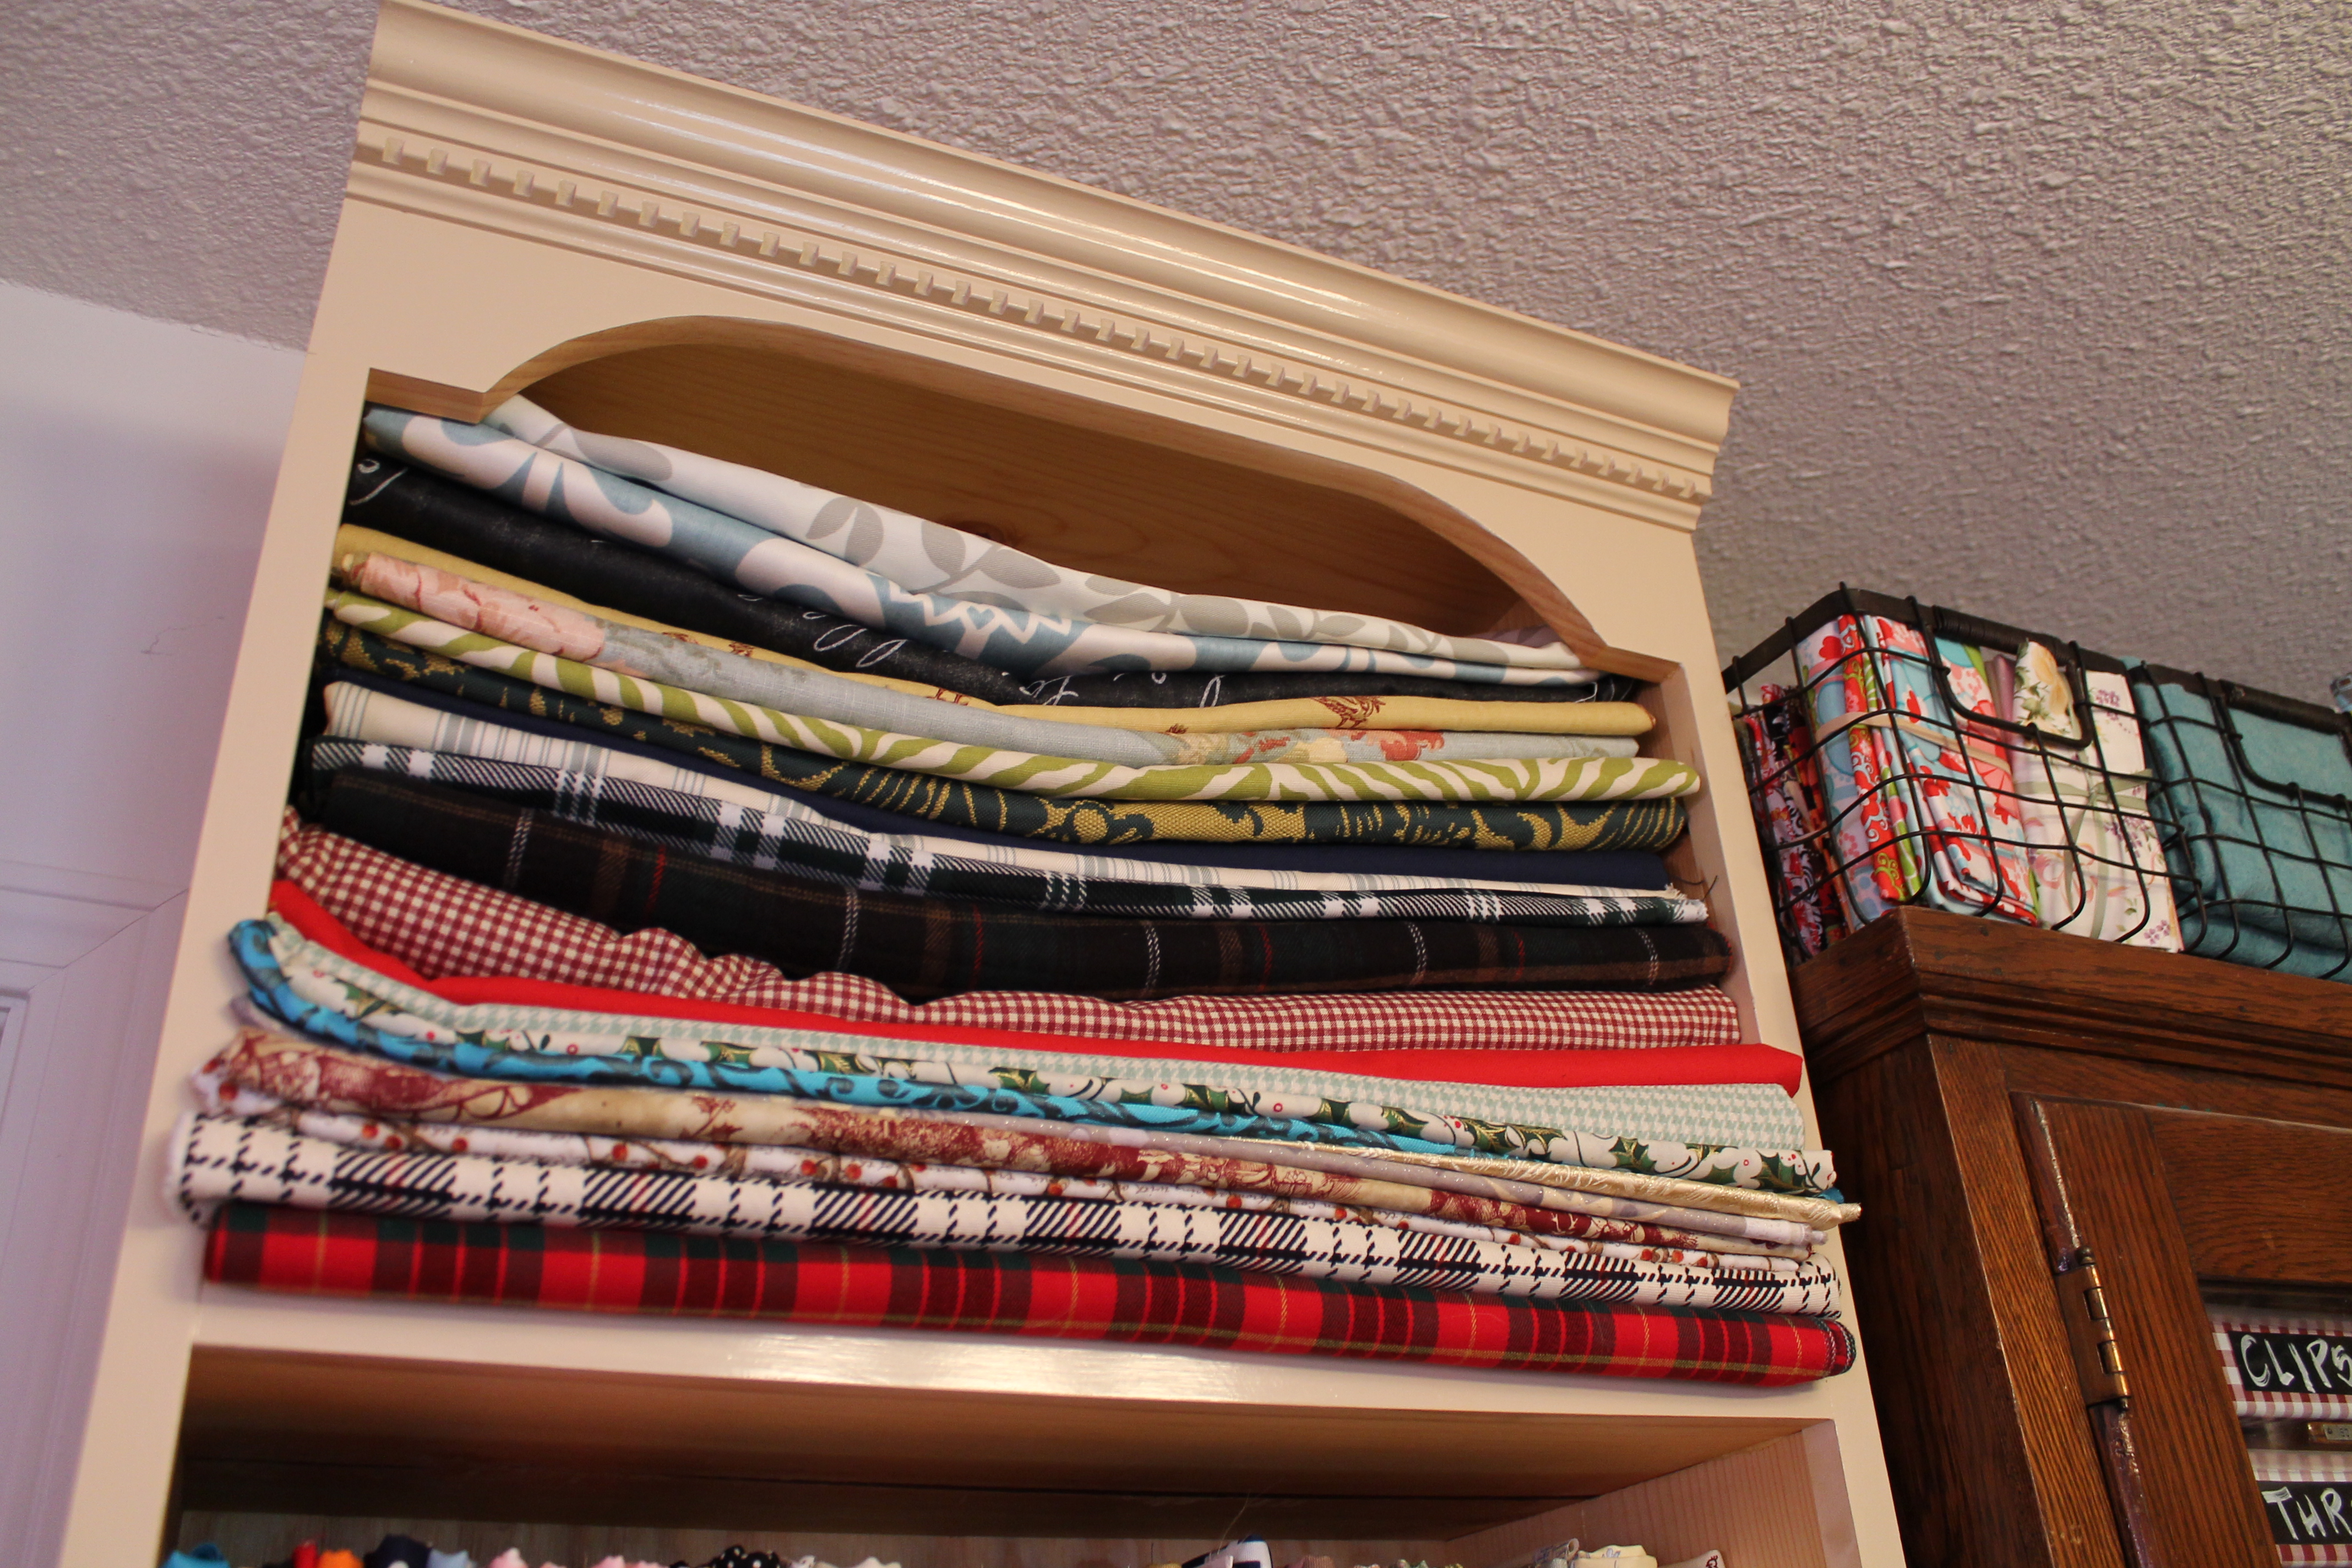
Around the other side, I have two window seats with storage underneath, and beside them is a shelf to hold mason jars. They are full of odds and ends that I use for crafting and home decor. It is amazing how much stuff you collect over the years, and these jars are stacked two deep! The cart is from Ikea and holds fabric I’m working on right now. The closet doors were old and heavy, like Thor’s hammer heavy, so we took them out, and I sewed a curtain to cover the closet. Next to that is a shelf for my fabric. I keep it folded on comic book boards, so he built it to dimension.

new craft room 2 020

new craft room 2 026

100 097  087 083 077

094

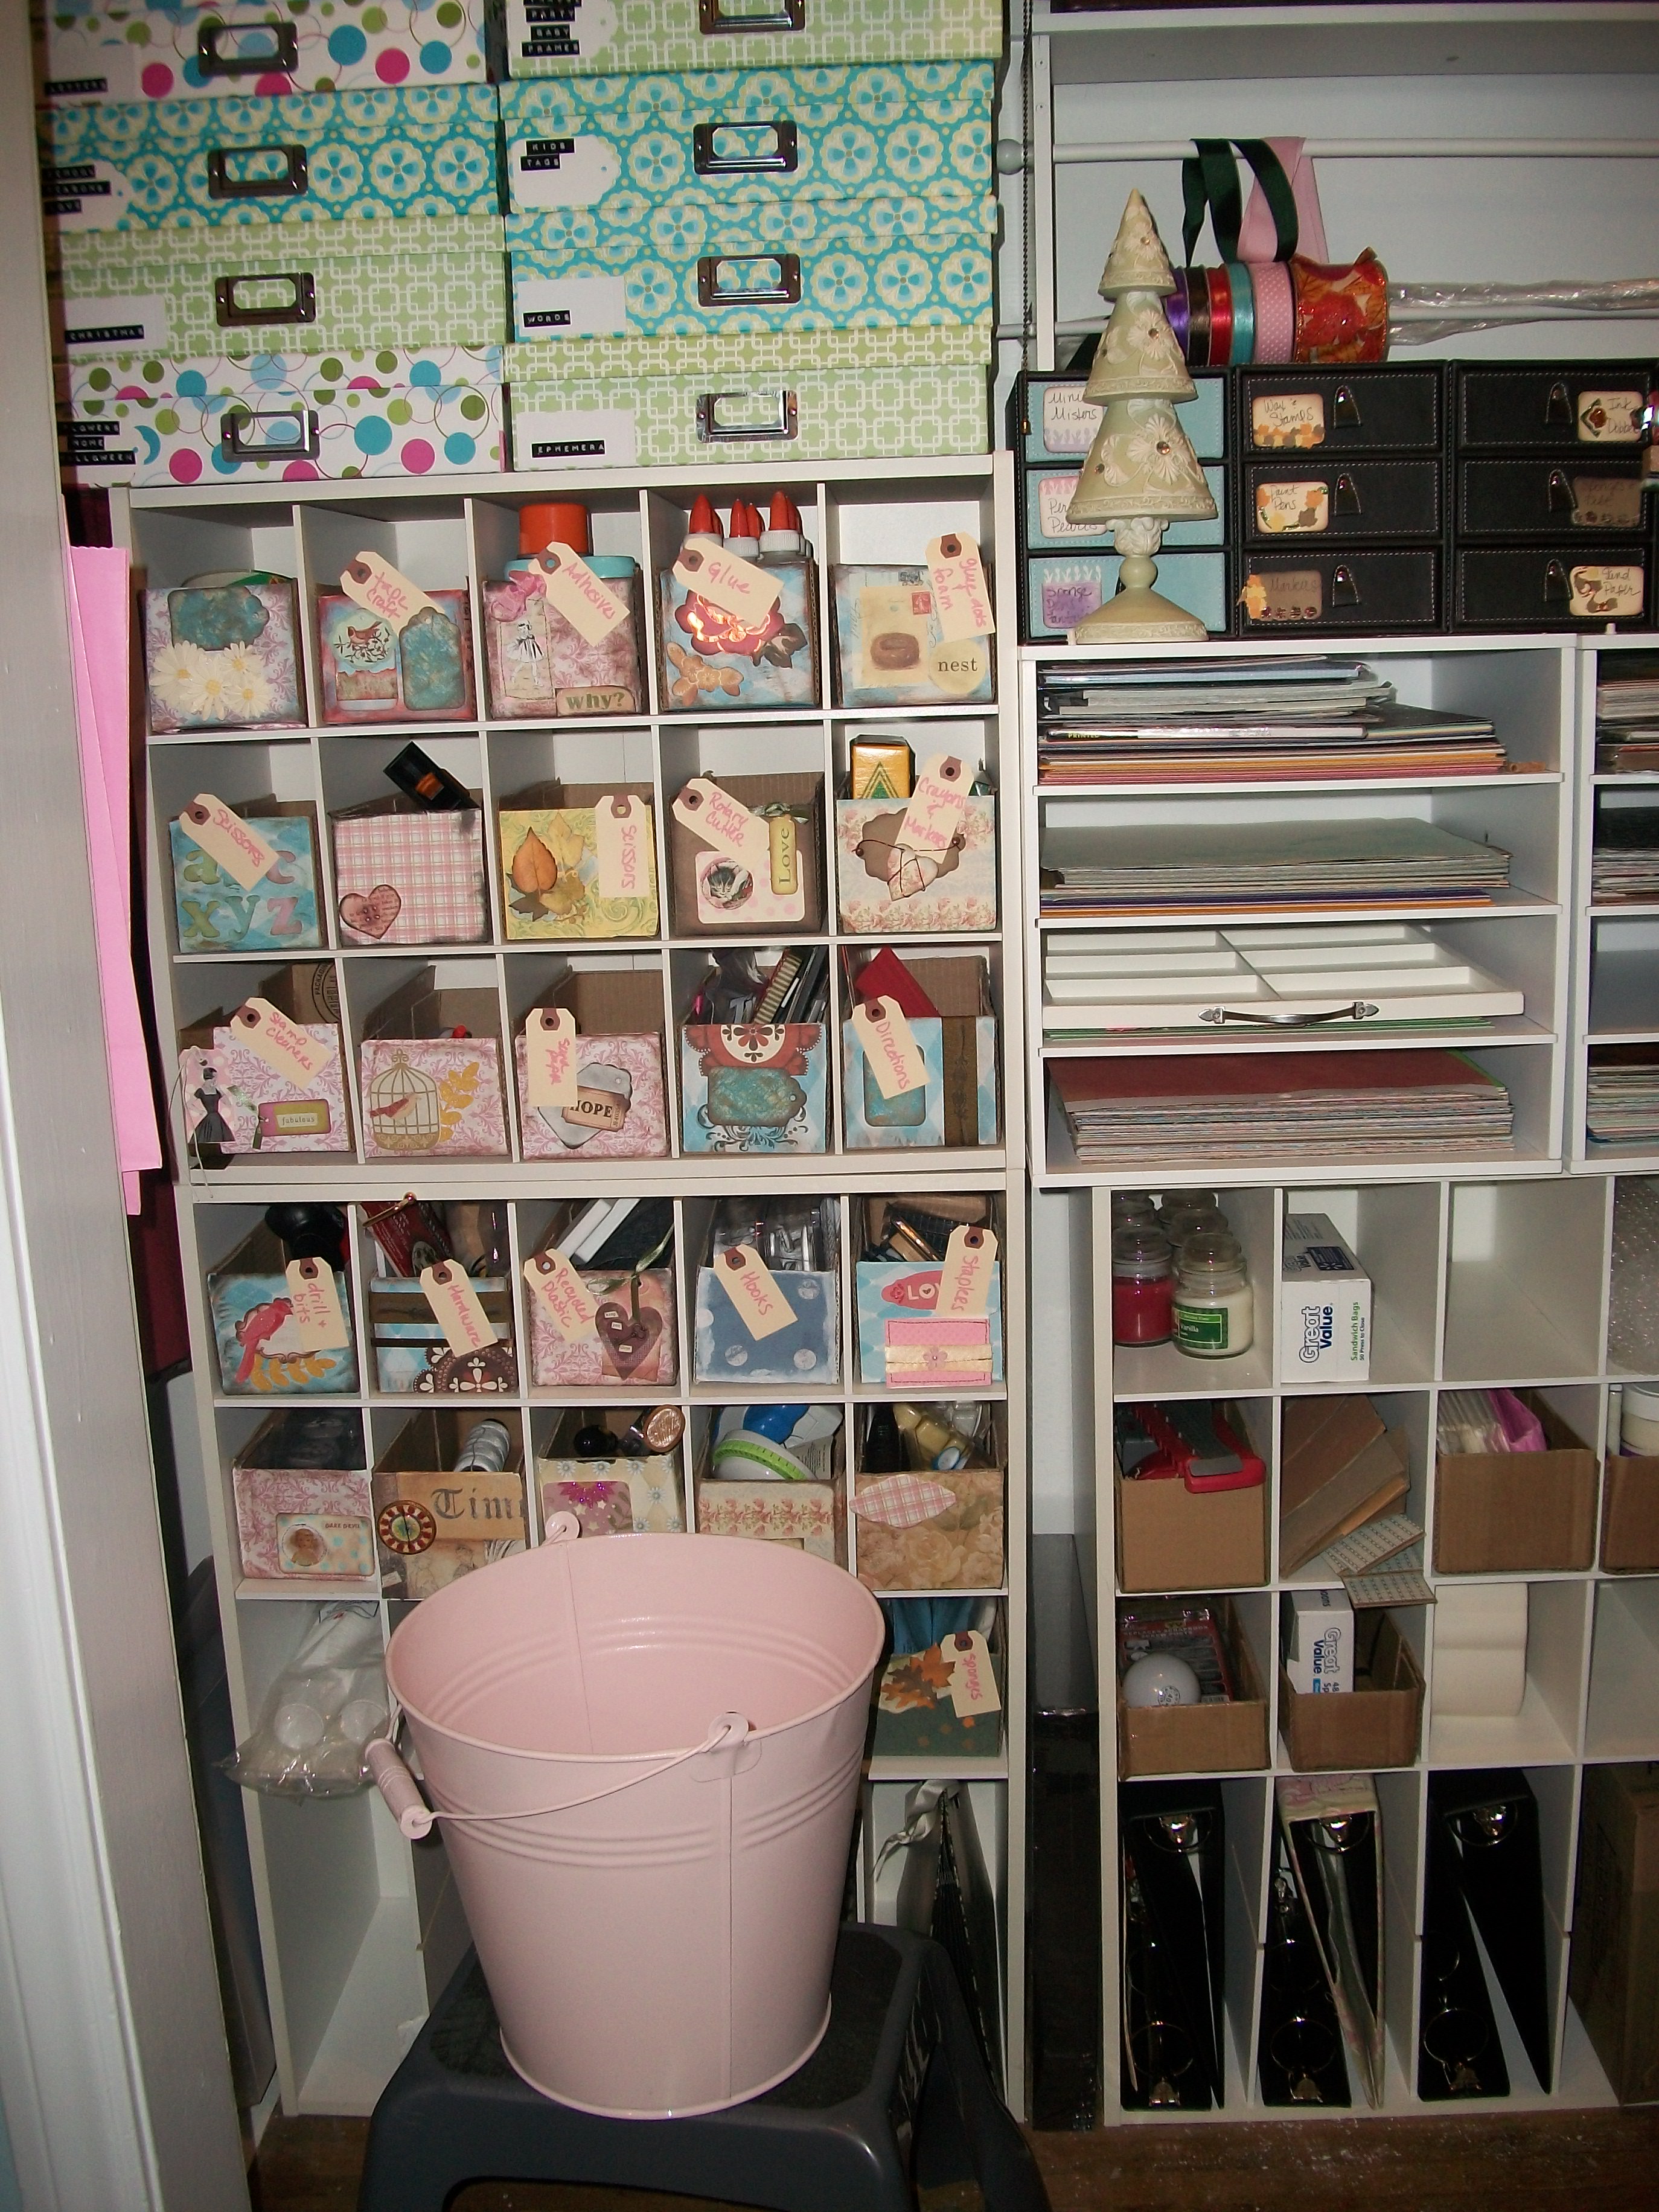
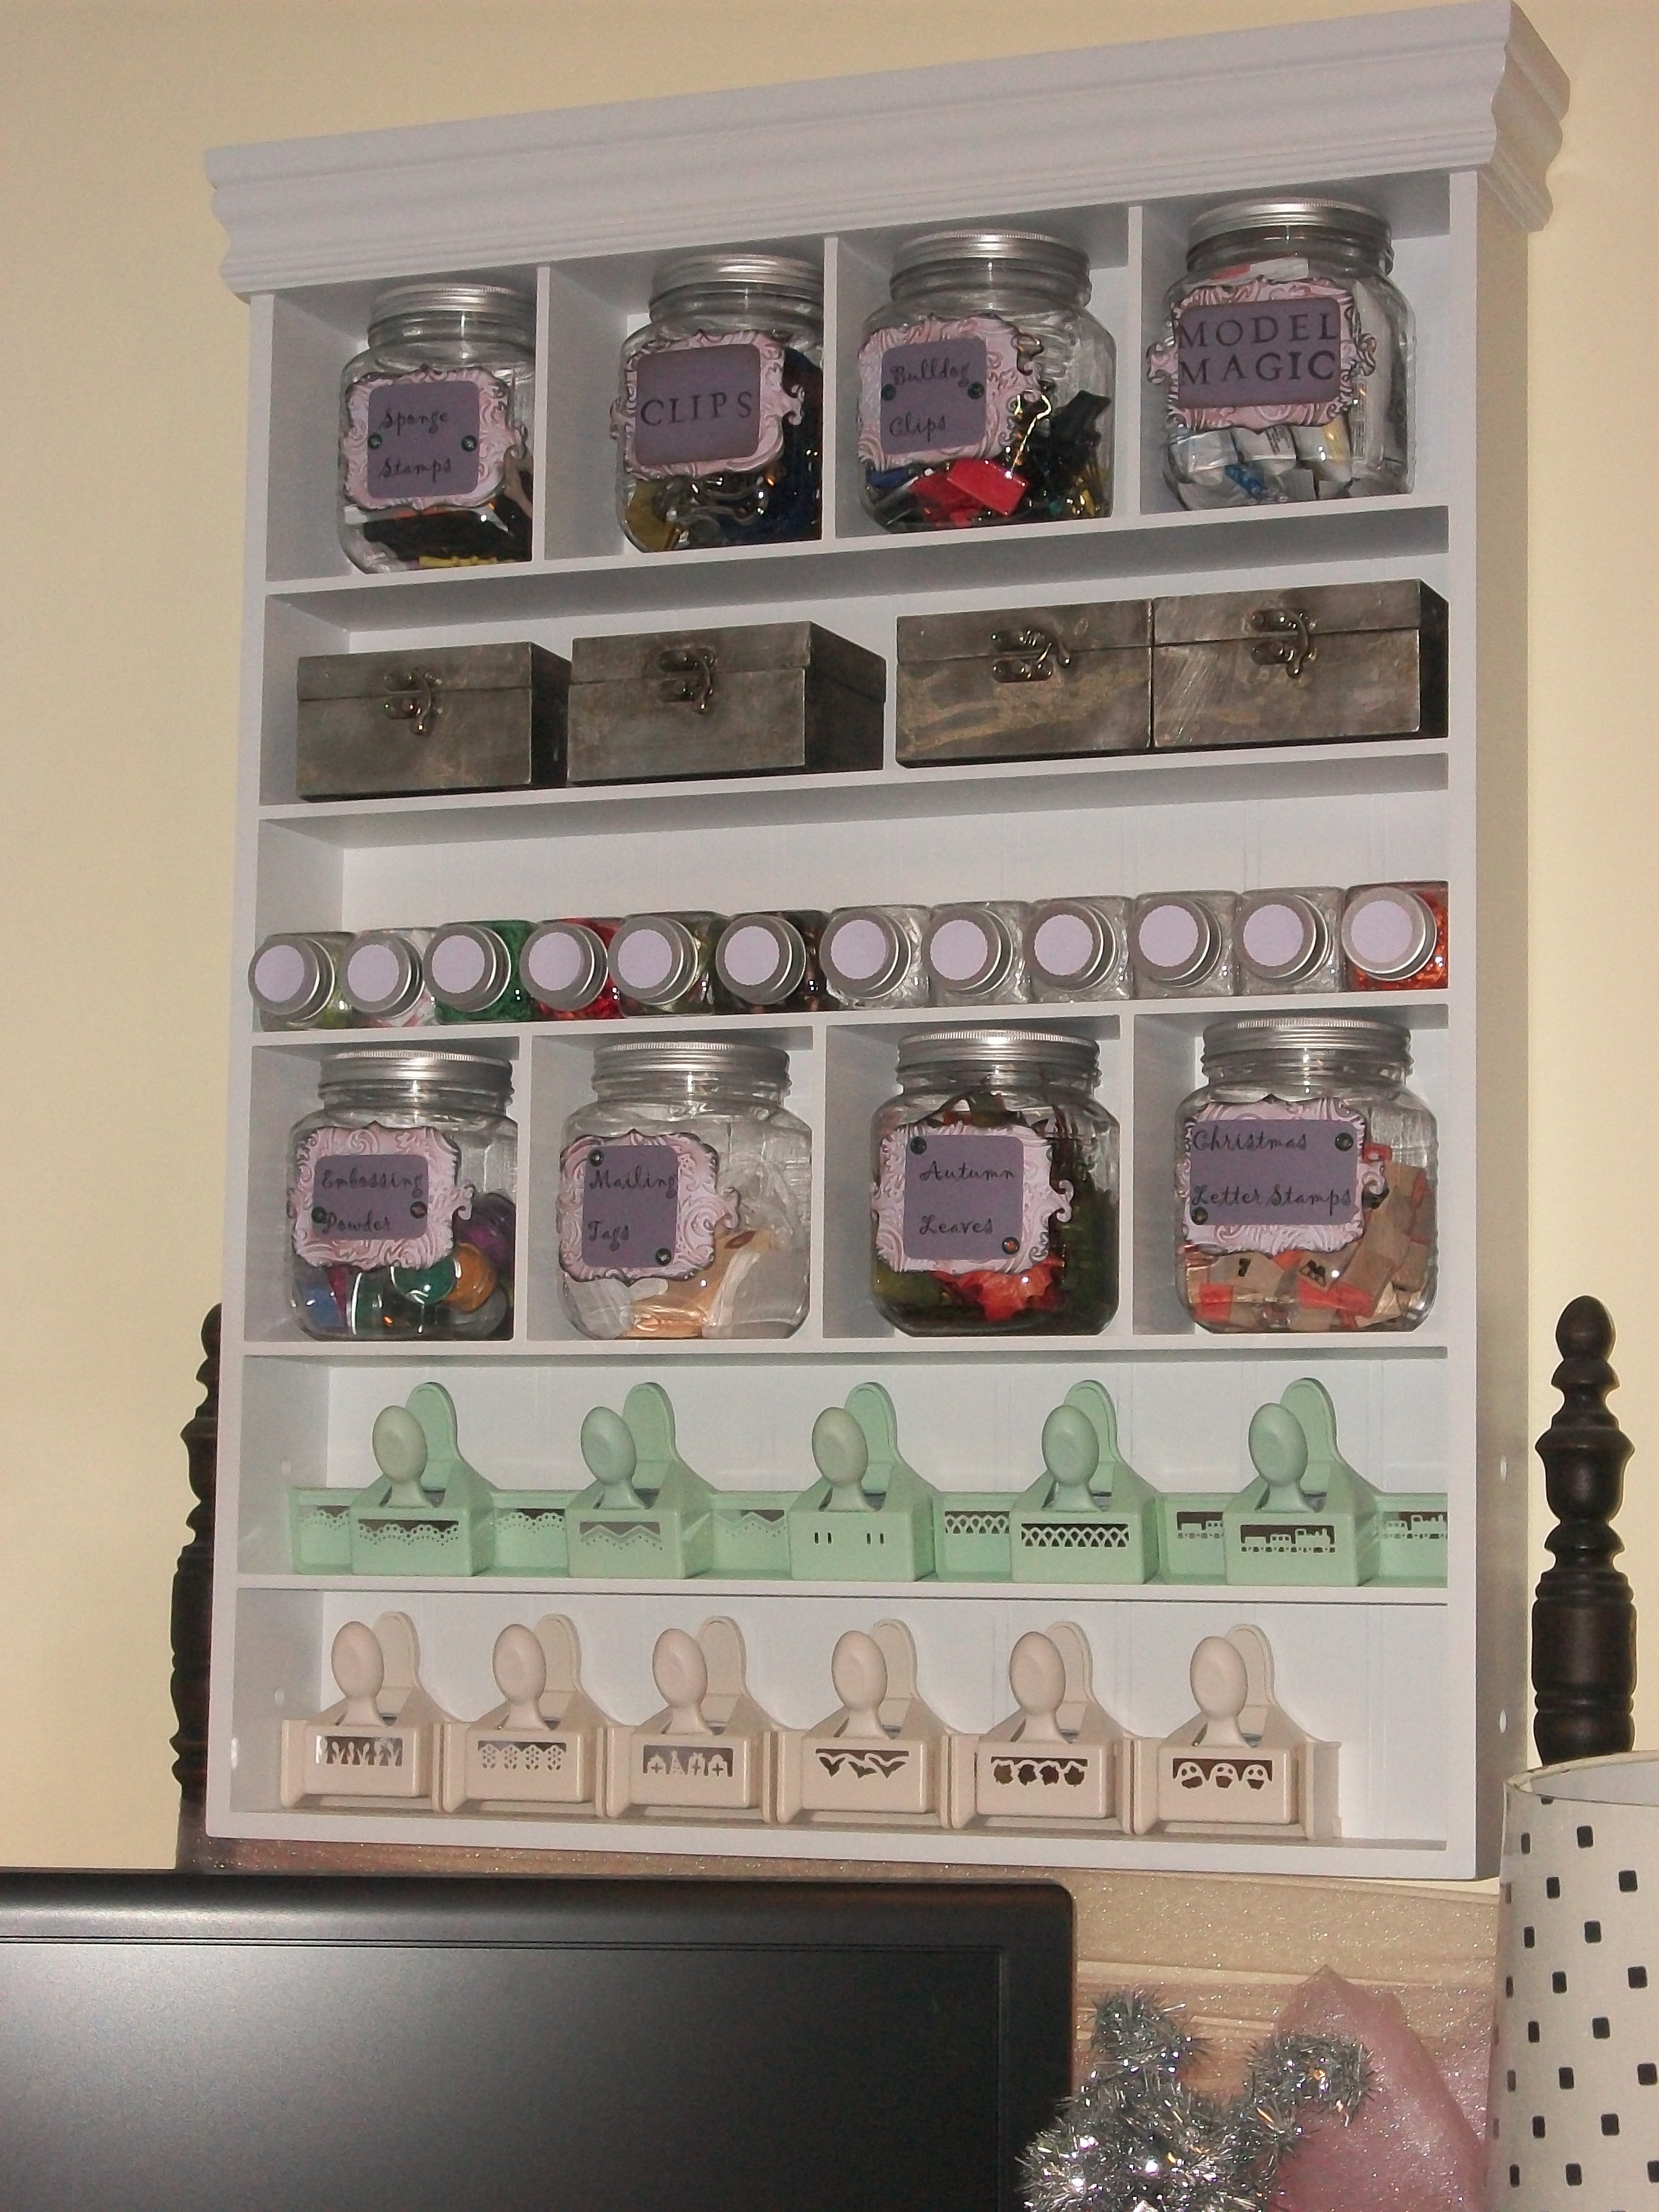
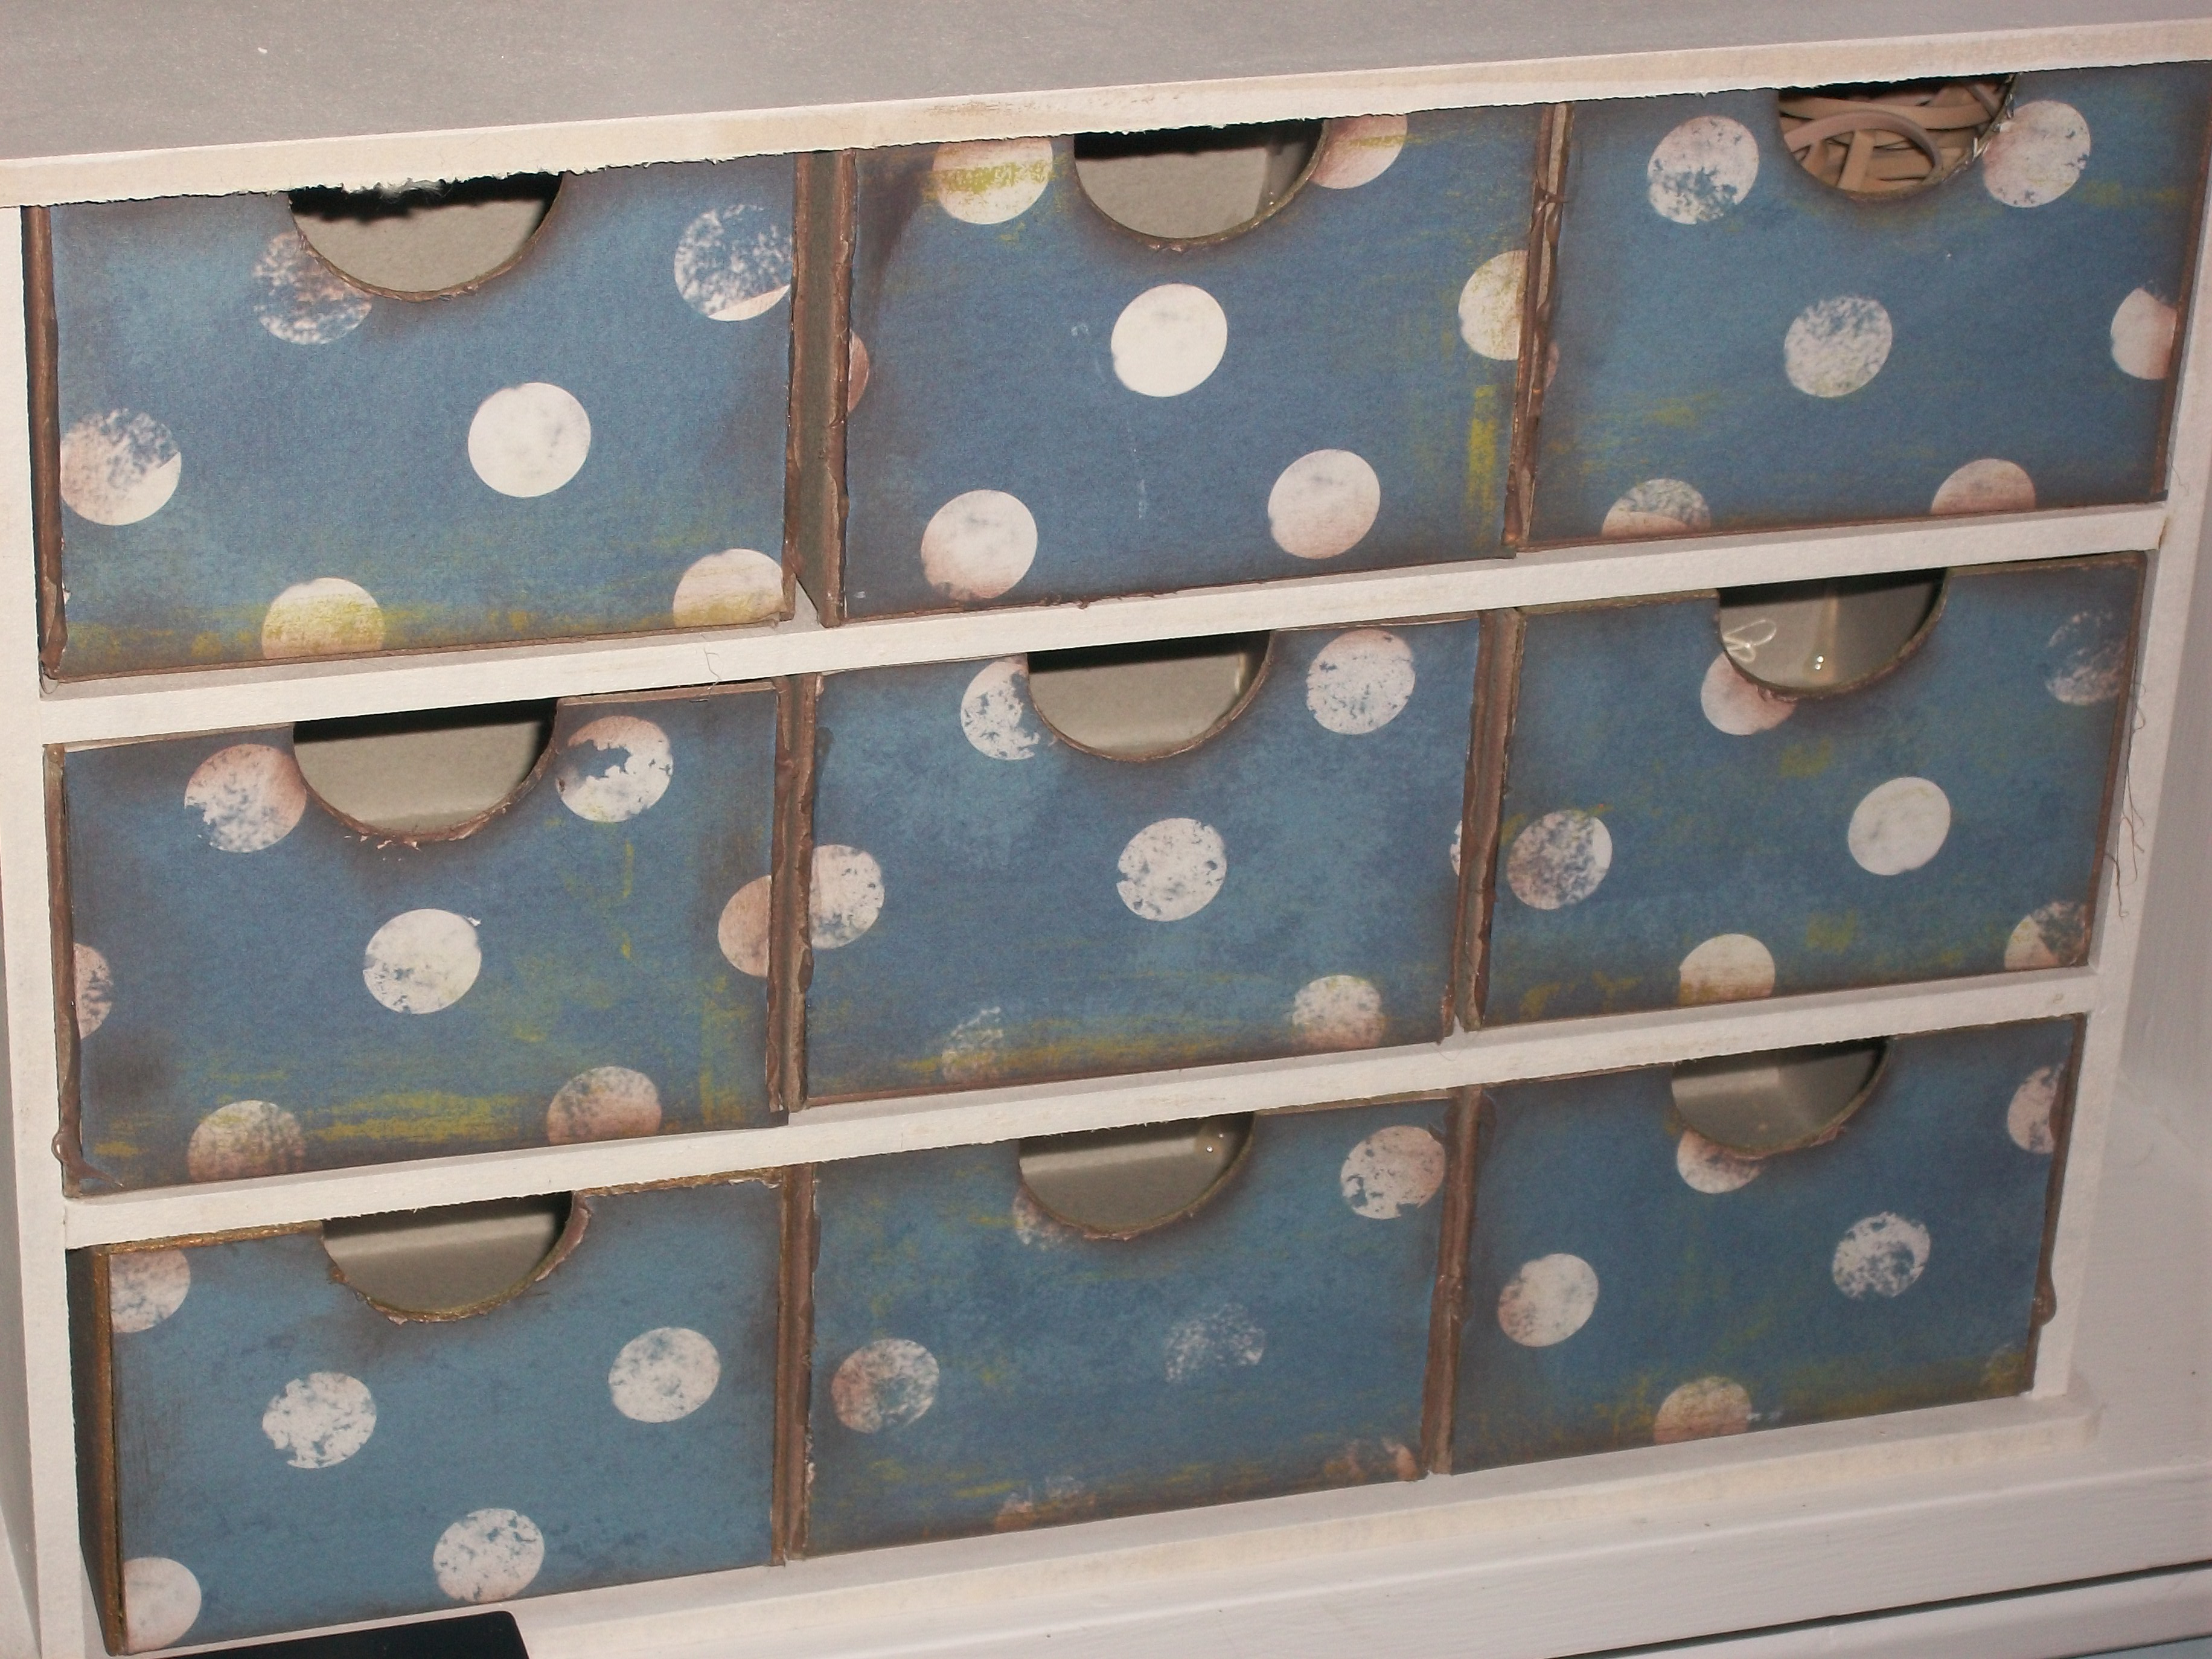
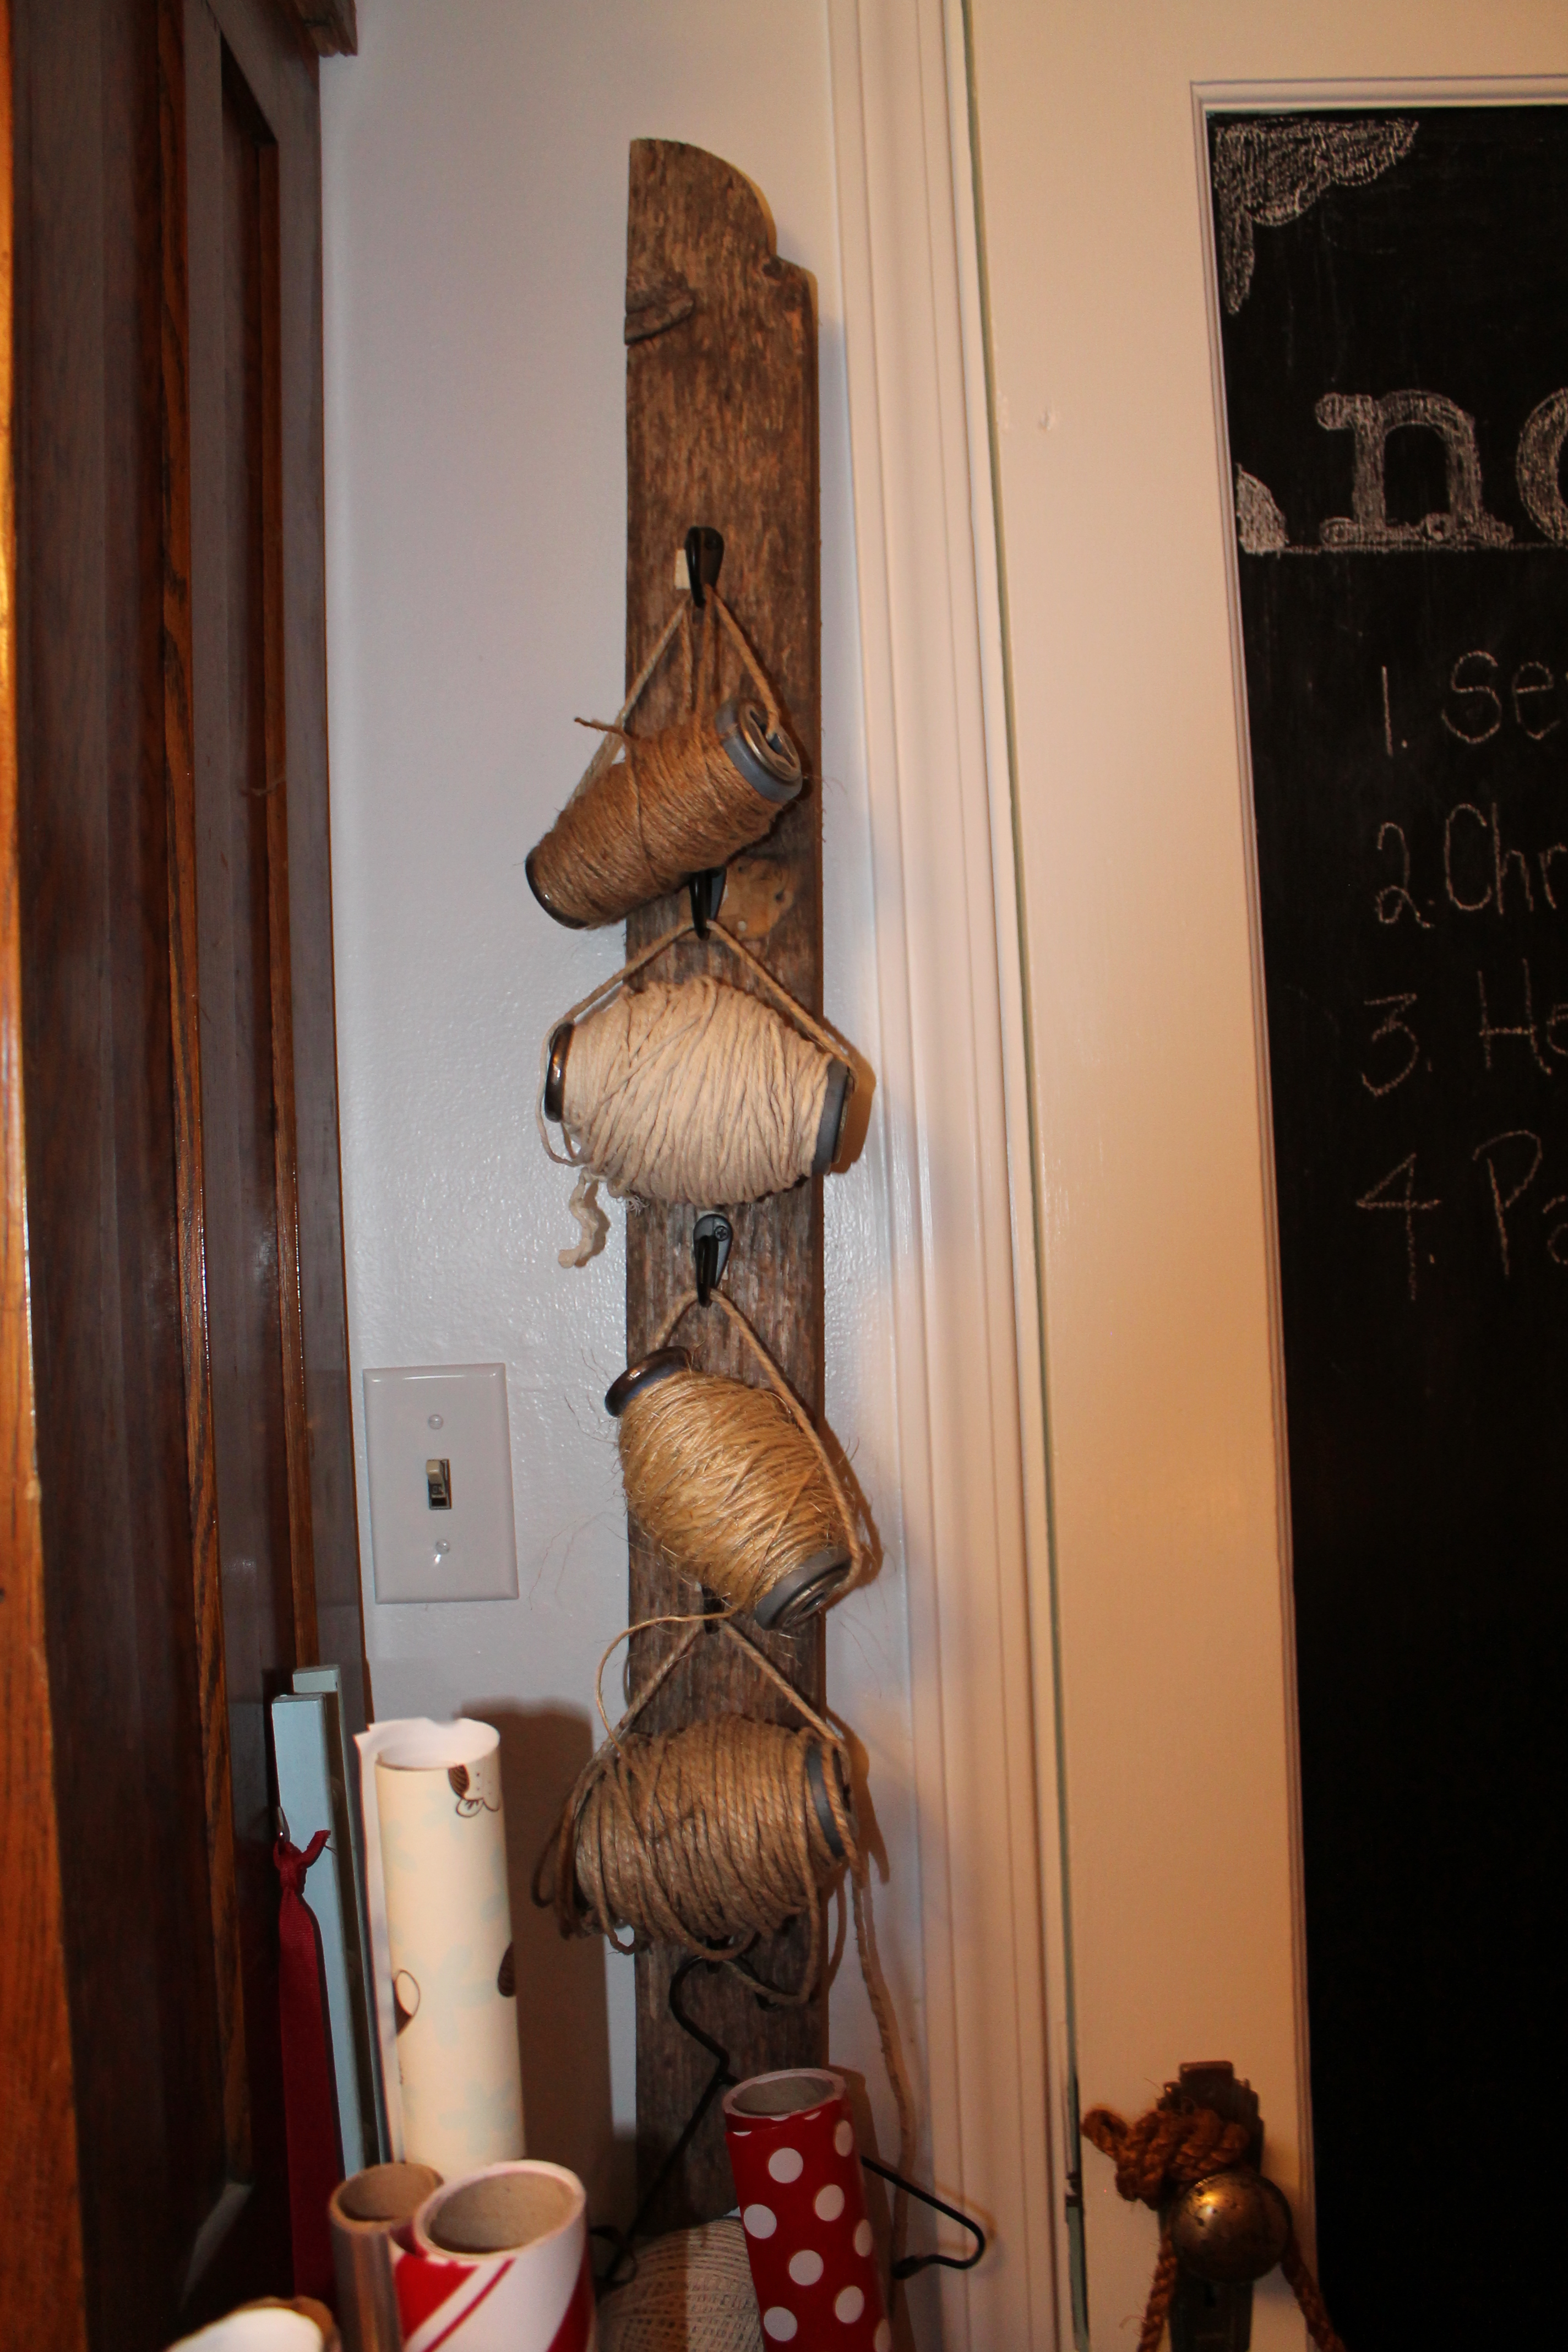
This is the side by the door, which I painted with chalkboard paint that makes it a workable place to keep notes. The music cabinet holds plastic boxes with little bits for paper crafts, buttons, small tools, and other things. Underneath I keep large buckets of paint. The little rolling cart beside it holds wrapping paper.

new craft room 2 031

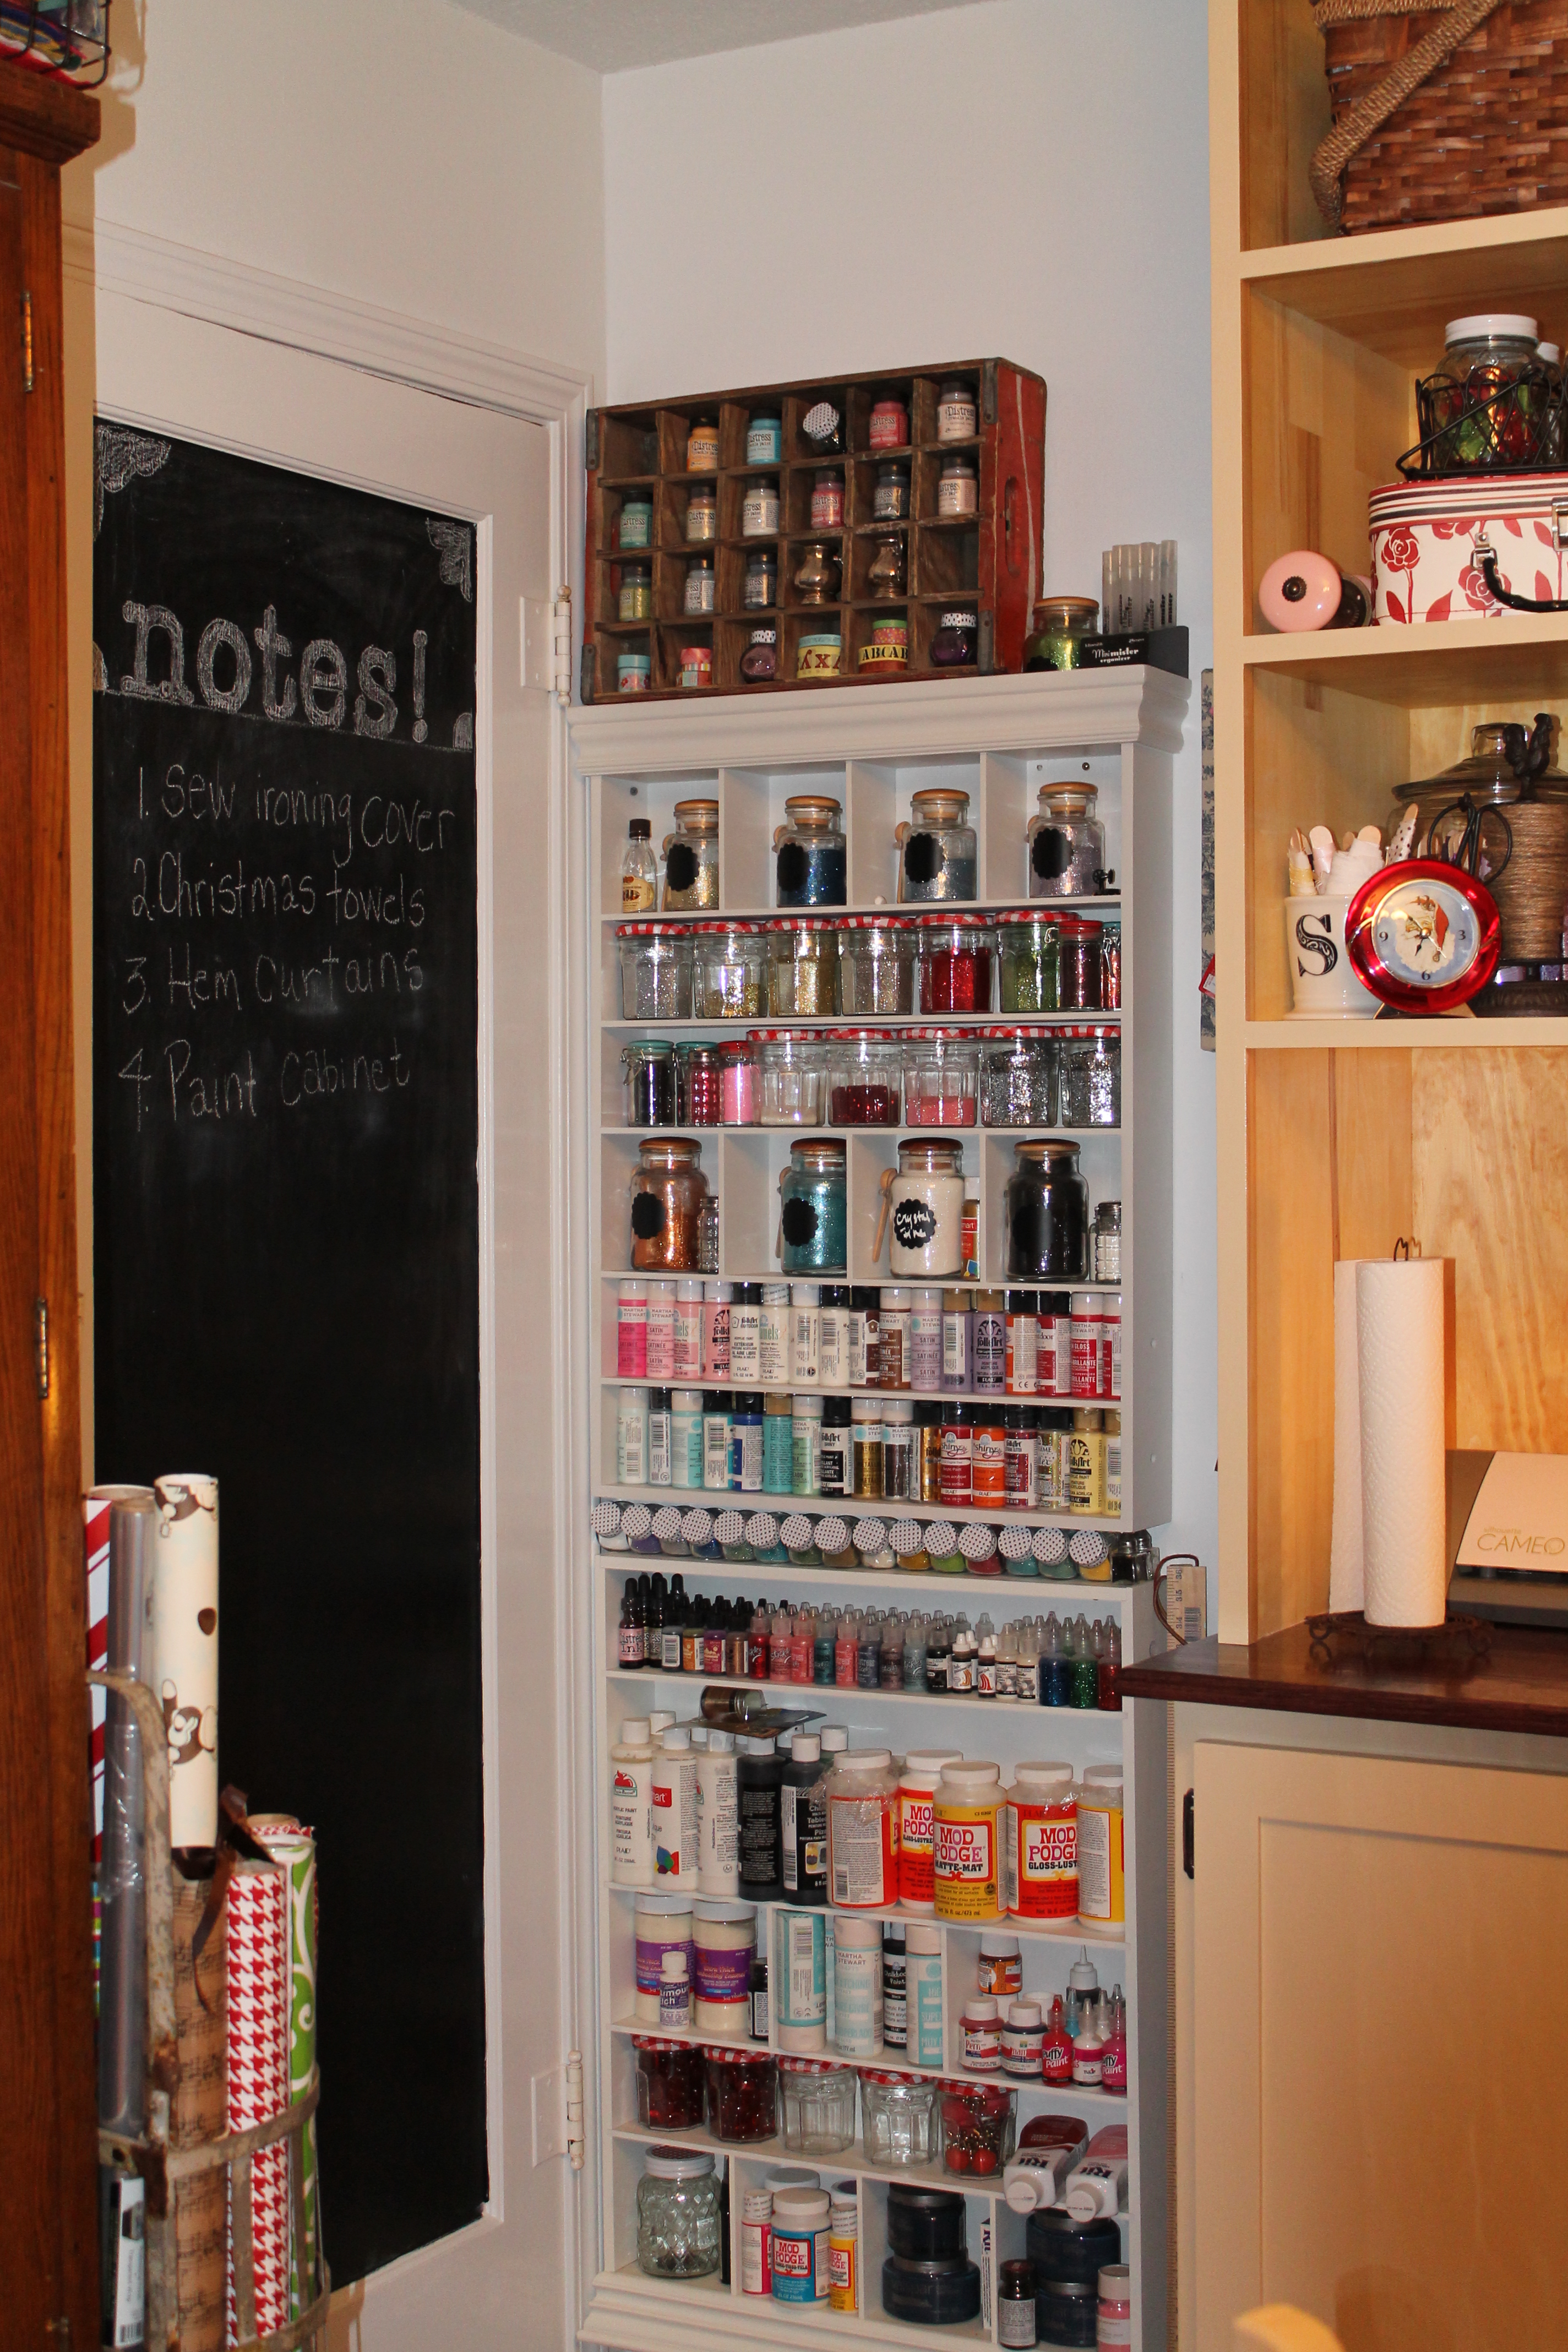
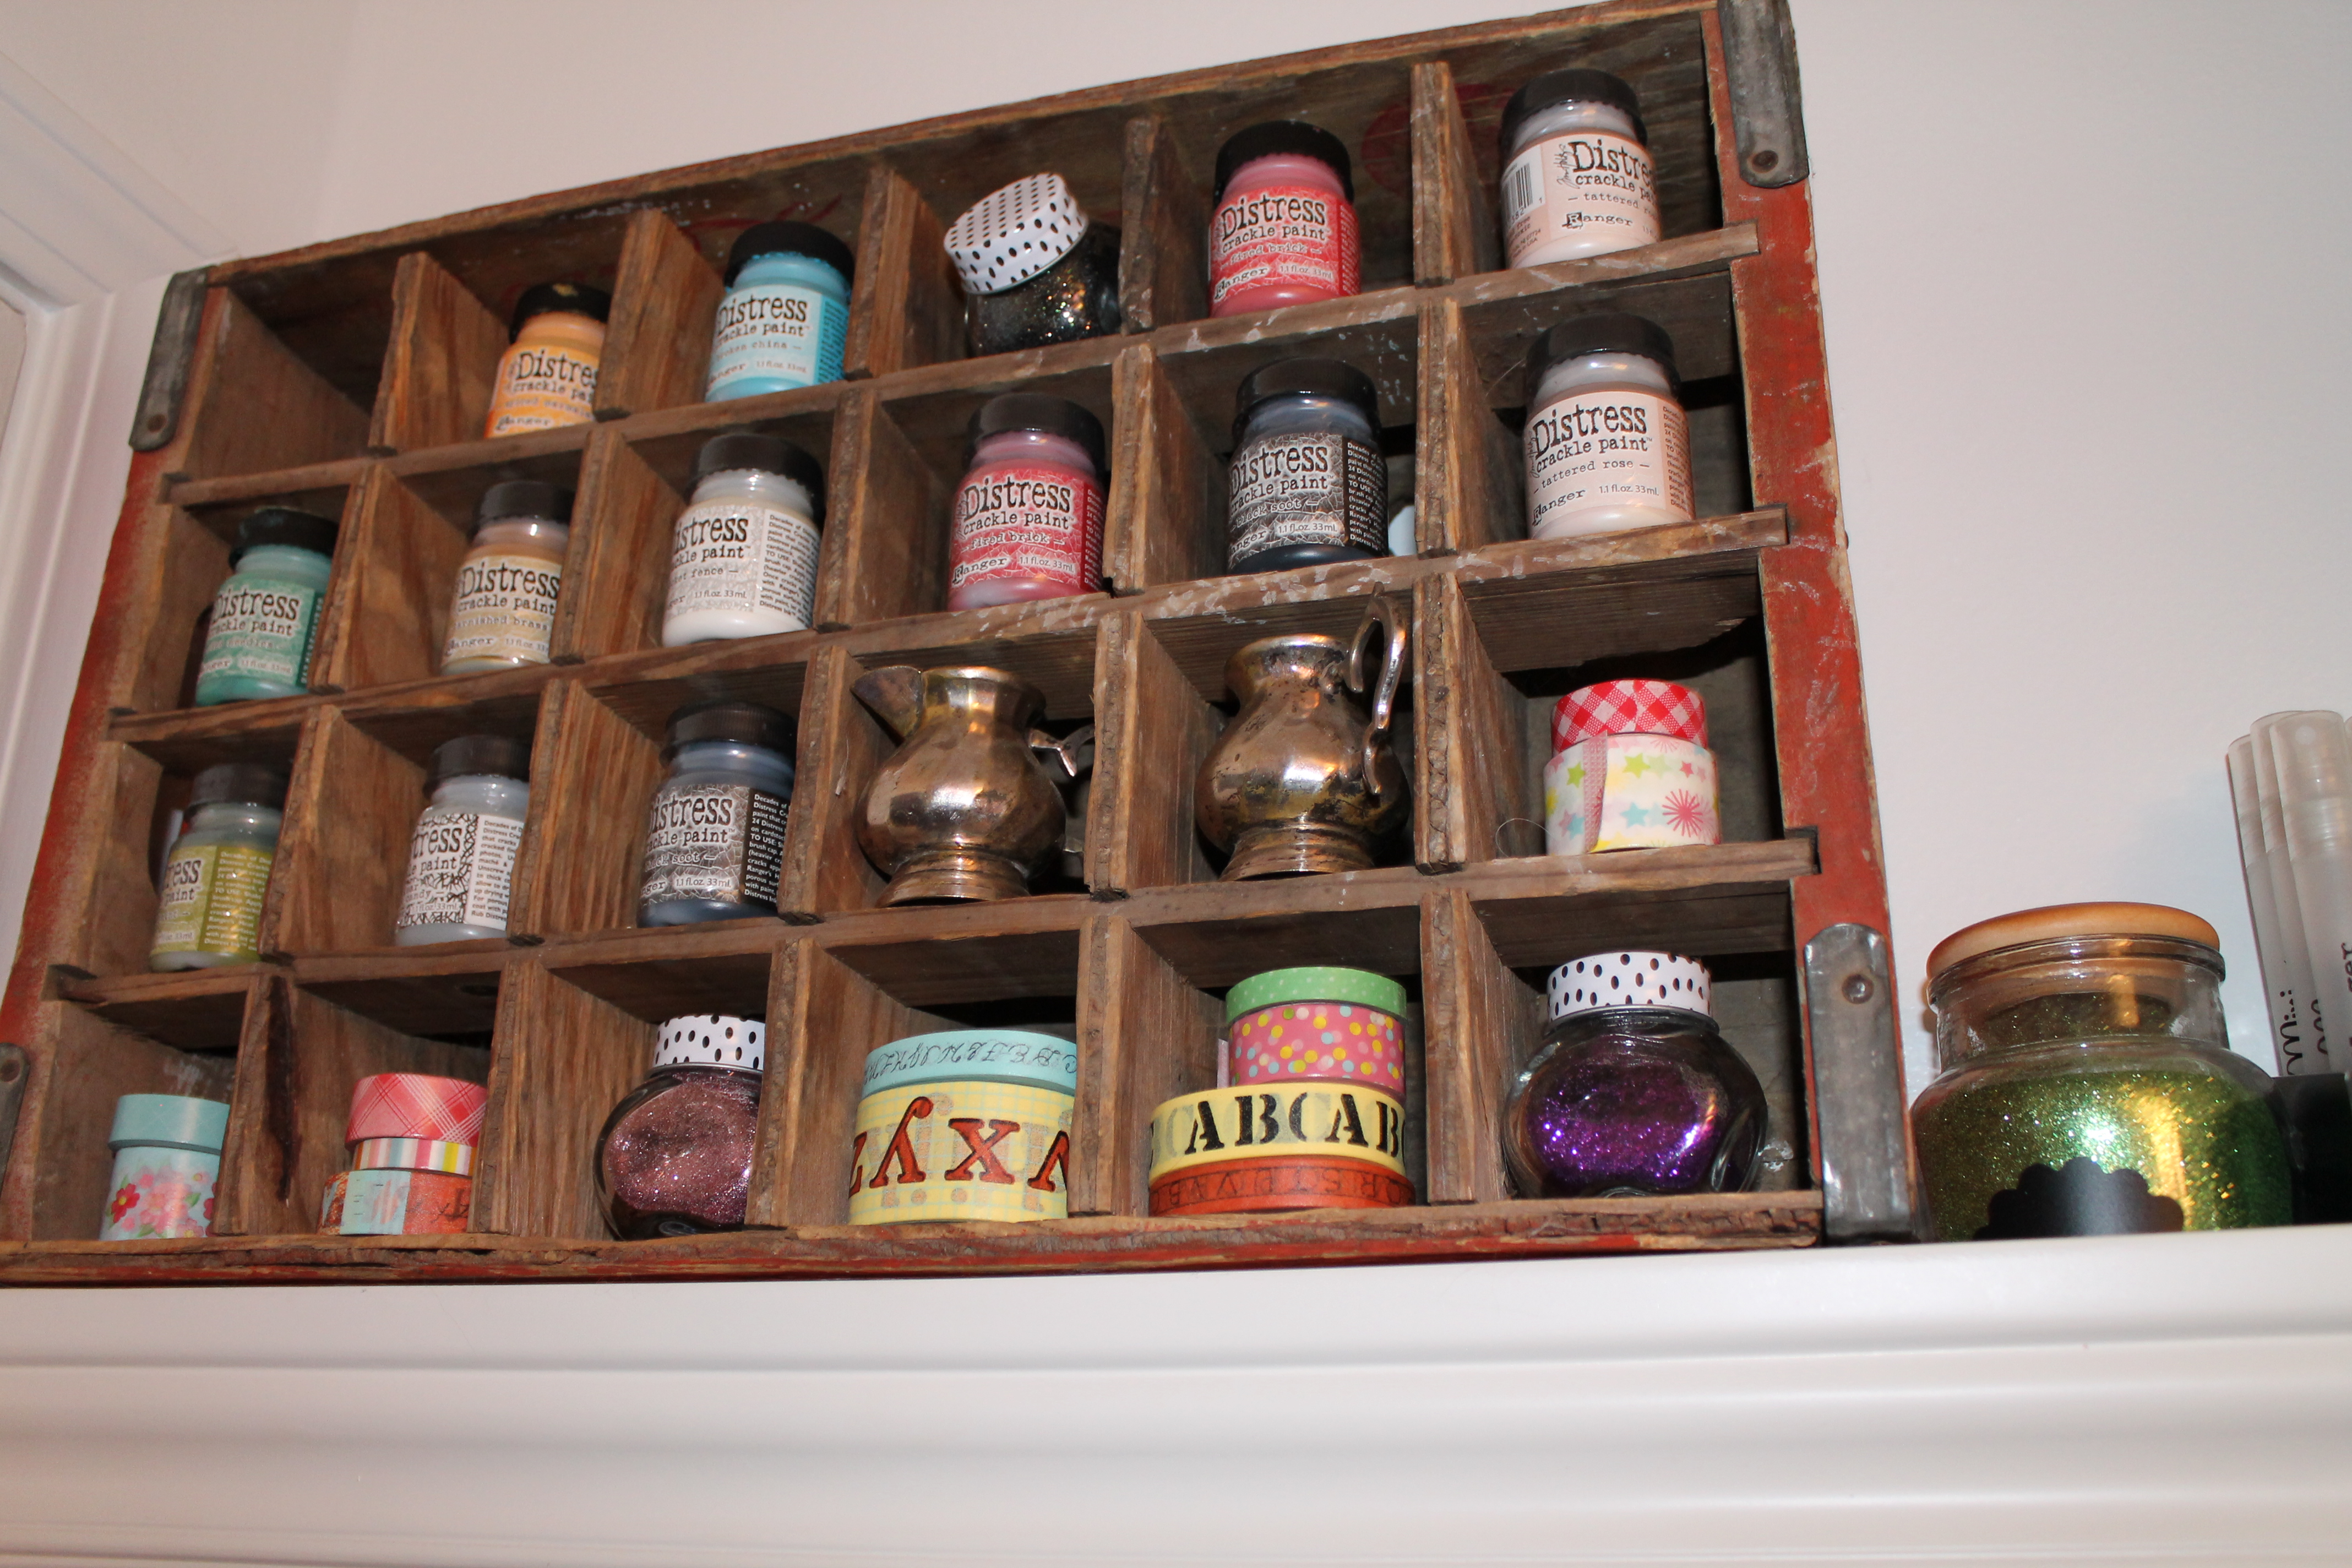
This is the corner behind the door where I have small paint and glitter along with dye new craft room 2 035and some rolls of Washi. I tried not to leave any space unused. I love Tim Holtz products for paper crafting.

new craft room 2 034 new craft room 2 033 new craft room 2 032

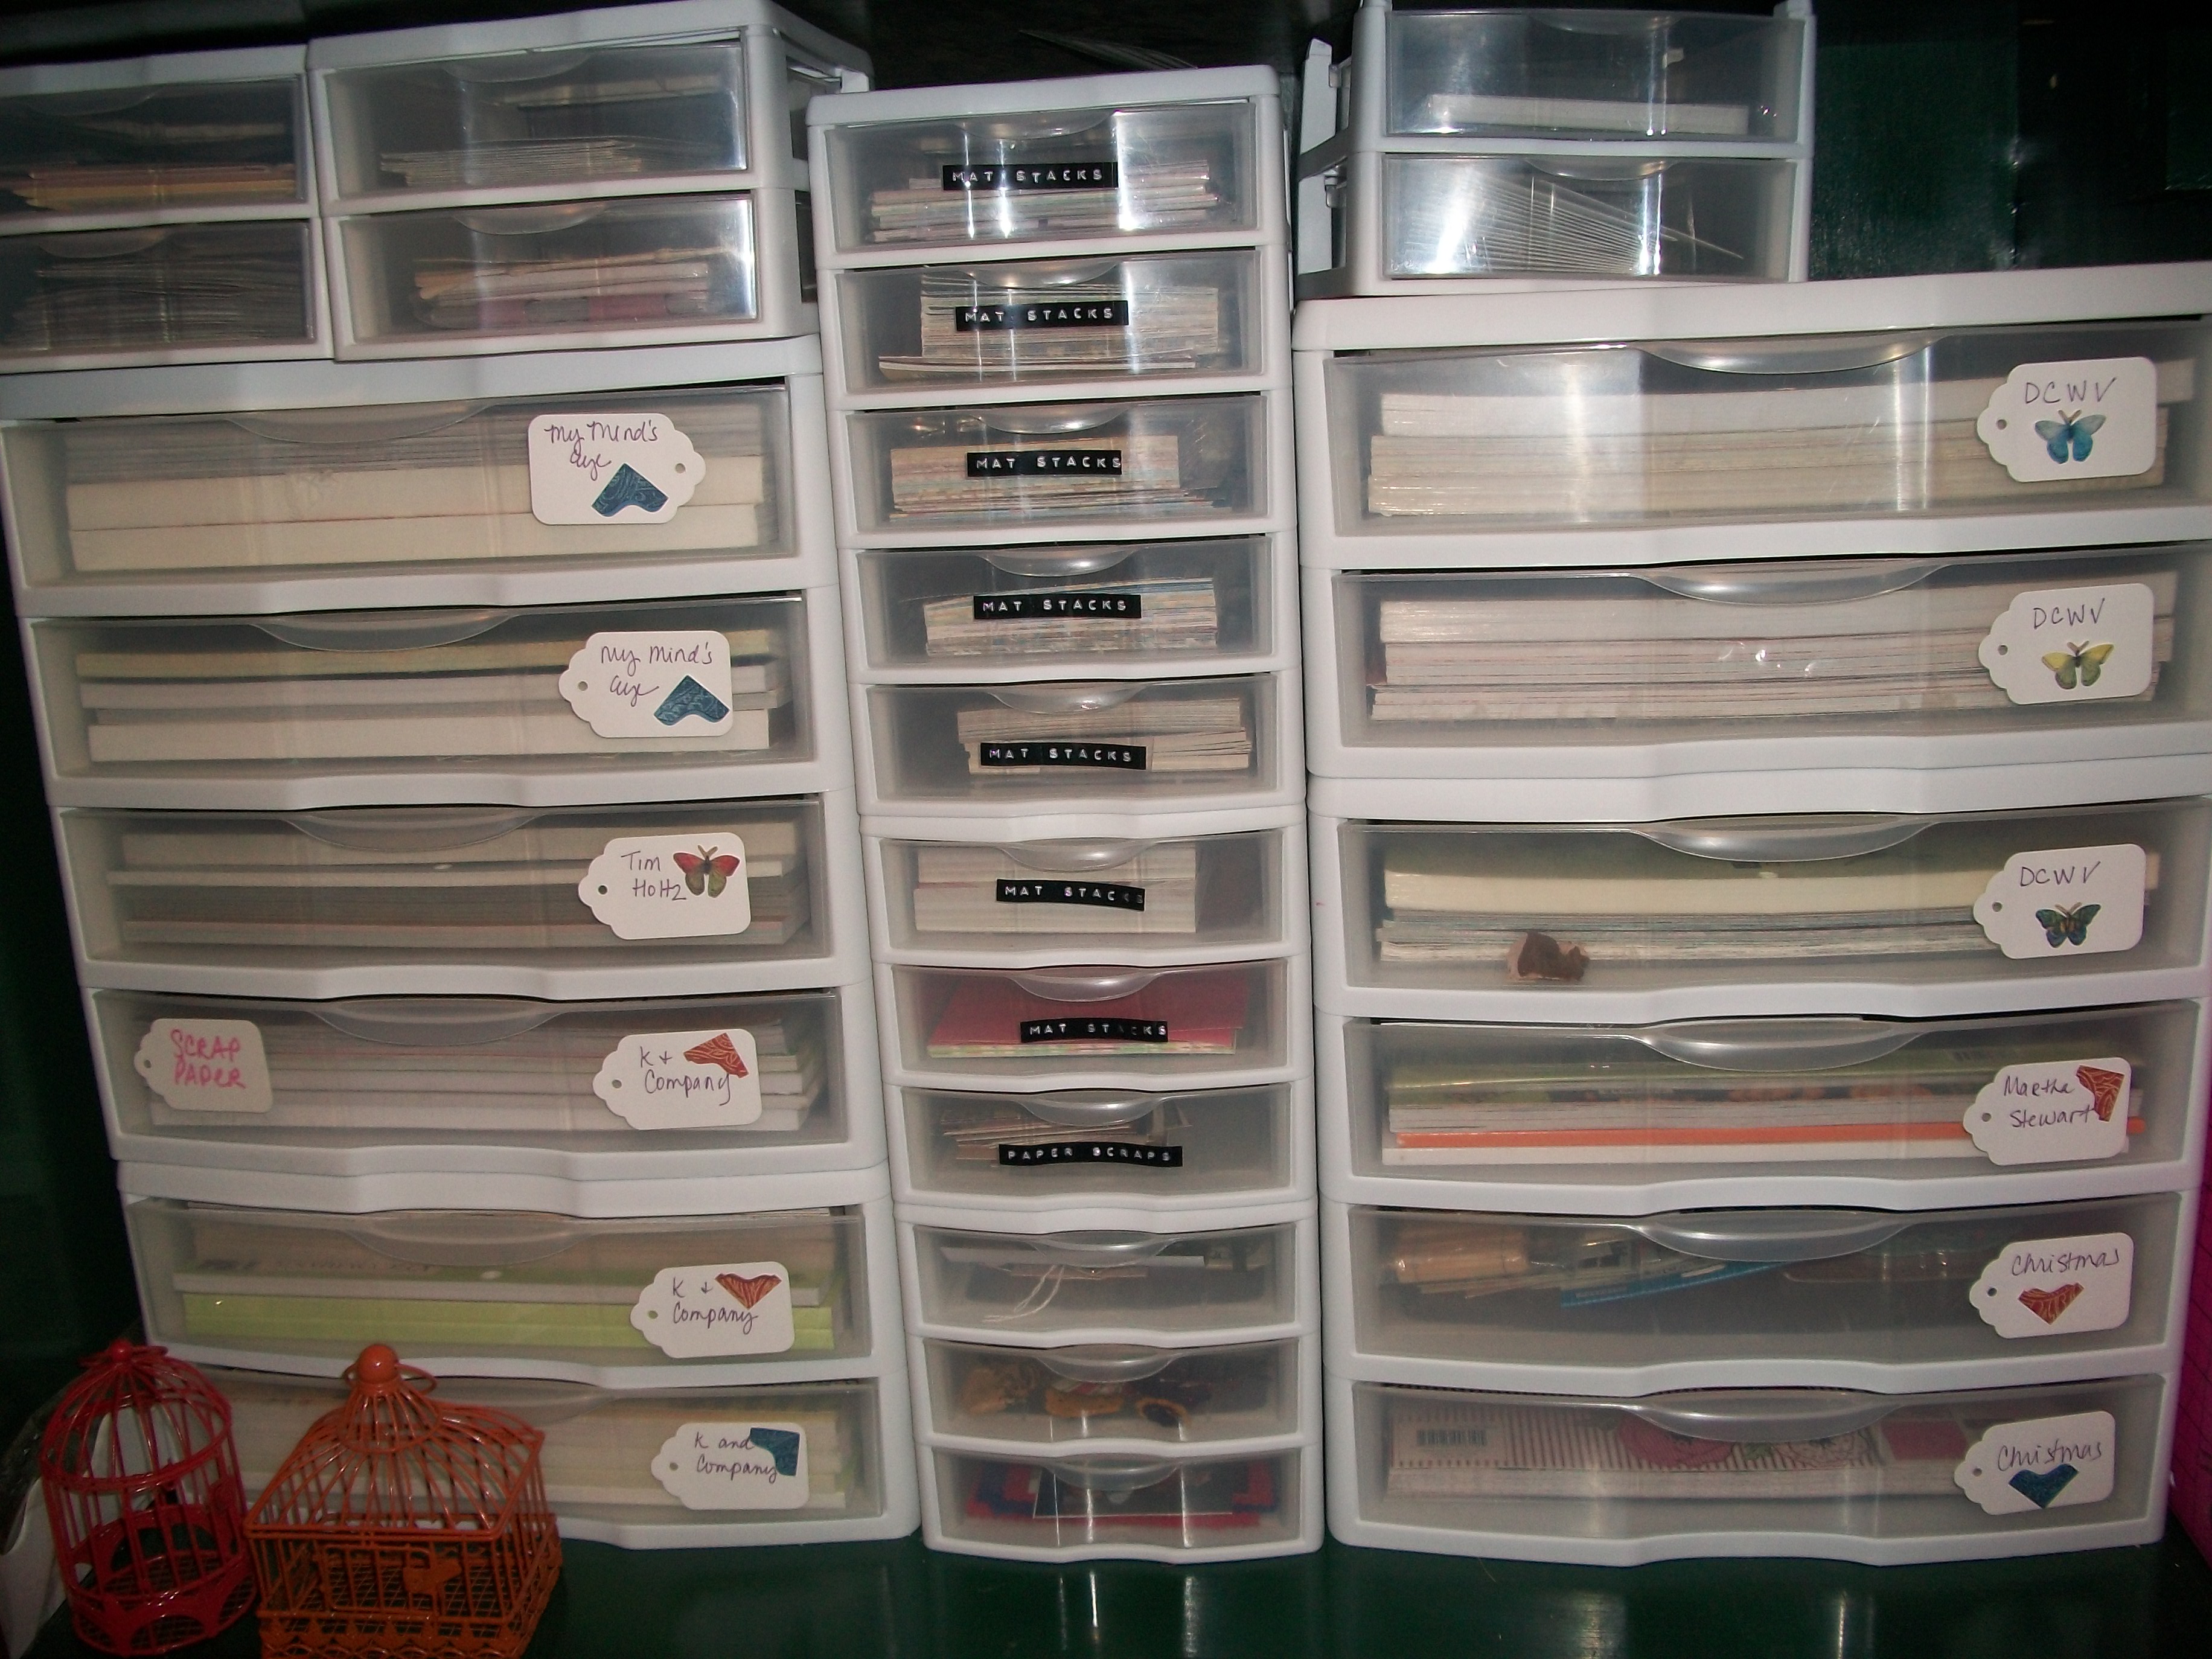
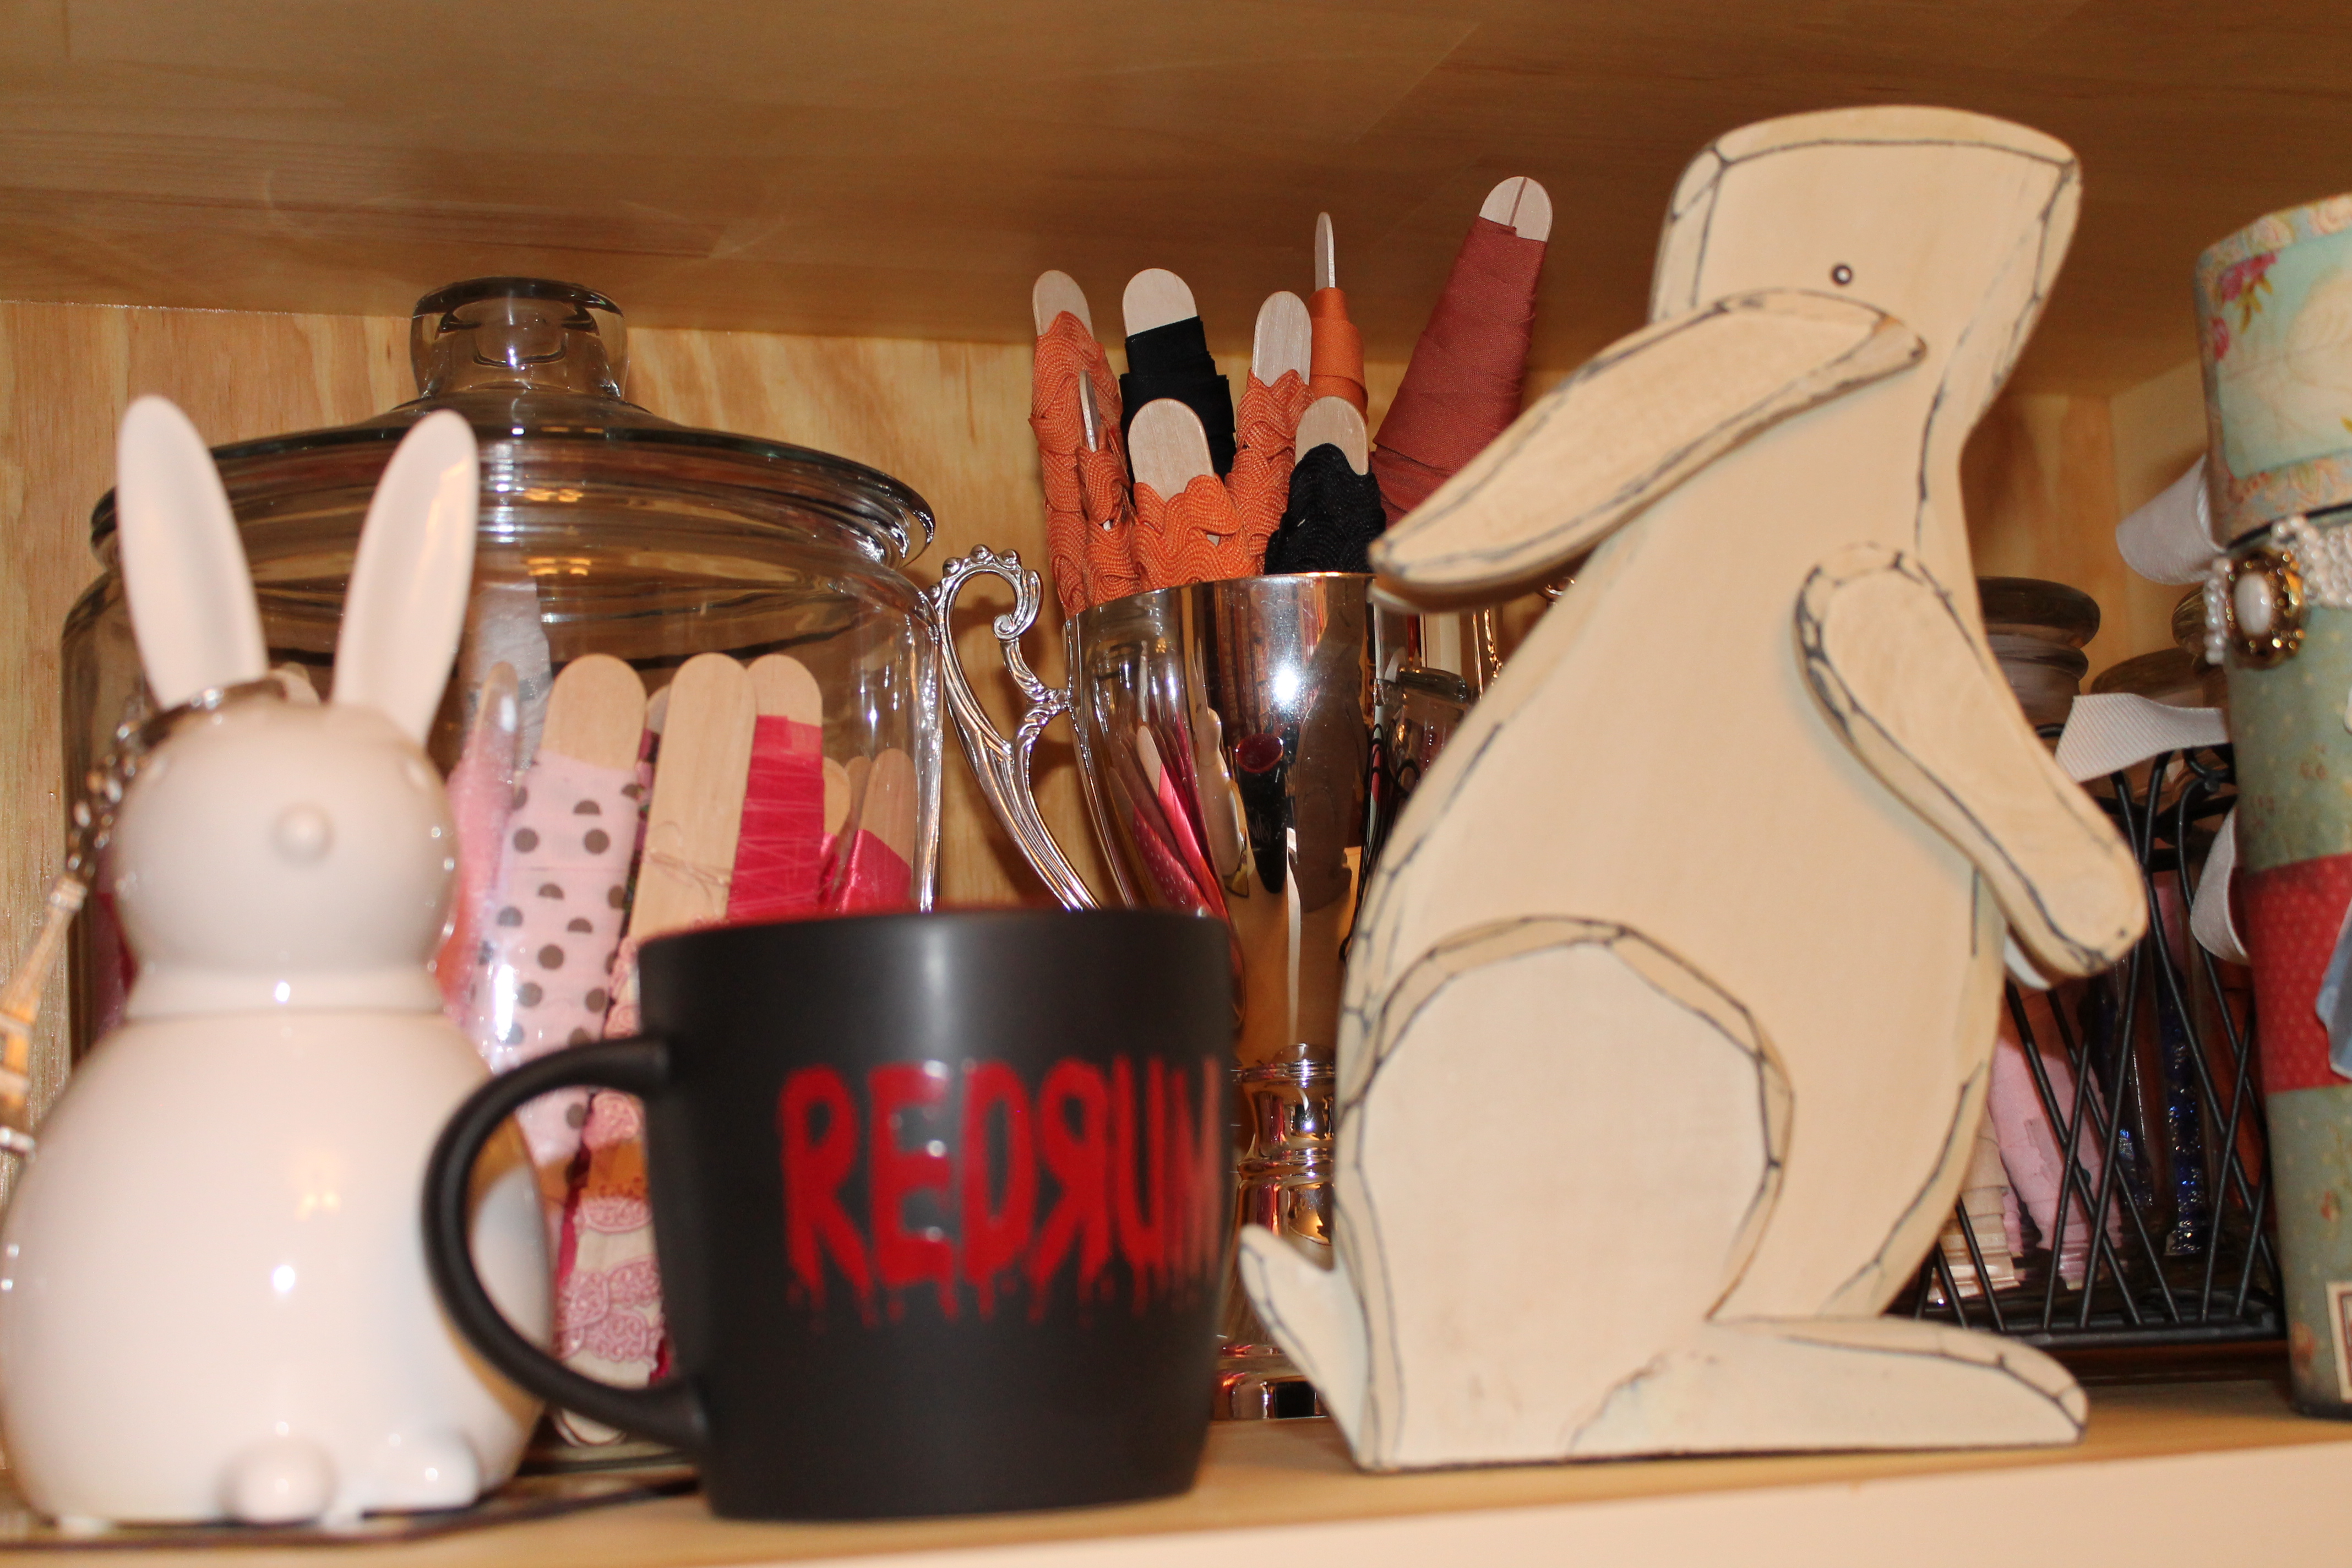
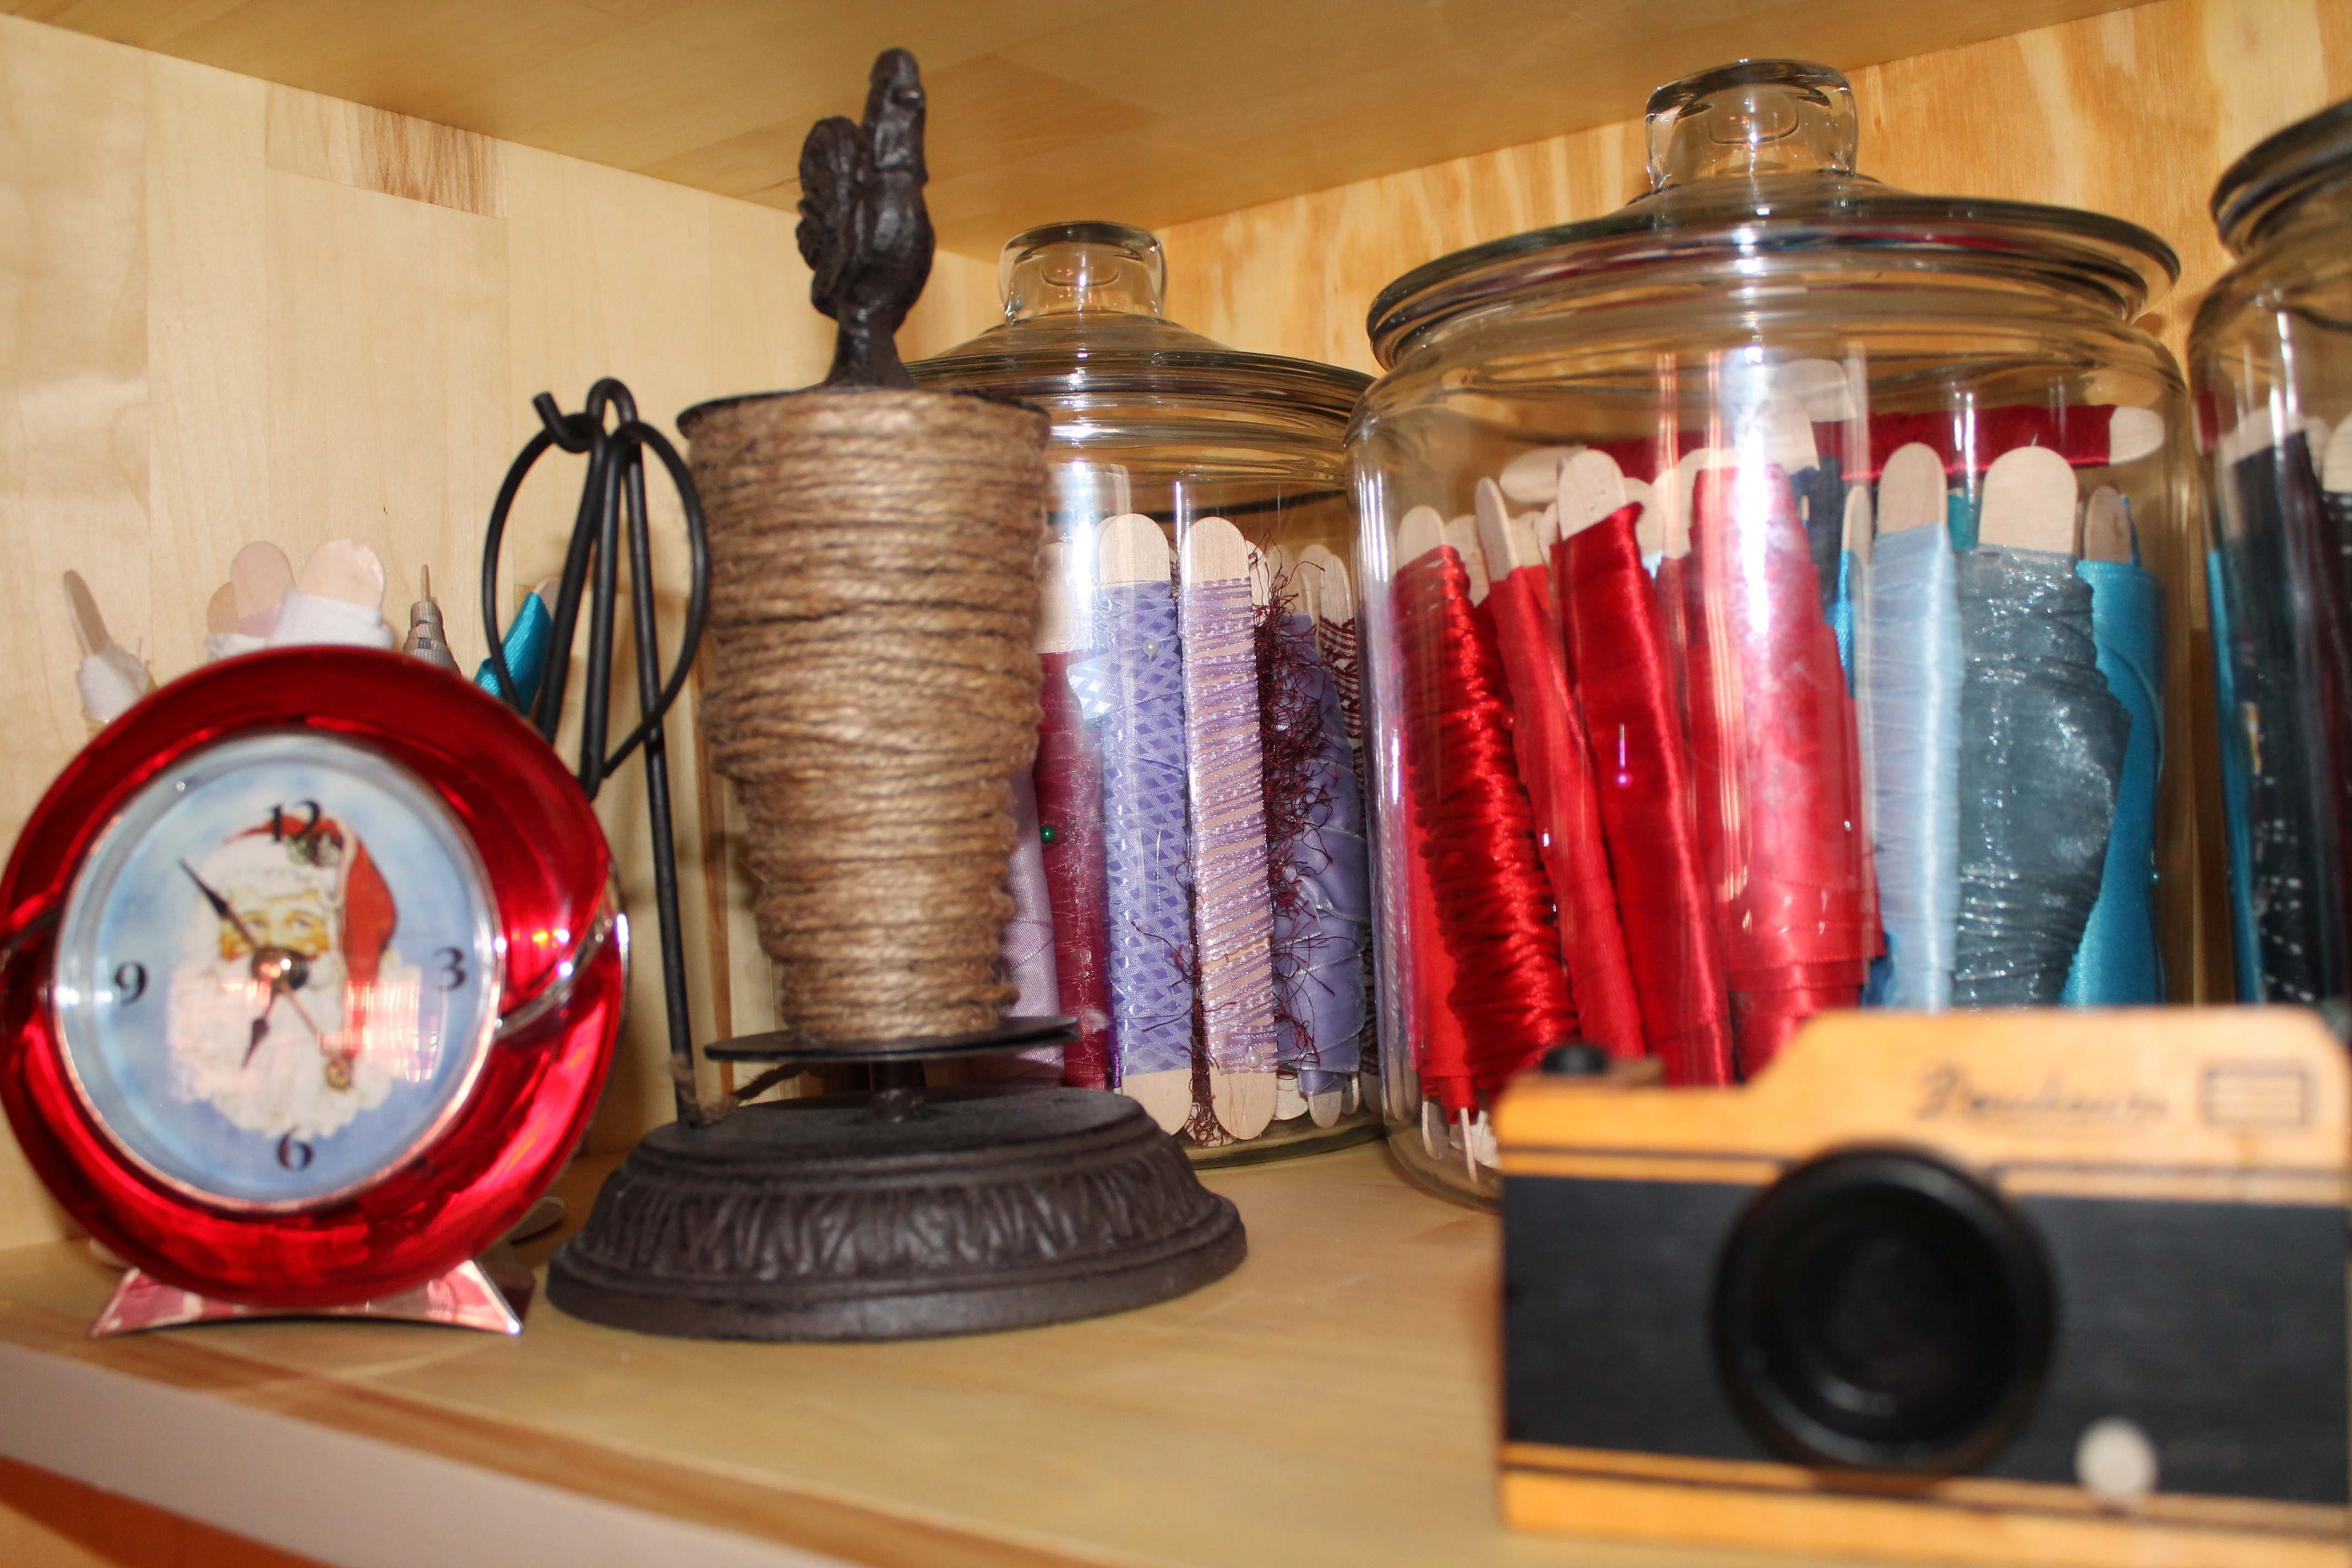
I love looking at how people arrange things, so I’m going to leave this post with a series of pictures.

057

068 067 063 056 055 054 053 052 050 048 046 041 038 037 034 032 031 030 029 028 022 020 011 008 003

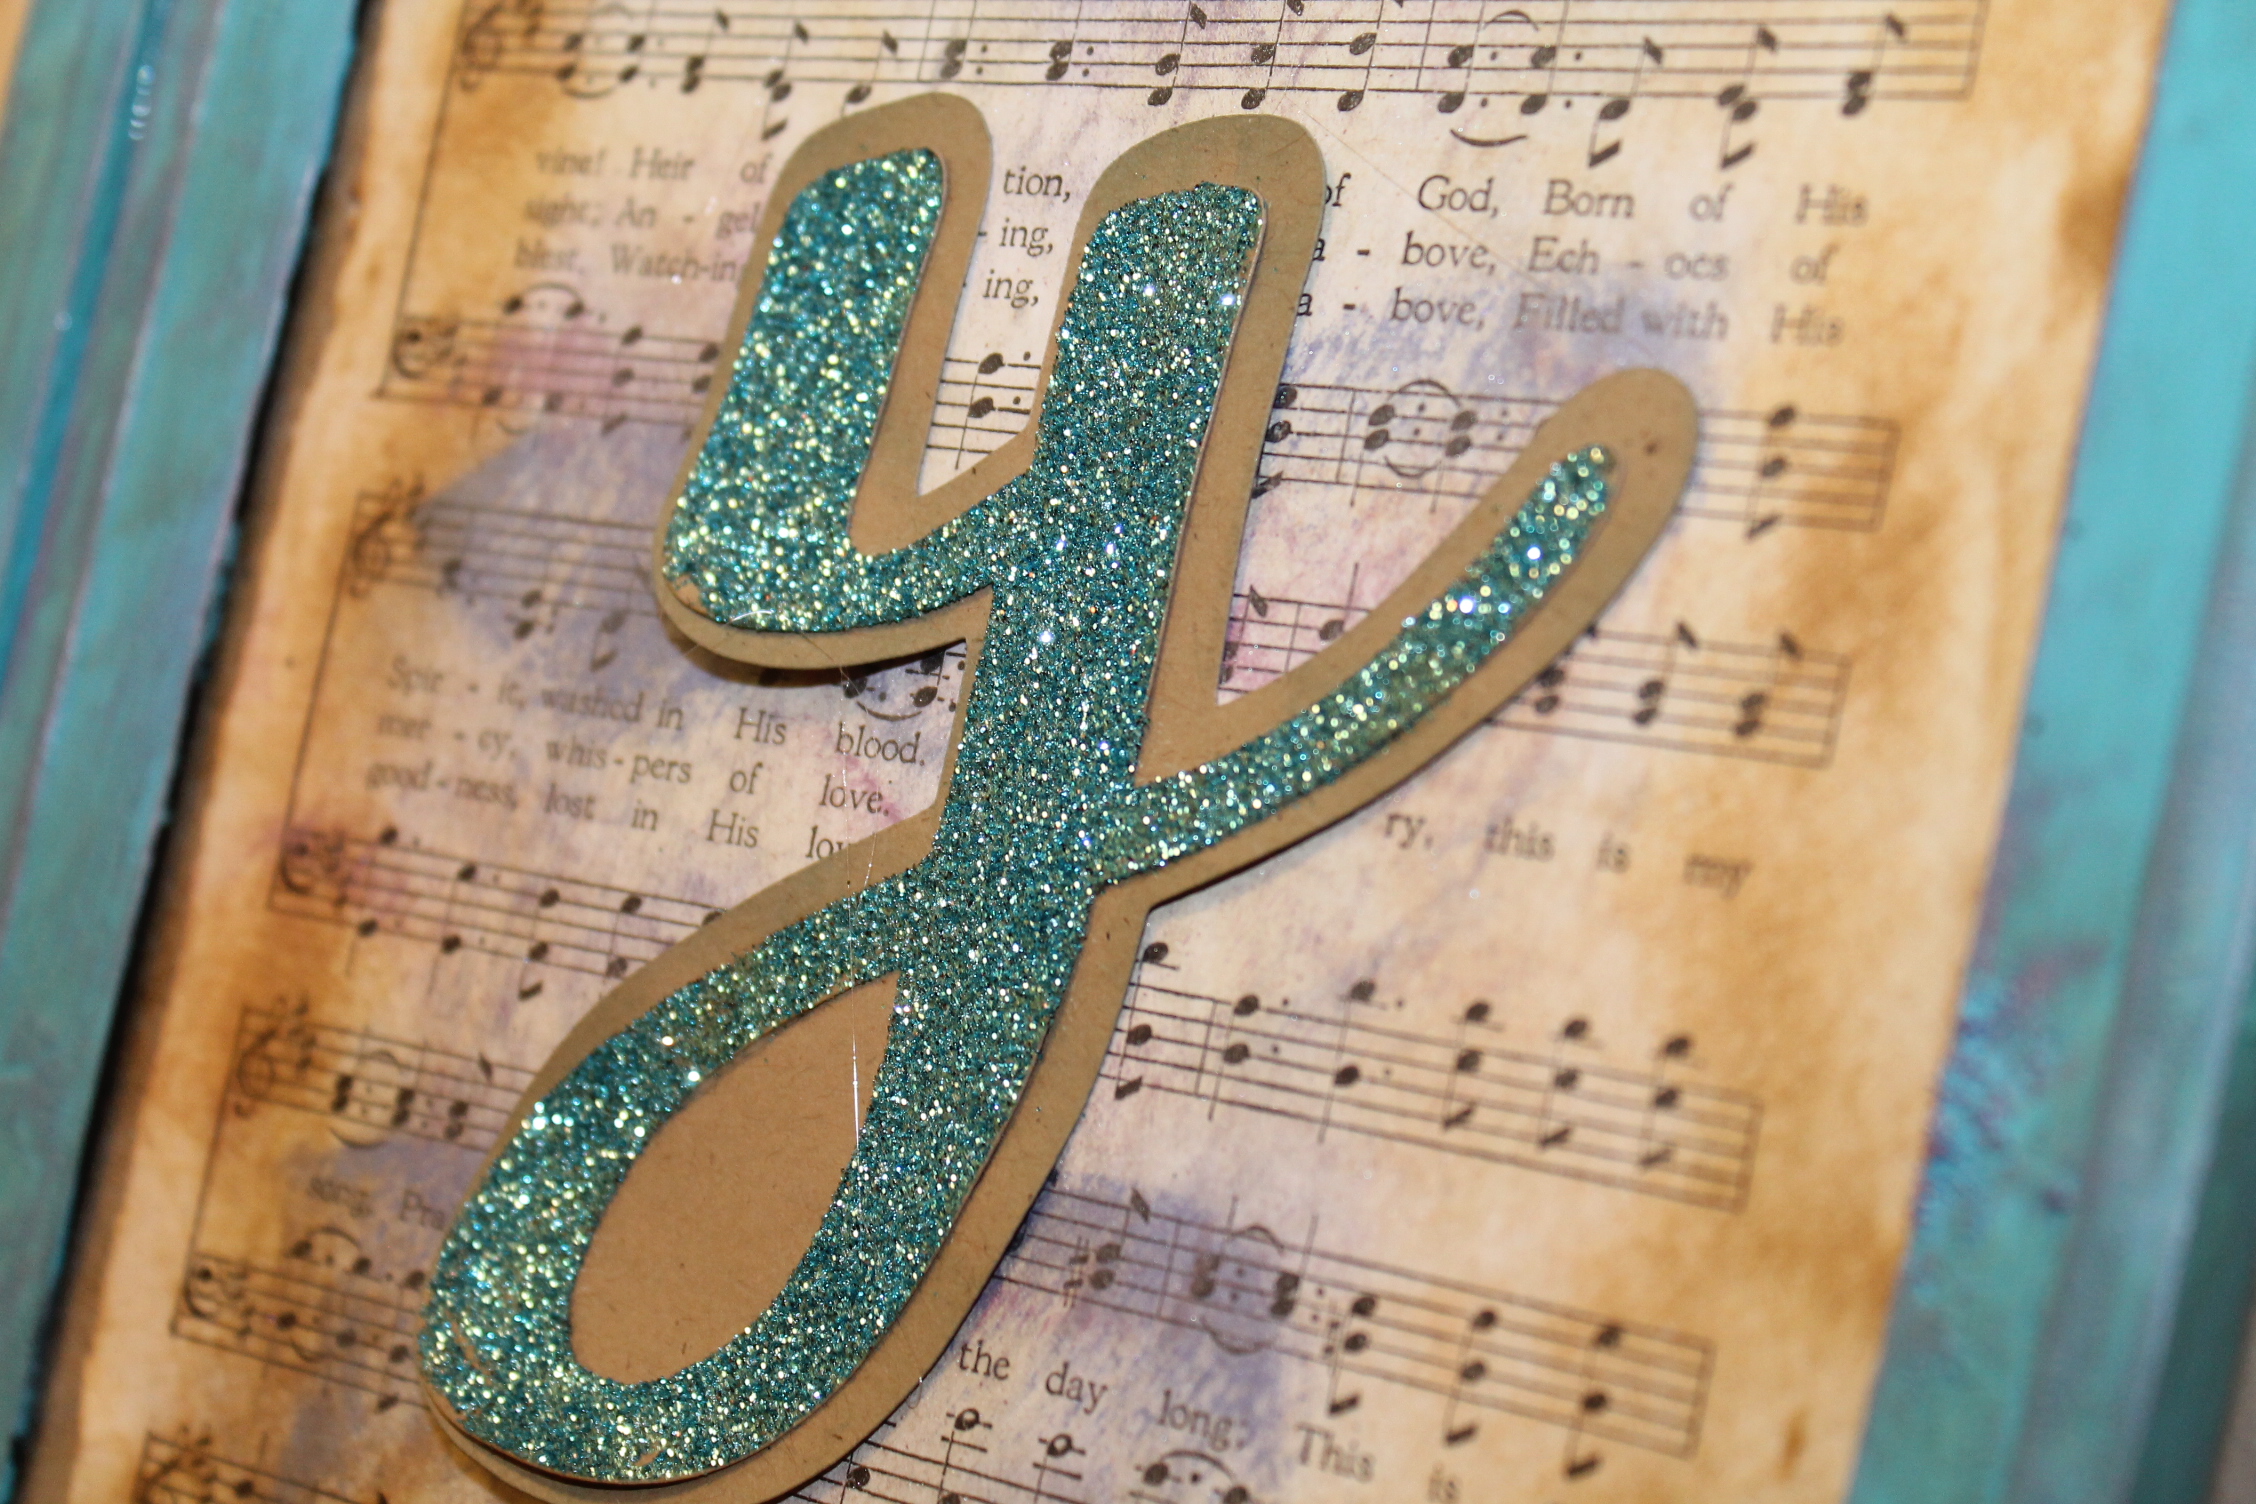
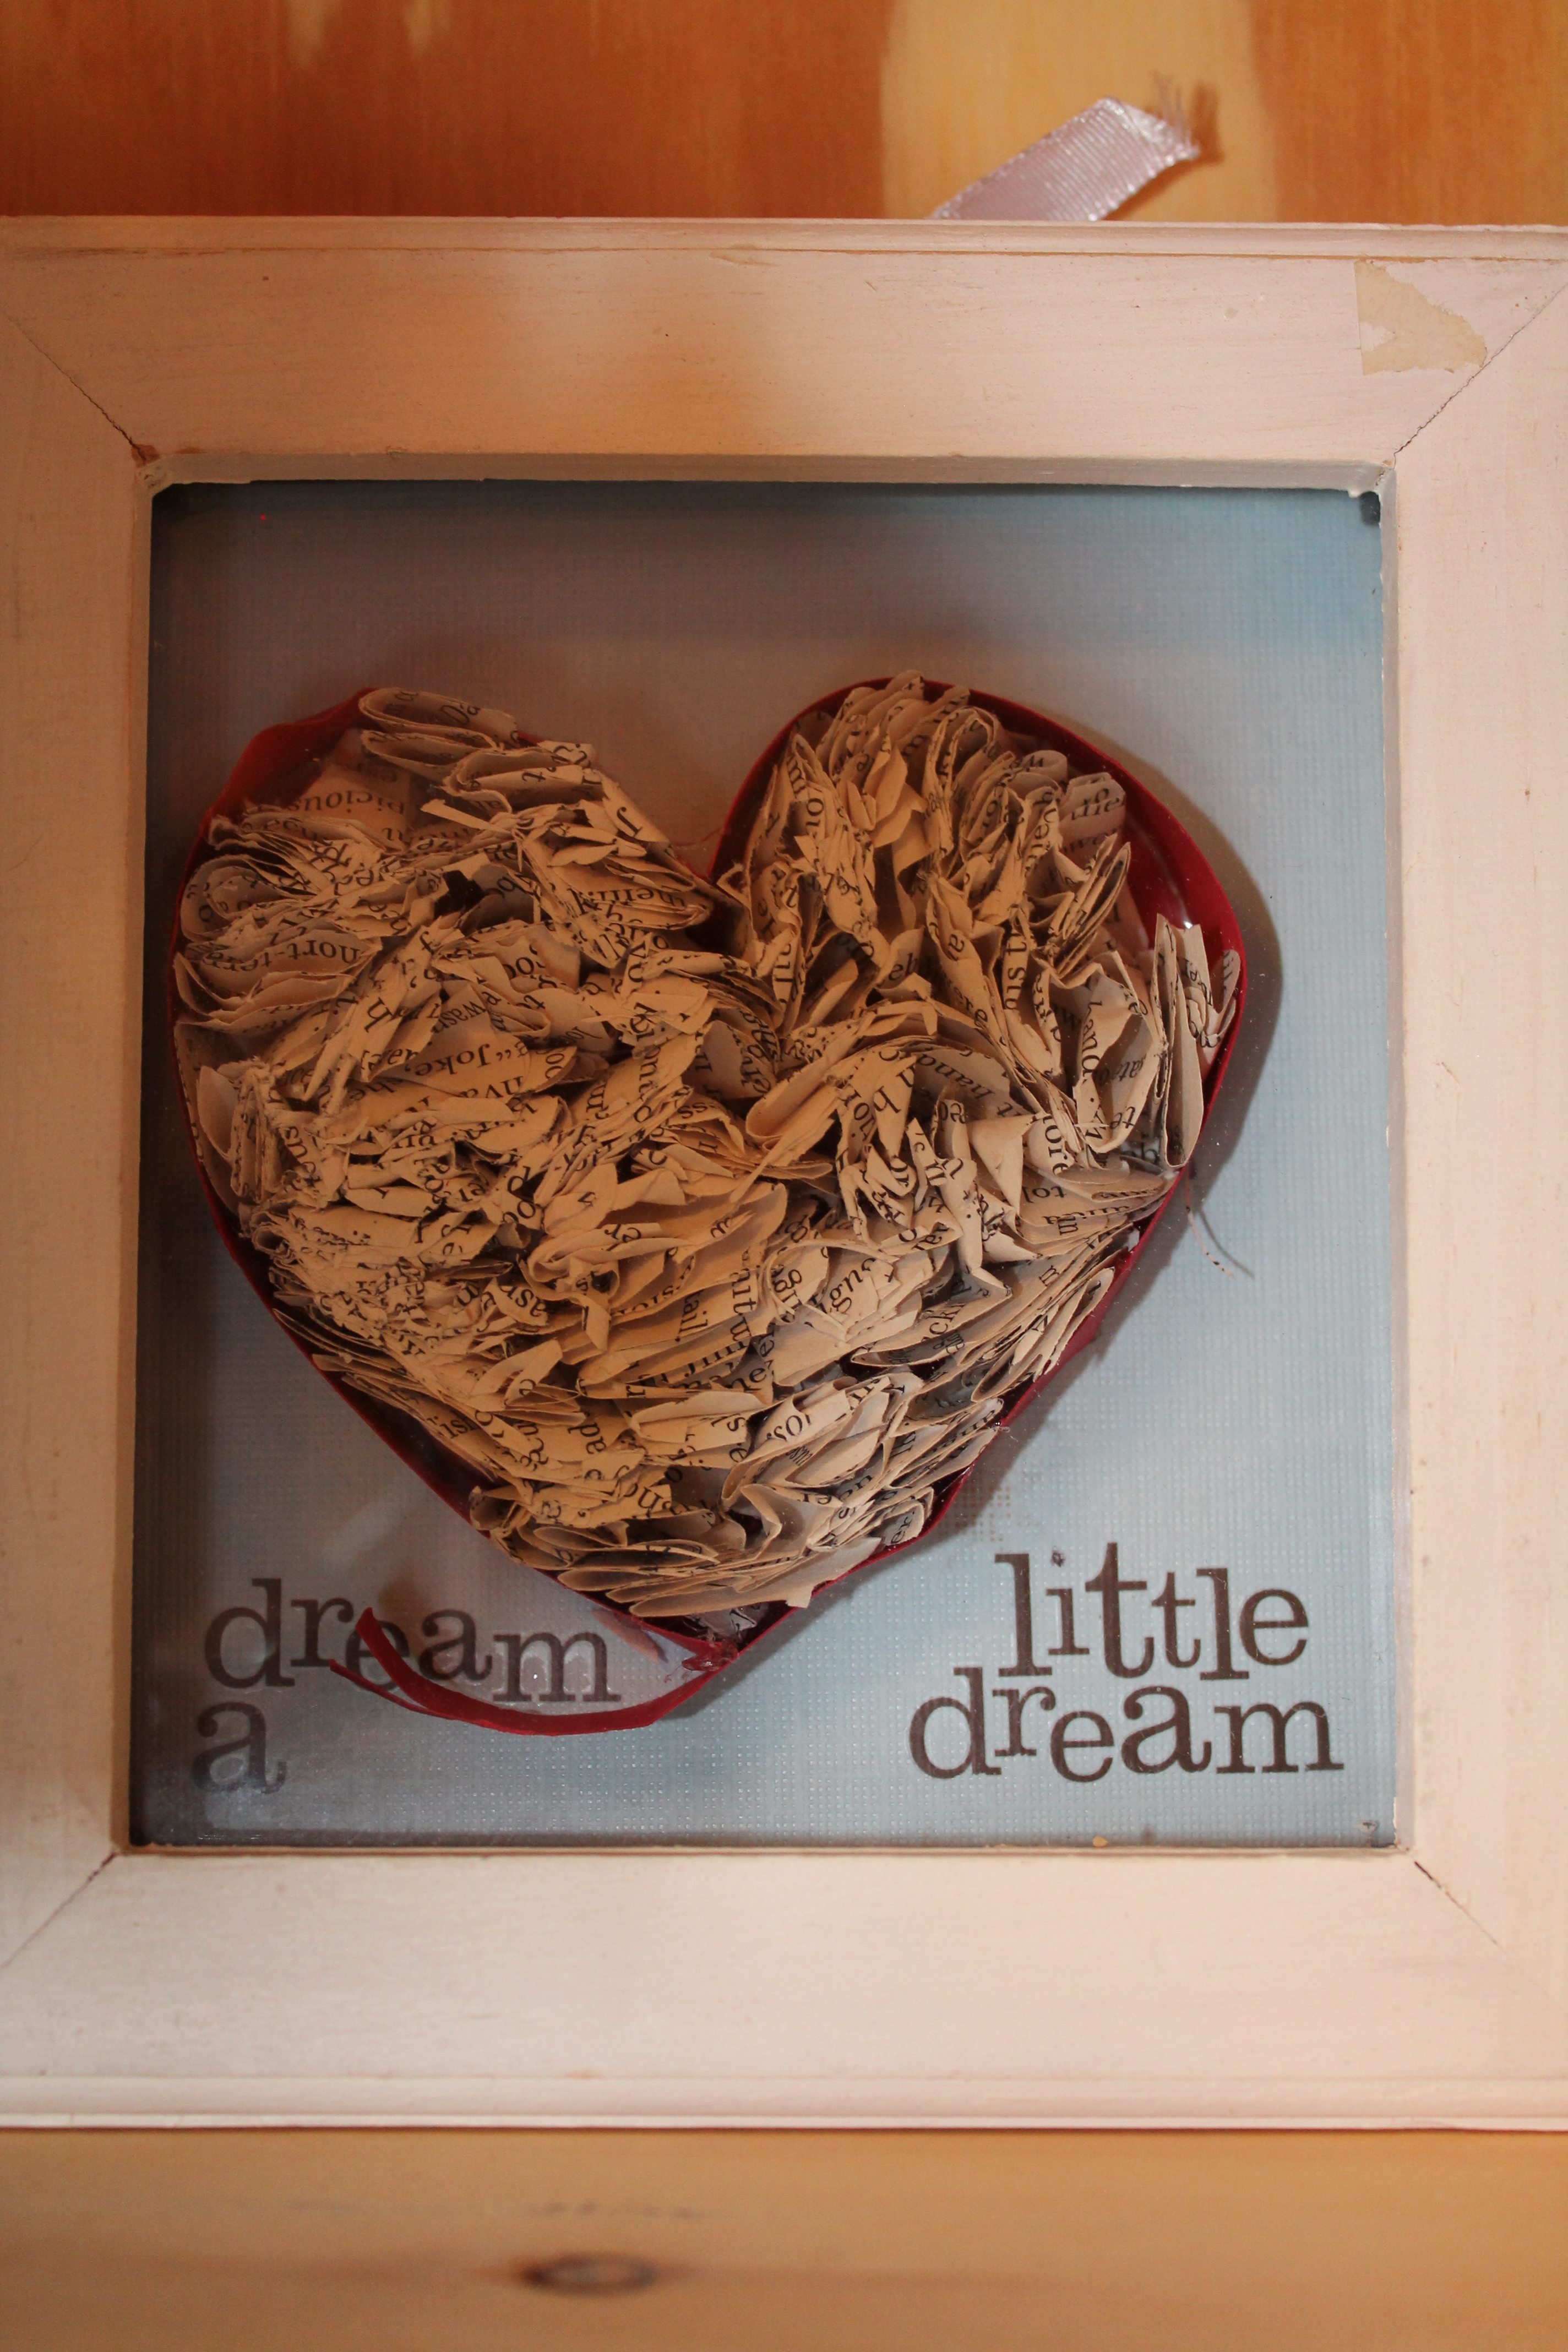
My last picture is one that my daughter made for me. She is the most creative person I know, and she loves tinkering with ideas. She made the little pink dump truck pin cushion for me. And then she made this lovely picture, which I think this is the most perfect exclamation point for my craft room.

135

the most awesome craftroom in the history of ever, and it’s mine!

Last year, I was incredibly blessed to get a new craft room. I had a couple of spaces before, but neither were very conducive to creating. I pinned thousands of spaces, hoping to find one that felt exactly right. I found a couple of inspiration spaces that I’ll share in another post, and I began designing. My husband took my ideas, sketched out some plans and spent his whole summer making my furniture. I had one cabinet that I kept, and he refinished our old kitchen table.

I can never, never express sufficient gratitude for this work of love. It was the summer after our son moved from home for the last time (he’s married, now) and I lost my beloved beagle, Holly. The year had been particularly difficult at work, too. This room is a gift of immeasurable proportions to me.

new craft room 2 006This is the view from the door. My kitties love to craft with me.

004The cabinet is a music cabinet I bought from my college. I use it to store small notions for scrapbooking and other crafting. The cabinet beside it holds my fabric, and the cart on the other side is one I got from antiquefarmhouse.com to hold wrapping paper.

013This cabinet has large bins for fabric, pillow forms, and stuffing. The top bins hold some of my sewing patterns, backing, and other supplies. The basket in front is one I covered that holds batting and foam.

027Here is a closer look at the top shelf of that cabinet.

056This is a view from the other side of the room. I made the curtain for the closet, which has great storage space. The cabinet that holds the mason jars holds them double deep, so there are twice as many as you can see. I also have the turquoise Ikea cart to hold fabric for projects in progress. Right now I am working on a couple of infinity scarves and a new bedskirt.

097

067Here is a view of my sewing cabinet. I have a simple Brother that works great, a small Brother embroidery machine, and a large Singer embroidery machine that I got for my birthday. It has a hoop size that is enormous. I’m fixing to break that baby in with some monogrammed sheets and pillow cases. I feel a little spoiled to have a great tv, but my cute builder insisted on building a shelf to accommodate it, and now I am really glad.129This is the storage in the music cabinet. My husband found one at the high school that was headed for the trash and rescued it. He is going to refinish it since it was painted and the glass was missing, but it is the twin to this cabinet.

new craft room 2 008The cabinet in the corner holds a ton of stuff, and it has three sets of doors in case I change spaces and need it in a different configuration. I can access the entire shelf, but he made sure that it was suitable for any other space if we ever move.

The cabinet next to it is on casters to ensure that we can move it if we need to access the doorway for something big. It is an incredible cabinet that holds my cricut and my silhouette machines. The top shelf holds my ribbons, felting supplies, and smashbooks in various containers.

The table and chairs are our old kitchen table, and he completely refinished them and painted them to match the rest of the furniture.

new craft room 2 001Thanks for stopping by. I’ll be posting some storage pictures later this week to show you how I keep everything organized.

I am proud to link to Miss Mustard Seed!

Have a happy day!

Shannon

craft storage ideas

I’ve been lucky enough to have three different craft spaces, the last of which is a custom built space by my awesome, awesome husband. My first craft room taught me a whole lot about storage, and I thought I would share some of my storage ideas with you. I am working on getting my new craft room cleaned and reorganized to get some pictures together for a post, but in the meantime, maybe something I’ve done can help you organize your space. I love looking at pictures of people’s storage, so I hope you enjoy these.

This is a cabinet that my husband built me for sweaters. He built it around these baskets, but then we remodeled our master suite, and I had a great space for sweaters, so I used this for crafts. The first picture is the inside, and the second is the cabinet closed.

100_1451100_1377This is an old television cabinet that I used. It was great for paper storage, and I used to do mostly paper crafts, so I had lots to store! Now it is a cabinet for linens, and I’ve painted over the green.

100_1413Here is a closer view. This cabinet held so much, and it makes me realize I probably deserved a guest spot on Hoarders.

100_1409Since my craft room was in my daughter’s former bedroom, I was able to use the closet, so I filled it with more stuff.

100_1387I took my old containers for shoes after we built the new closet and made these little boxes out of cardboard. I was so proud and thought no one had ever done this, and then I saw that someone had actually made boxes of wood. Wooah! She is way better at this than I am.

100_1389I made a place for all of my letters. I first kept them by sets, but I was always running back looking for a missing letter. This worked out much better for me.

100_1402I bought this little library drawer at a thrift store in town, and it fit my cuttlebug folders and dies perfectly.

100_1456I put all of my eyelets and brads into these little wedding favors from Michaels. I got them with a coupon, so they were a pretty good price, and they are really cute. Now I use them for small bottles of glitter.

100_1432I found this shelf at a thrift store, too, and I used jars I already had. I made the tags from my Cuttlebug with a Tim Holtz die and folder.

100_1364One of my teacher friends found two printer trays for me at a quaint little town north of my hometown, and it stored distress inks and wooden stamps perfectly.

100_1414I have a music cabinet that these craft boxes fit into perfectly, and I still use it for the same purpose. It is full of these boxes, each in its little slot. It is dreamy for people who like to organize.

100_1406I have way, way more fabric now, so this little dresser got a paint job and now holds party supplies in my den. However, I still think these rolls of fabric look so cheery.

100_1443This is a storage shelf I got from Michaels with a coupon and my teacher discount. I love these and now have two of them.

100_1366I made this little box from a kit, and it held rubber bands, sewing needles, thimbles, and other little notions.

100_1386My last picture is of my yarn storage, and this was so cute when all the yarn was rolled into balls.

100_1393I hope you enjoyed this little tour. I know I love looking at other people’s craft storage because I always find a new idea that I can use.

Have a happy day!

Shannon


joy and a little tree branch

joy picture 1A while back, I made this wall hanging for my office. My daughter, who is extremely creative and gutsy in her crafting, and I spent a cold day over spring break crafting. We gathered up some tree branches from the elm tree in our front yard, and I used some 1.00 frames from the Dollar Tree.

joy picture 3I cut the letters with my Cricut from the Songbird cartridge using the shadow font and the regular font. The regular font is glittered with a homemade mix of Martha Stewart fine glitter in greens and blues. I used Tim Holtz distress ink in blue and browns to age the paper and then painted the frame and used similar distress inks.

joy picture 2I made this picture for the bottom to kind of weight the whole display a little because the branch shifted since I didn’t hang the pictures perfectly.

joy picture 4I used scraps from scrapbook paper that my daughter gave me. She ran them through a shredder, and then I started gluing and stacking until I had a nest. It takes some patience, but I used a glue gun and a whole lot of paper. Using the glue gun gave me a little forgiveness in time so I could shape the nest.

The egg is a plastic Easter egg that I covered in glitter. If you ever make a glittered egg, take it apart and do each piece separately. It makes it much easier to handle. I sprayed the egg with spray adhesive and used the same glitter as I used for the letters. I sprayed and glittered twice to make sure it was well covered. After I put the egg together, I tied a piece of crinkled ribbon to hide the seam and glued it into the nest with hot glue.

joy picture 5I took a scrap of paper to make a flag and then stamped on it. I folded it so it would be kind of 3D’ish. The ribbon I used to hang it all was from Martha Stewart. I bought it several years ago on super-duper clearance at Michael’s, and the quality is incredible.

I have this hanging right across from my office desk as a reminder that to find the joy in life. When I get overwhelmed, which is most of the time, I find comfort in these words, which I hear in my heart: “Be still, and know that I am God.”

I hope your week is filled with joy, and I hope you can be still when life seems to be too much. Just for a moment, just to catch your breath.

Have a happy day!

Shannon