I’ve been lucky enough to have three different craft spaces, the last of which is a custom built space by my awesome, awesome husband. My first craft room taught me a whole lot about storage, and I thought I would share some of my storage ideas with you. I am working on getting my new craft room cleaned and reorganized to get some pictures together for a post, but in the meantime, maybe something I’ve done can help you organize your space. I love looking at pictures of people’s storage, so I hope you enjoy these.
This is a cabinet that my husband built me for sweaters. He built it around these baskets, but then we remodeled our master suite, and I had a great space for sweaters, so I used this for crafts. The first picture is the inside, and the second is the cabinet closed.

 This is an old television cabinet that I used. It was great for paper storage, and I used to do mostly paper crafts, so I had lots to store! Now it is a cabinet for linens, and I’ve painted over the green.
 Here is a closer view. This cabinet held so much, and it makes me realize I probably deserved a guest spot on Hoarders.
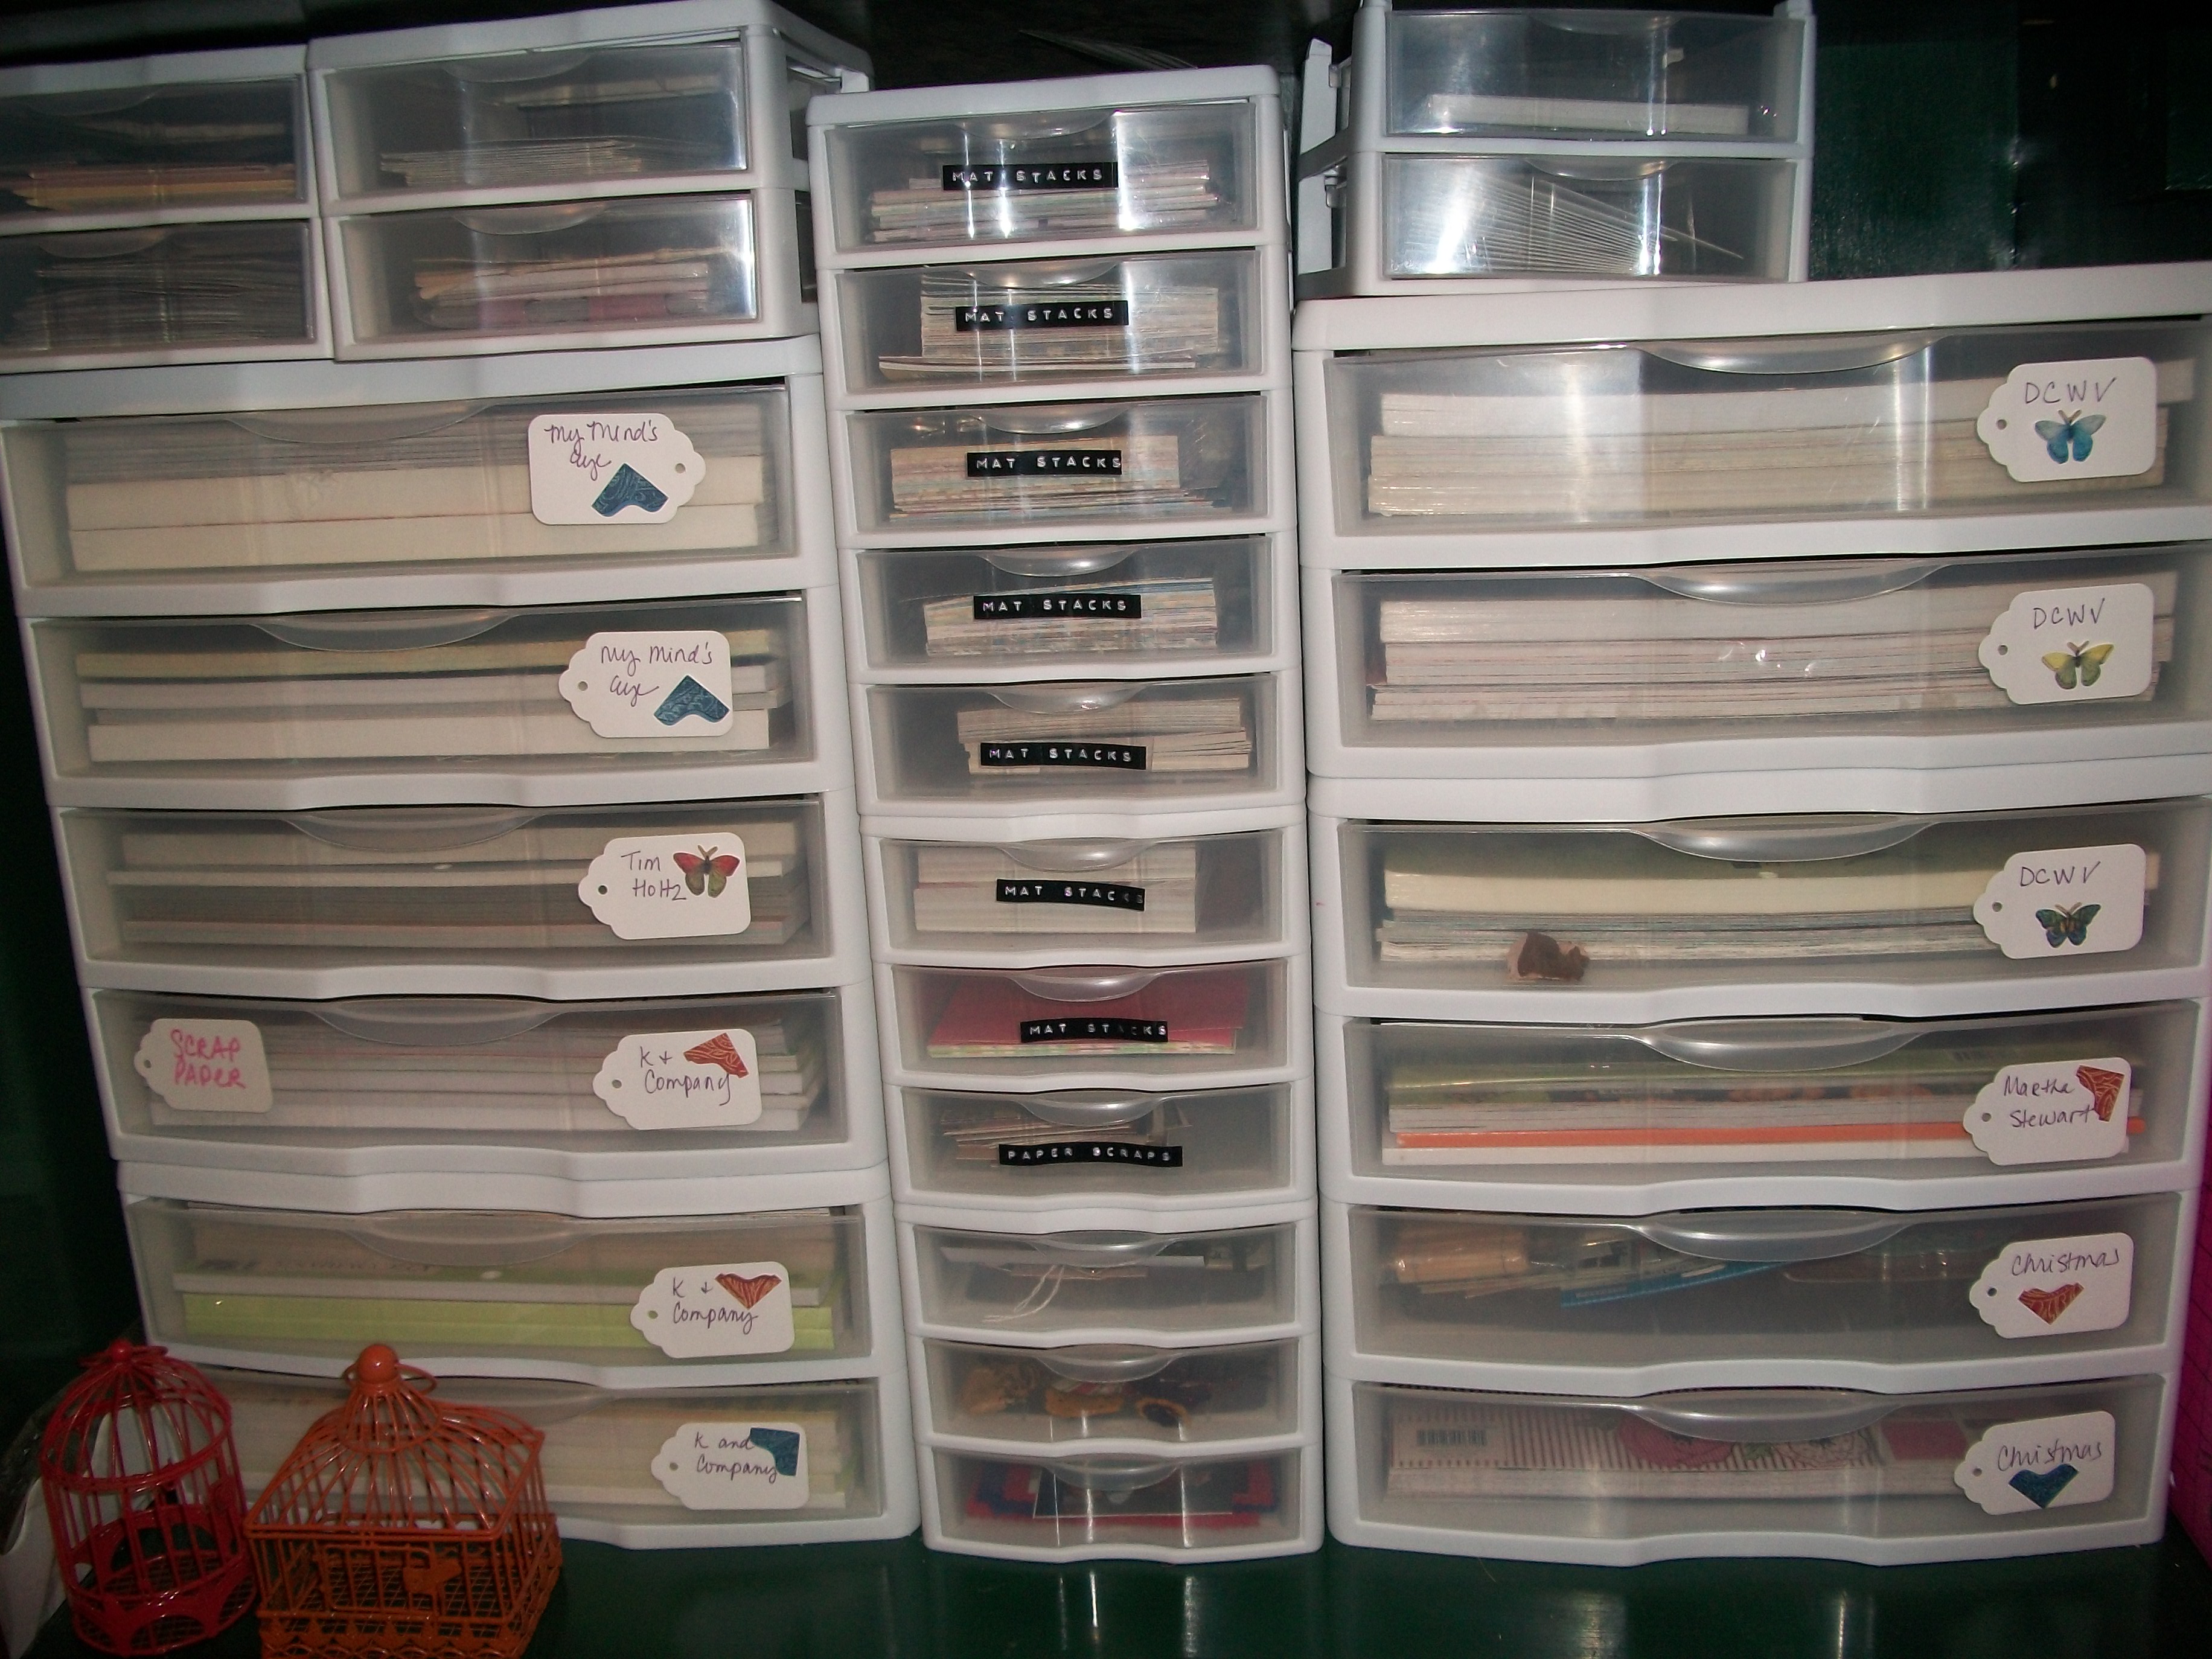 Since my craft room was in my daughter’s former bedroom, I was able to use the closet, so I filled it with more stuff.
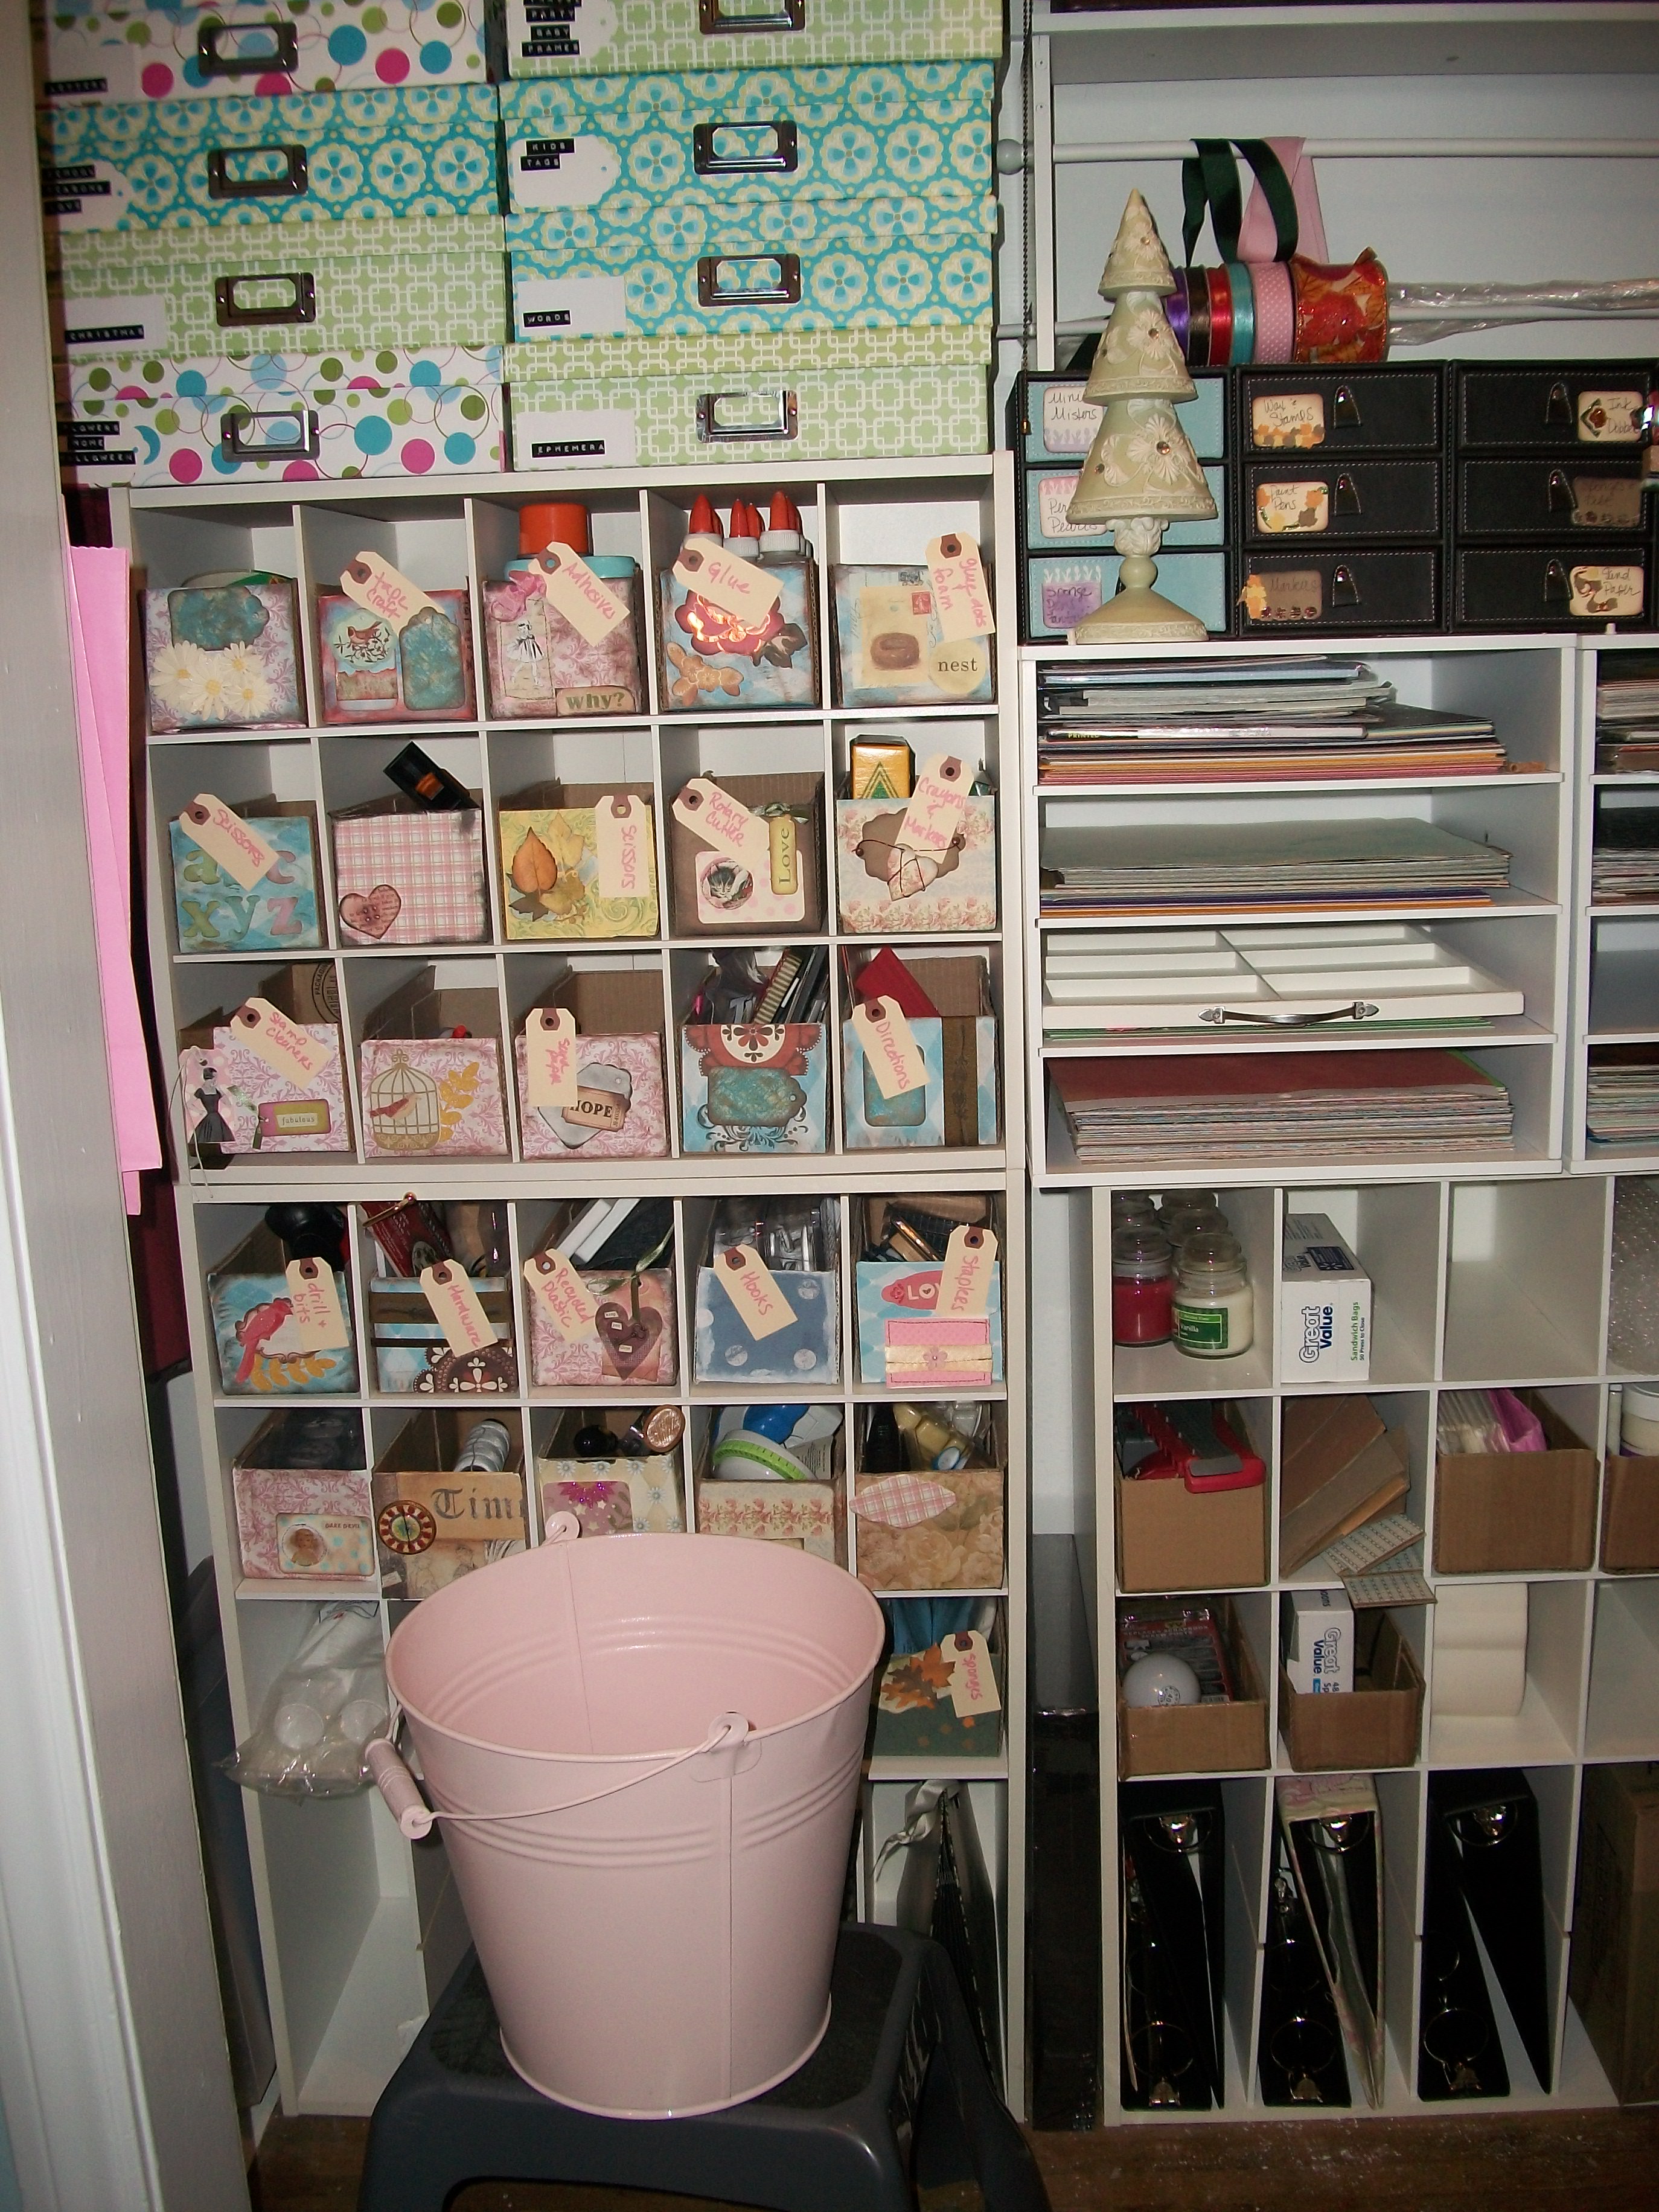 I took my old containers for shoes after we built the new closet and made these little boxes out of cardboard. I was so proud and thought no one had ever done this, and then I saw that someone had actually made boxes of wood. Wooah! She is way better at this than I am.
 I made a place for all of my letters. I first kept them by sets, but I was always running back looking for a missing letter. This worked out much better for me.
 I bought this little library drawer at a thrift store in town, and it fit my cuttlebug folders and dies perfectly.
 I put all of my eyelets and brads into these little wedding favors from Michaels. I got them with a coupon, so they were a pretty good price, and they are really cute. Now I use them for small bottles of glitter.
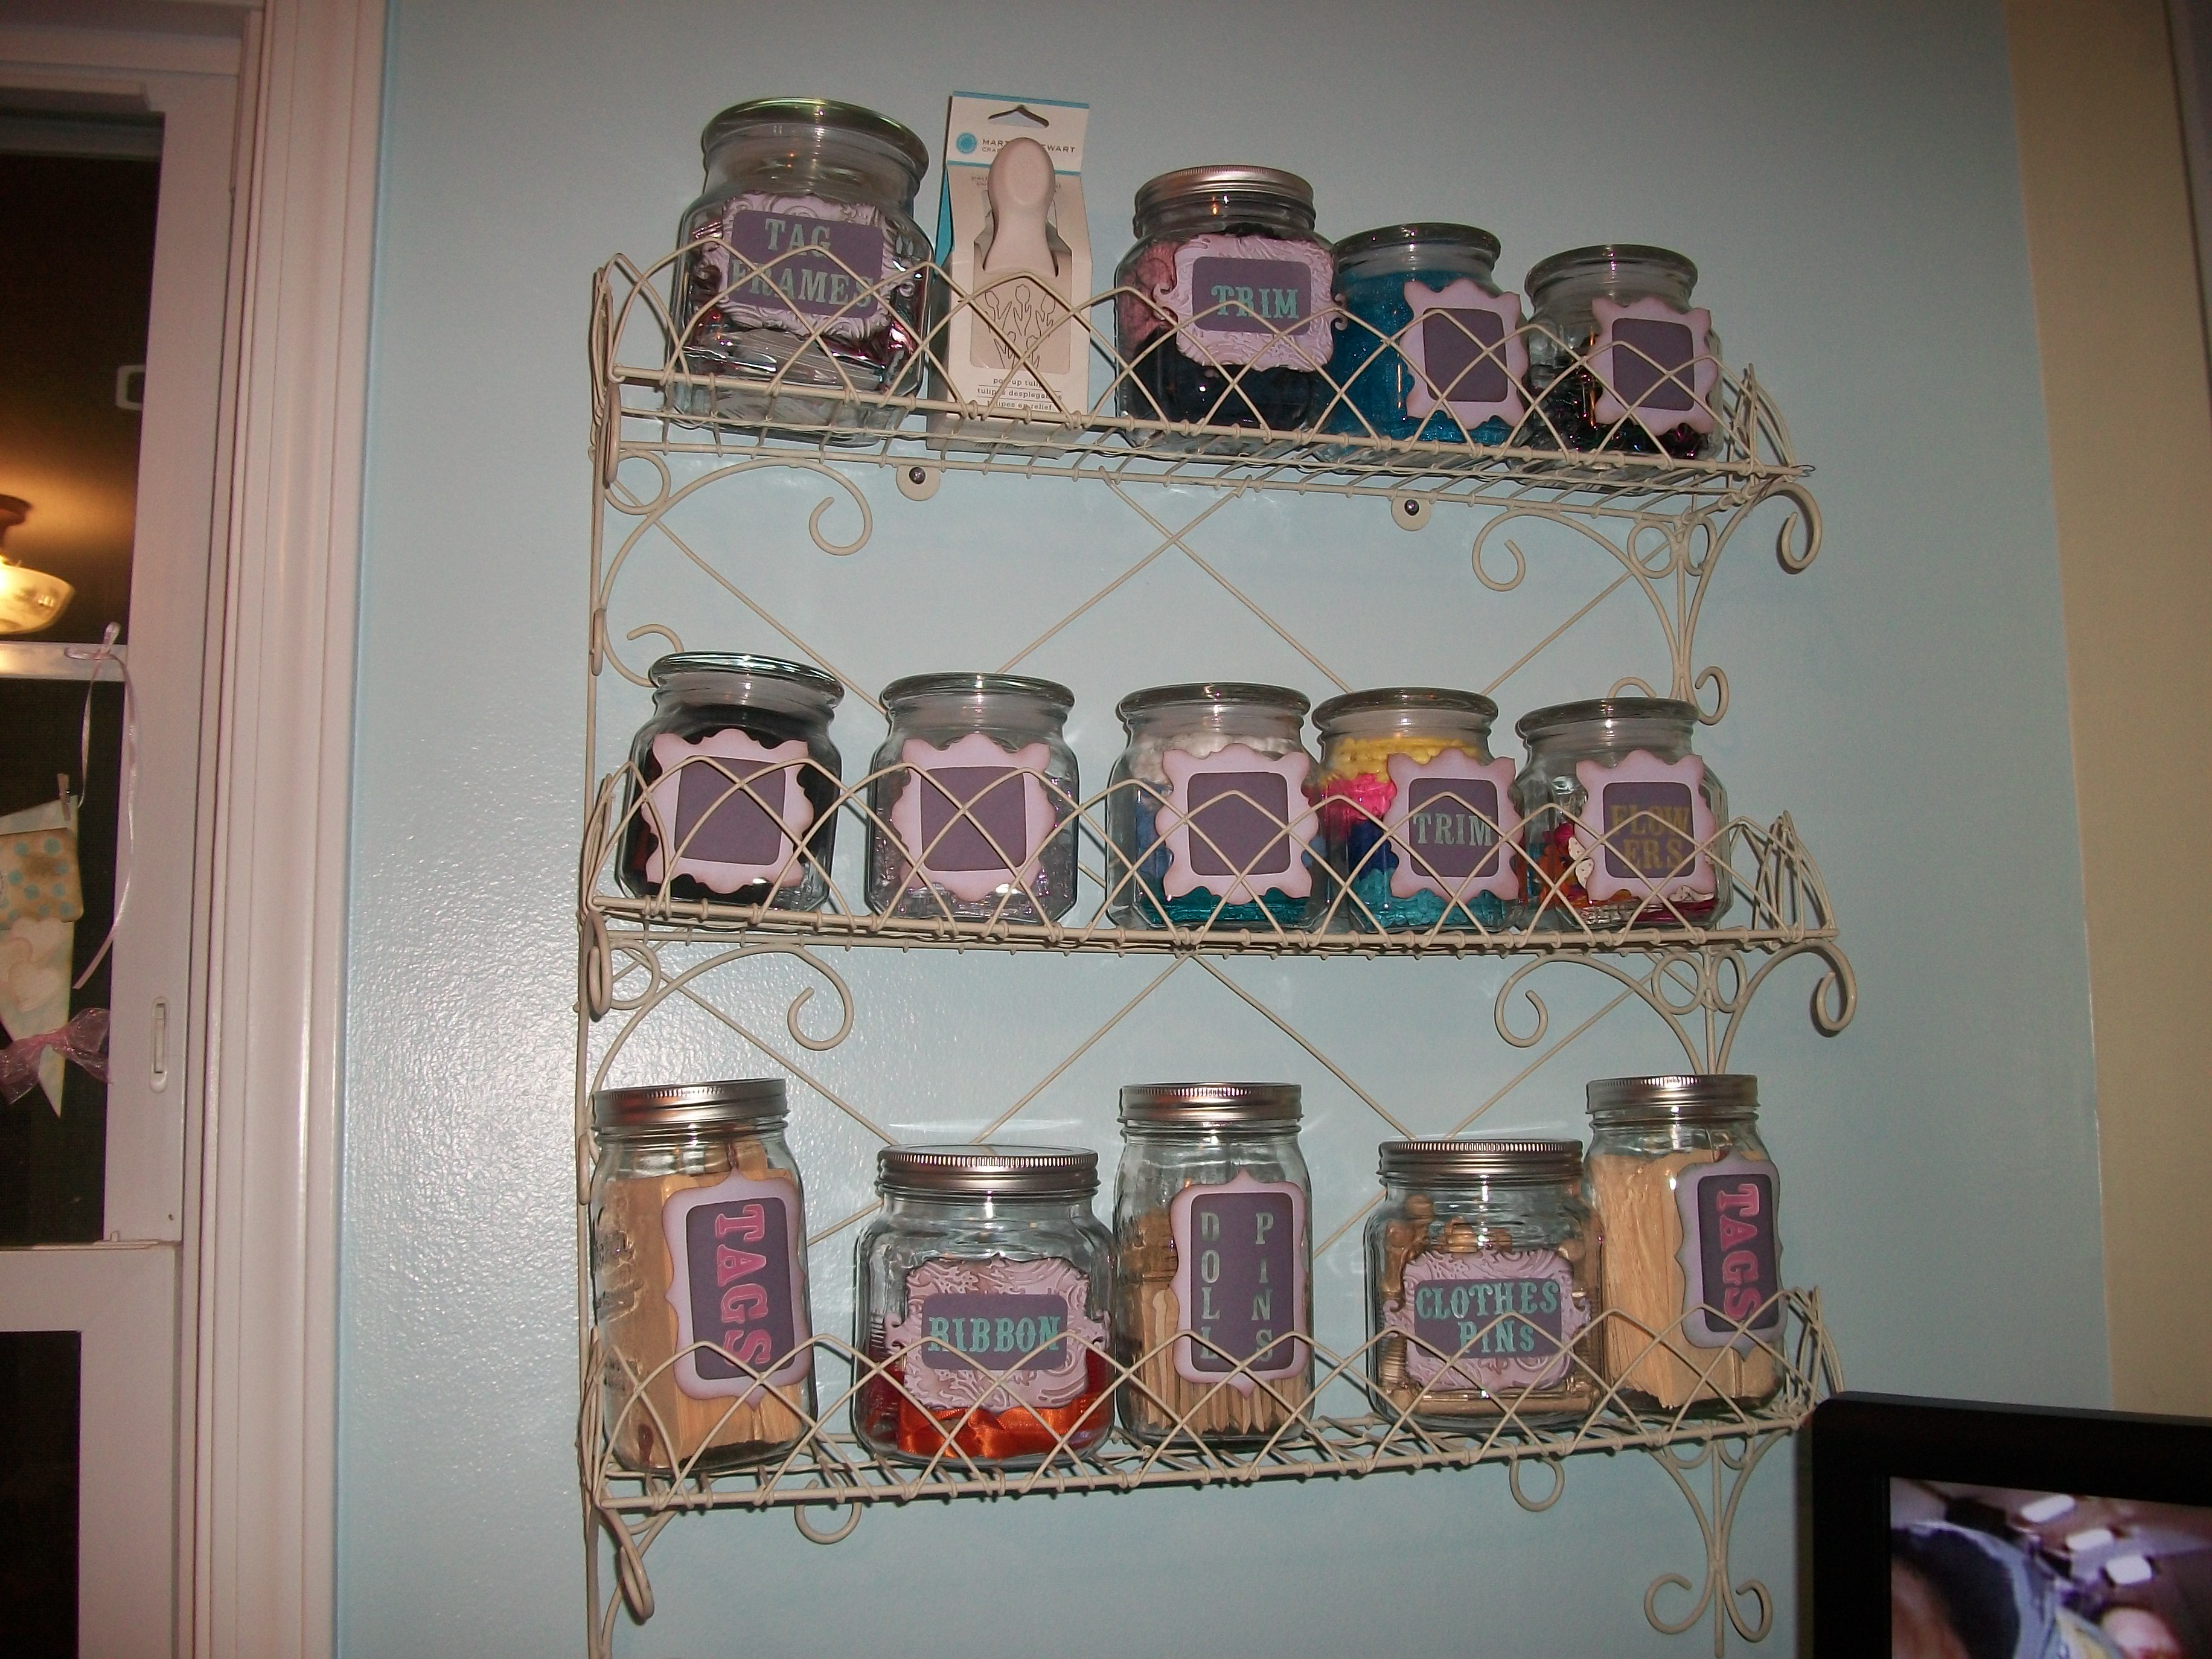
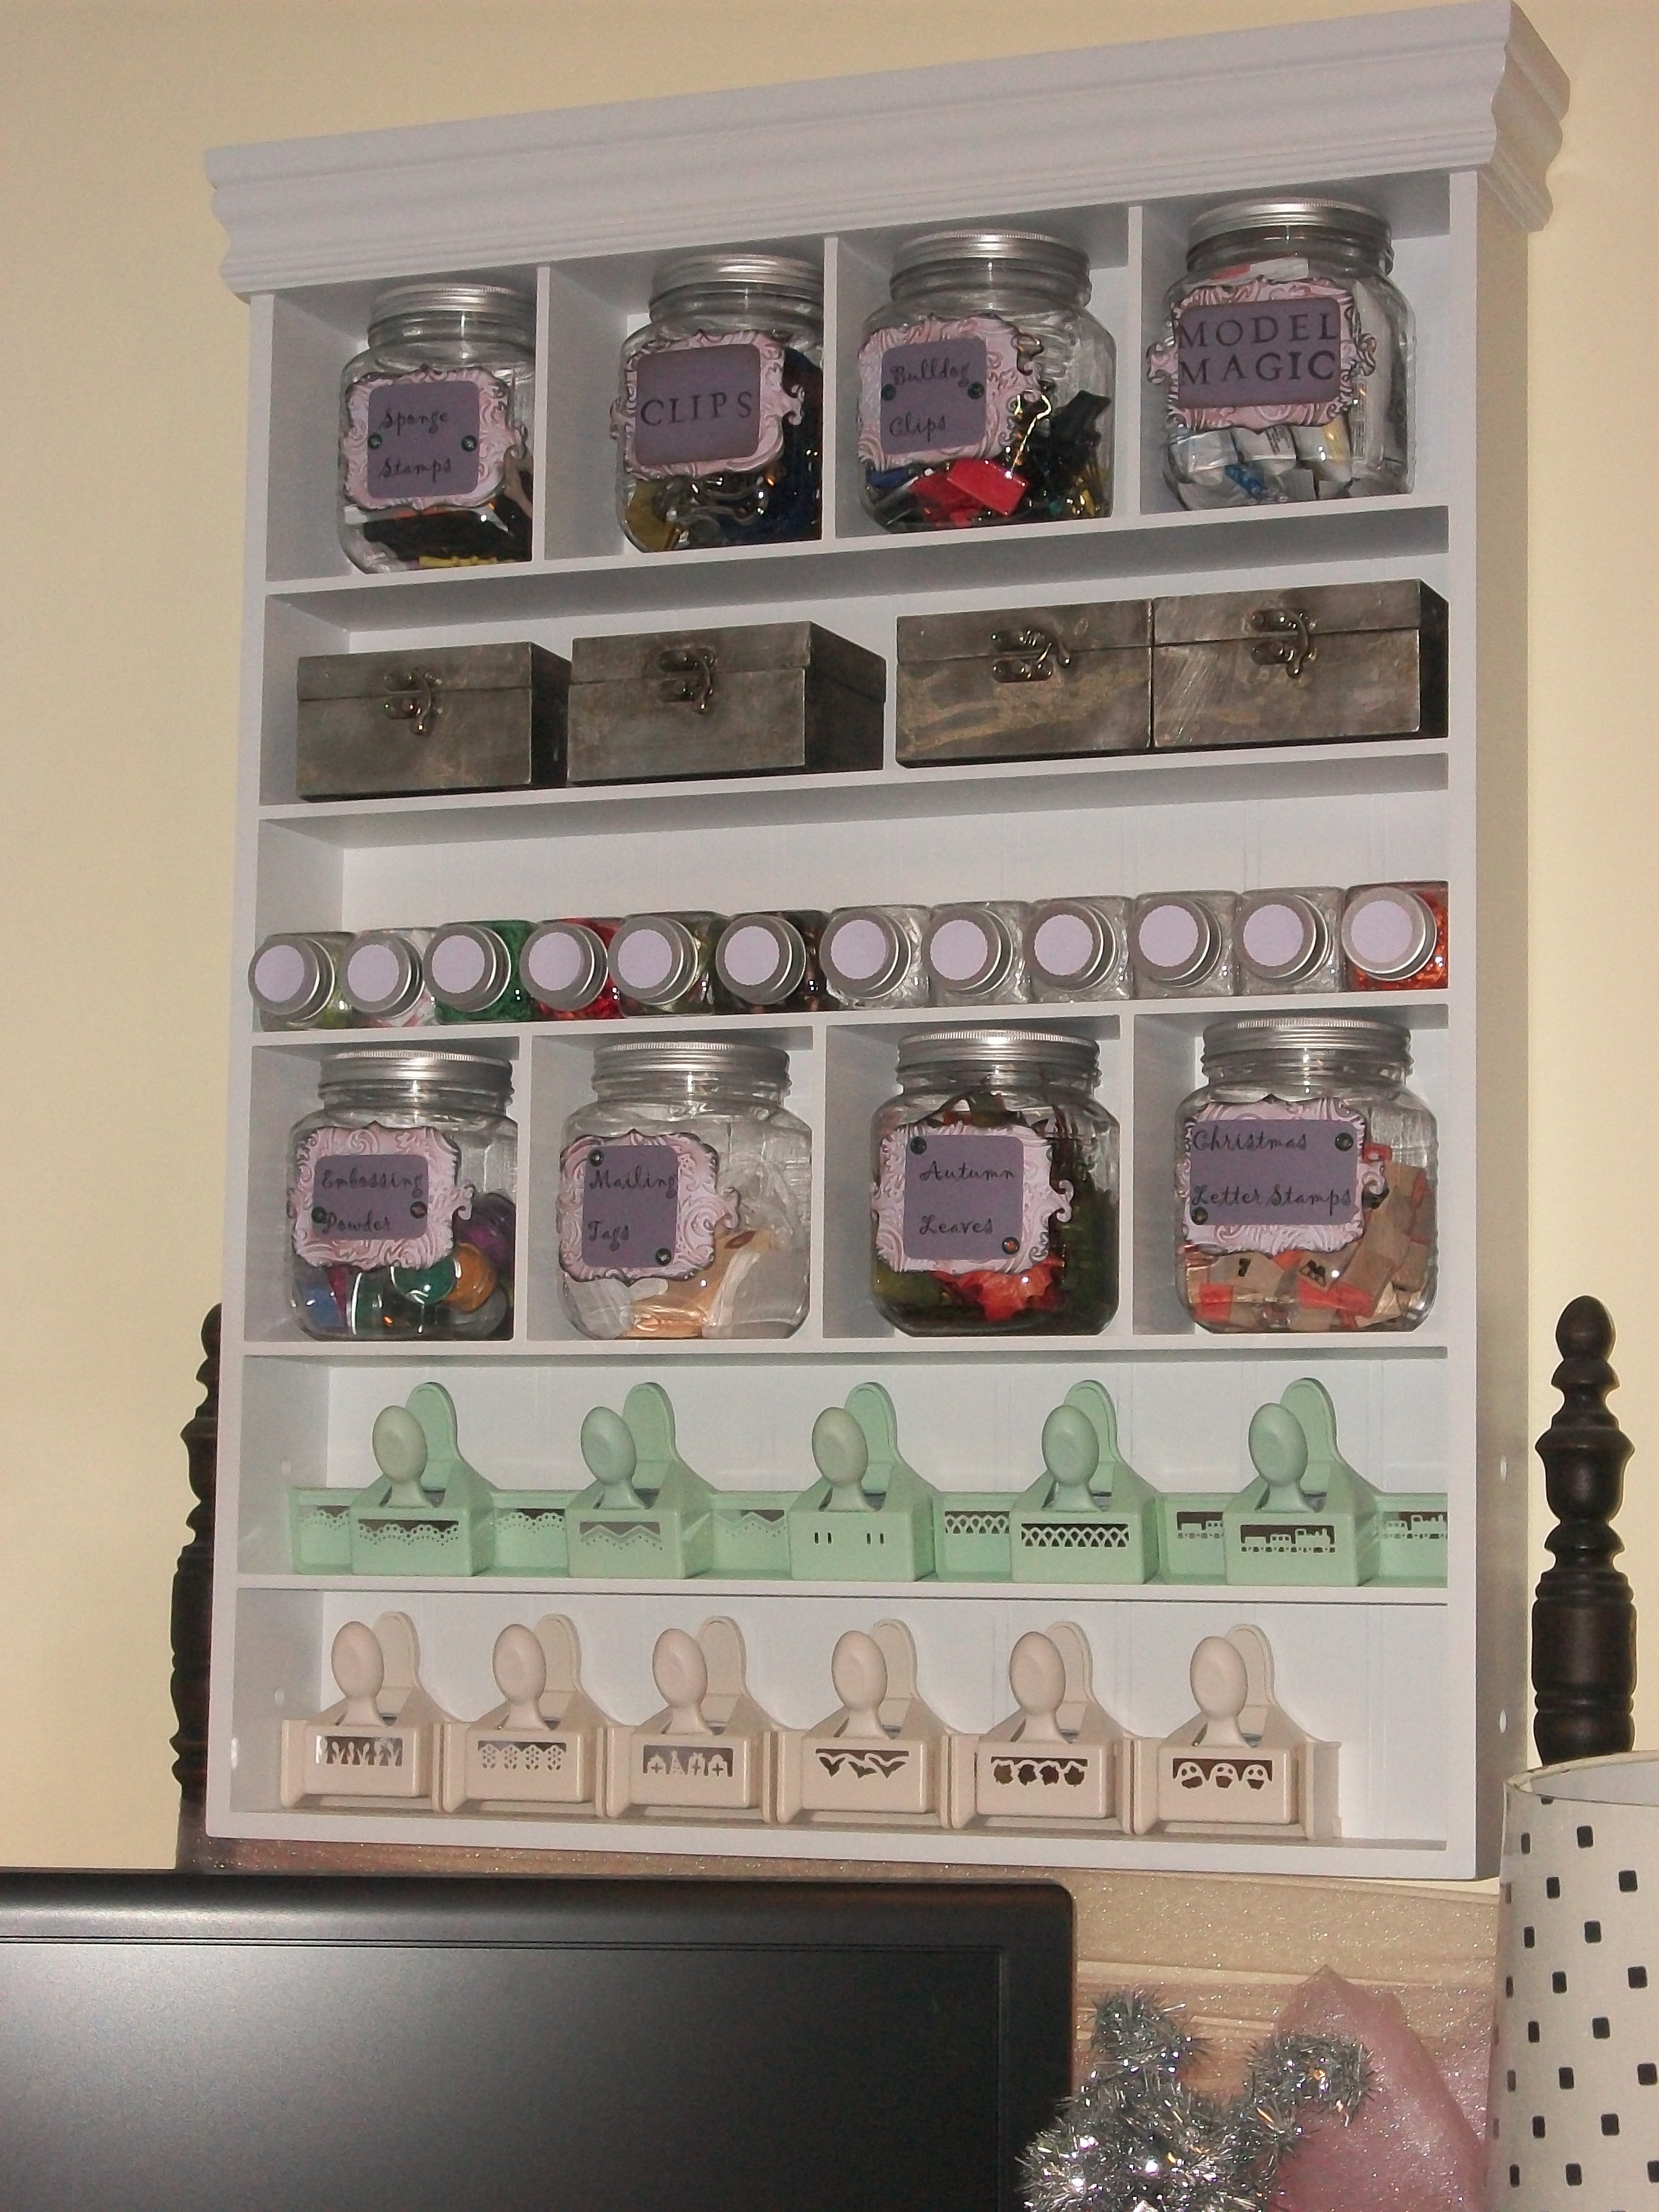
 I found this shelf at a thrift store, too, and I used jars I already had. I made the tags from my Cuttlebug with a Tim Holtz die and folder.
 One of my teacher friends found two printer trays for me at a quaint little town north of my hometown, and it stored distress inks and wooden stamps perfectly.
 I have a music cabinet that these craft boxes fit into perfectly, and I still use it for the same purpose. It is full of these boxes, each in its little slot. It is dreamy for people who like to organize.
 I have way, way more fabric now, so this little dresser got a paint job and now holds party supplies in my den. However, I still think these rolls of fabric look so cheery.
 This is a storage shelf I got from Michaels with a coupon and my teacher discount. I love these and now have two of them.
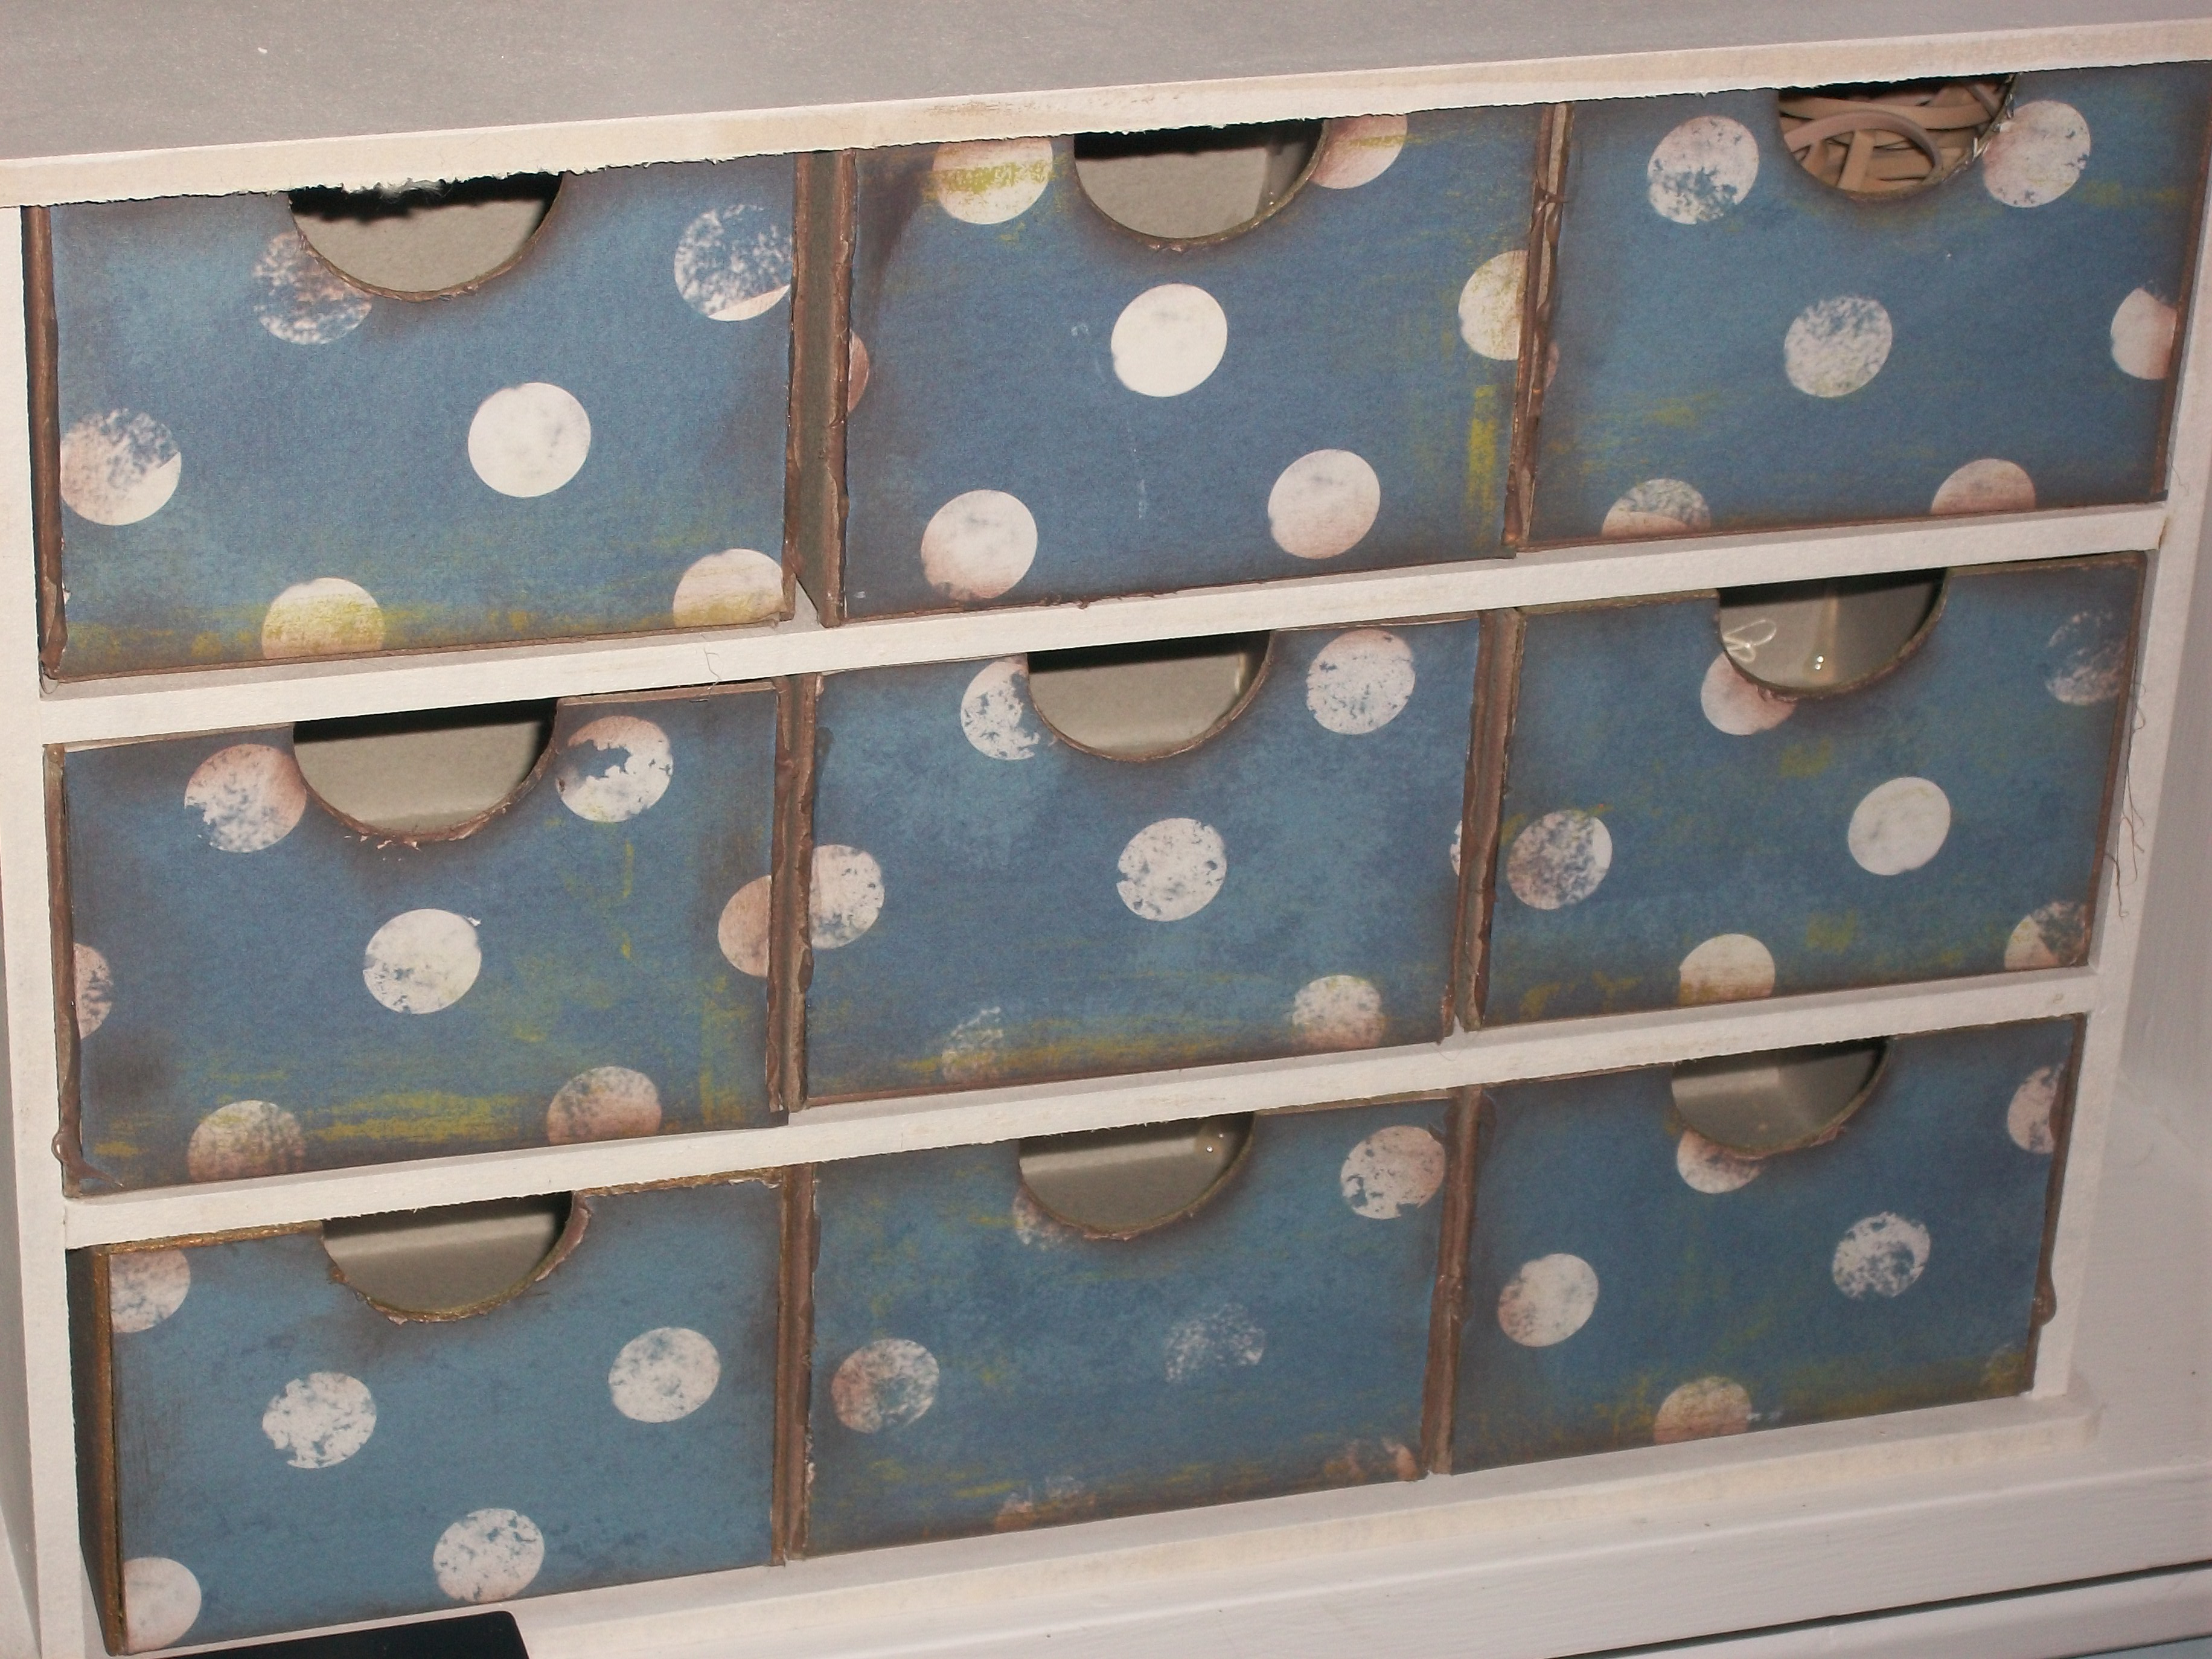
 I made this little box from a kit, and it held rubber bands, sewing needles, thimbles, and other little notions.
 My last picture is of my yarn storage, and this was so cute when all the yarn was rolled into balls.
 I hope you enjoyed this little tour. I know I love looking at other people’s craft storage because I always find a new idea that I can use.
Have a happy day!
Shannon