
I bought this old chair at a flea market for 25.00, thinking it wasn’t that much money to spend if I really messed it up. I took an upholstery class years ago, and I remembered a few things – at least, I hoped, enough to take on this little chair.
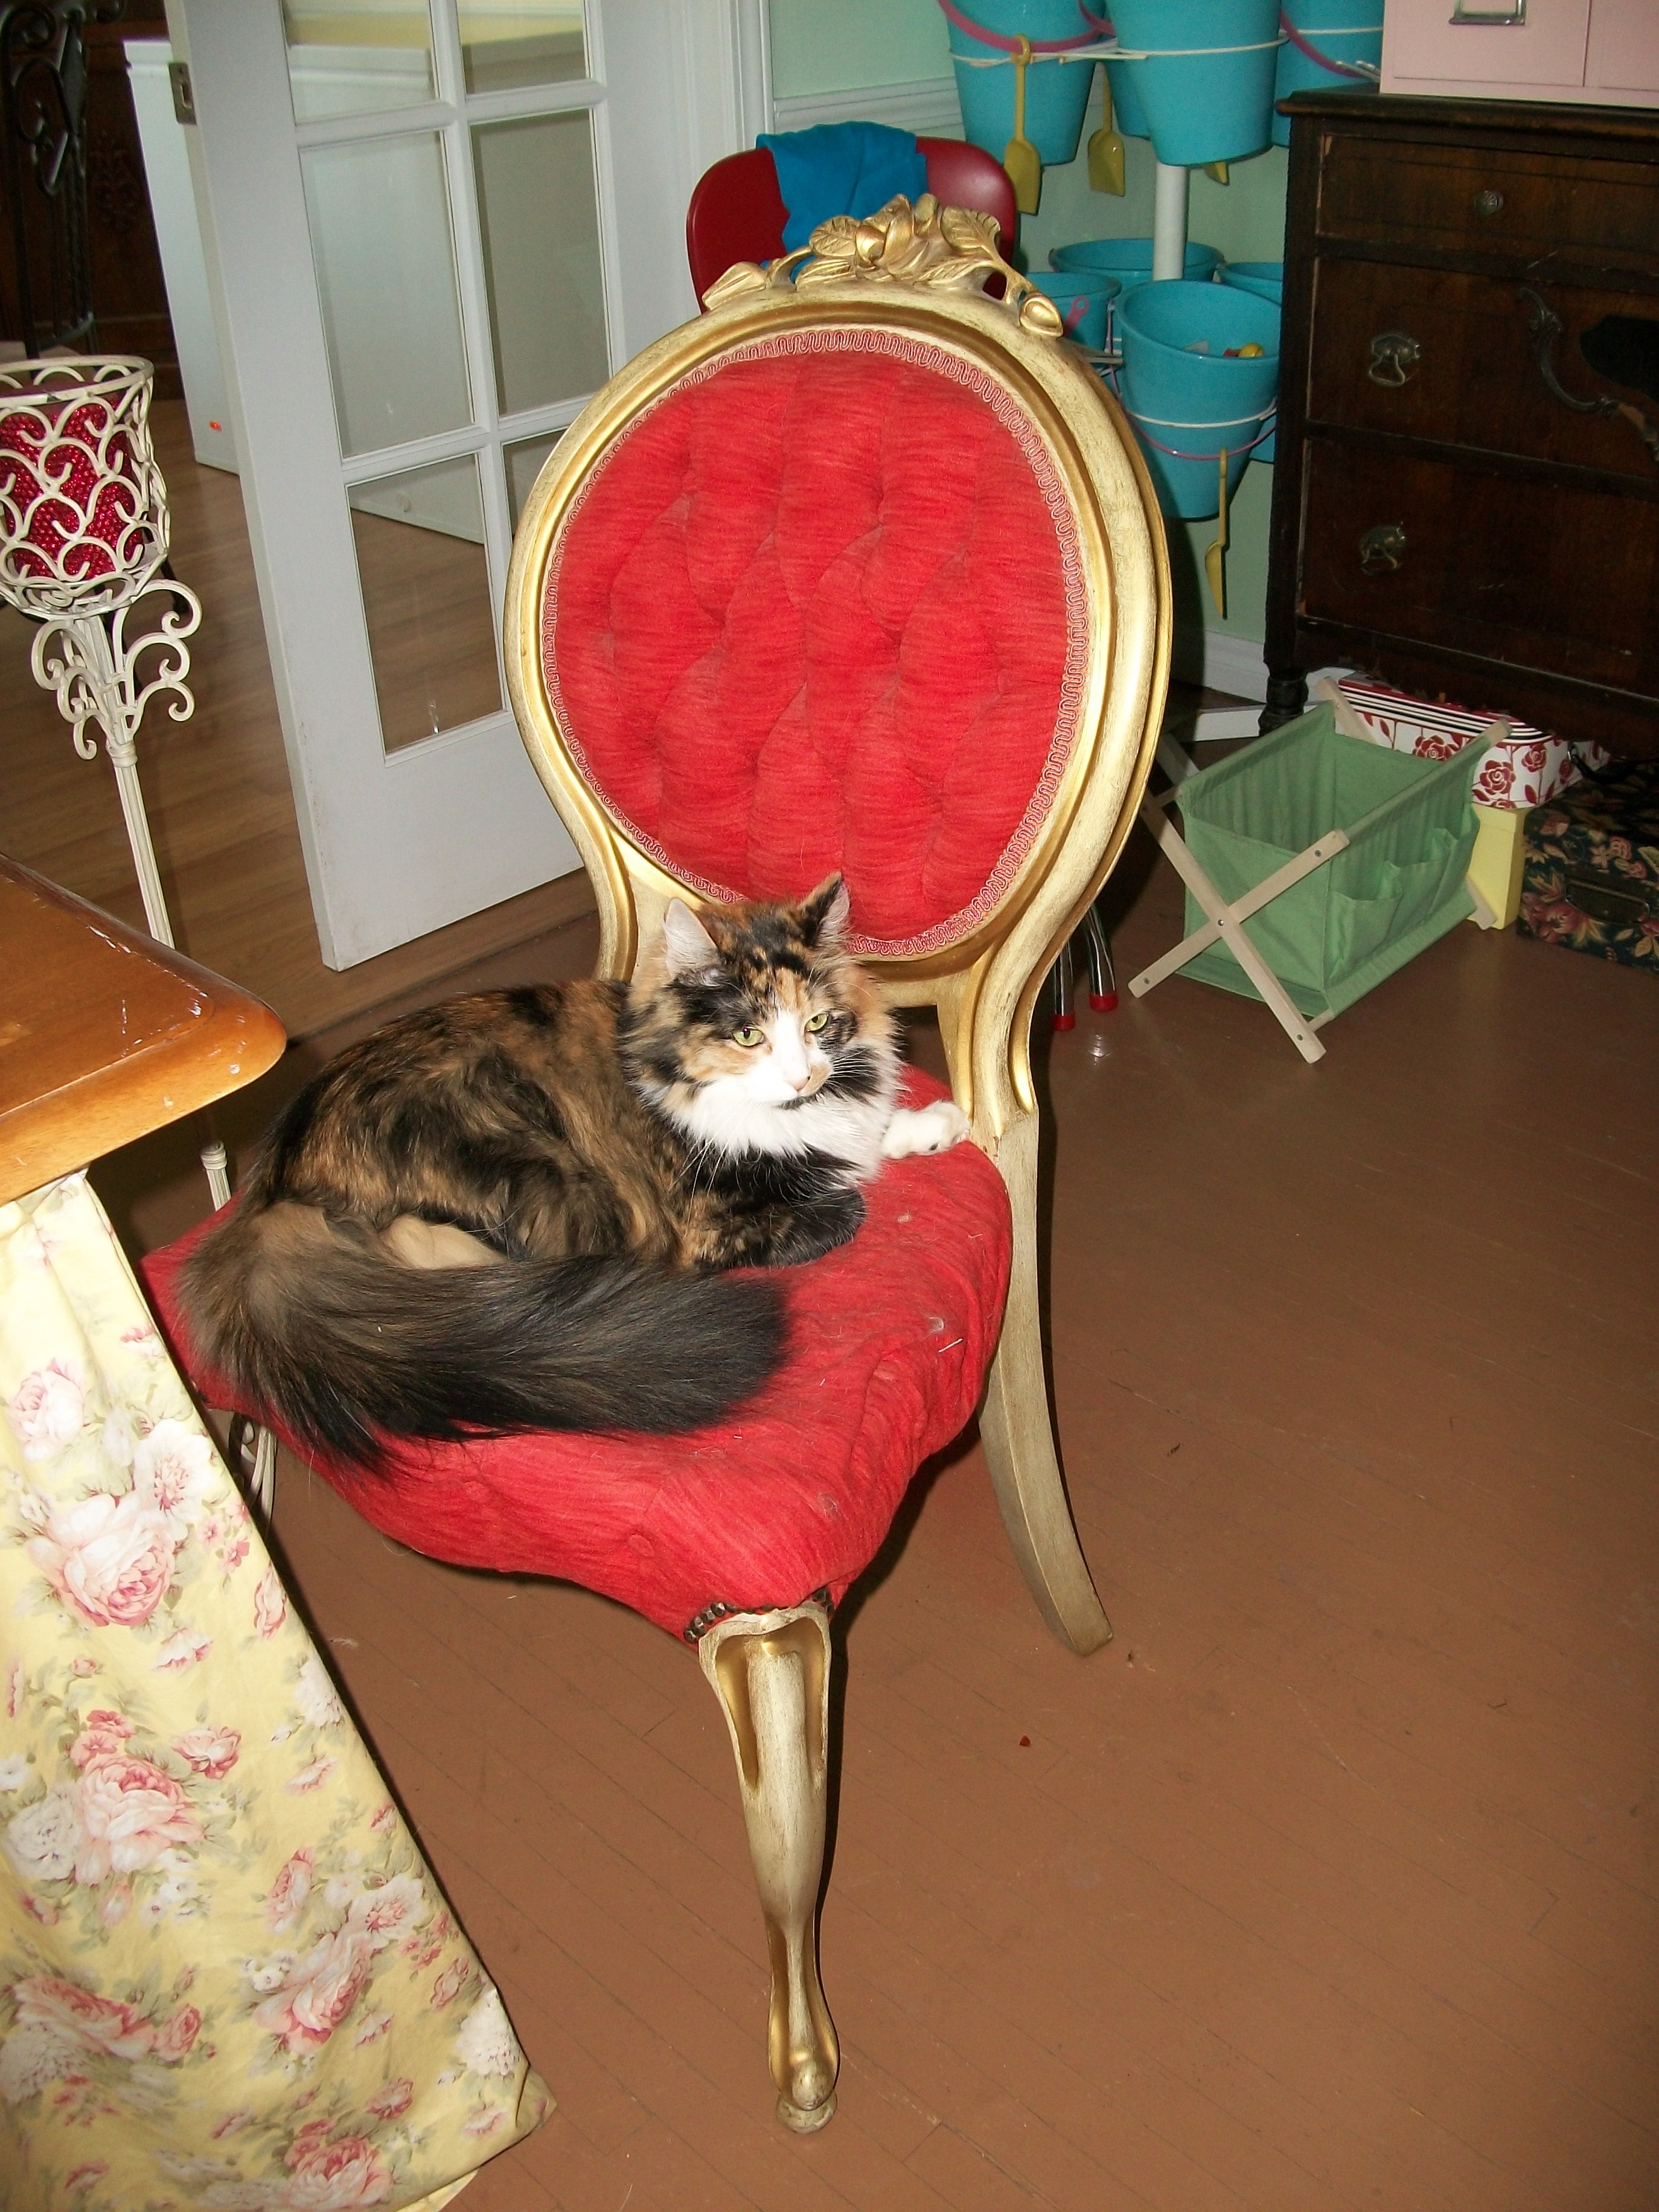 Here she is in all of her ugly glory. All the cat hair? That’s not even from my own cat. Yuck!
 However, the tufting is pretty, and the shape of elegant and feminine. The gold, of course, had to go. Now I have to admit that I am a complete novice at home dec, so I took the chair outside and spray painted it with Krylon spray paint. It worked beautifully. I don’t think Krylon intended for me to use it that way, but it has held up exceptionally well, and it took the distressing perfectly.
I don’t have a tutorial because I wouldn’t even know how to begin to make one, and I certainly don’t have the skill to advise anyone. But I did remember that you start by taking out all of the staples. All ten thousand staples. Oh, yeah, and you save the fabric, cat hair and all.
 See all of those holes? Yikes! But the good thing about a chair like this is that it is rather forgiving, and all of those holes will disappear.
 I saved the fabric and laid it on top of the fabric I used and cut around it generously. Being generous is good because you have extra to pull if you need it. You can always cut it after you have stapled.
 When I was done, I ended up with this chair. I think it is such a happy little chair. Right now it is in my office at work, but I think I’m going to bring it home for my closet. It’s rather delicate, so I don’t think I want to take a chance that anyone would topple over in it.
I used fabric and trim from JoAnn’s that I had purchased for sofa pillows. It is thin but still upholstery grade, so it’s just fine for a chair that isn’t used constantly.
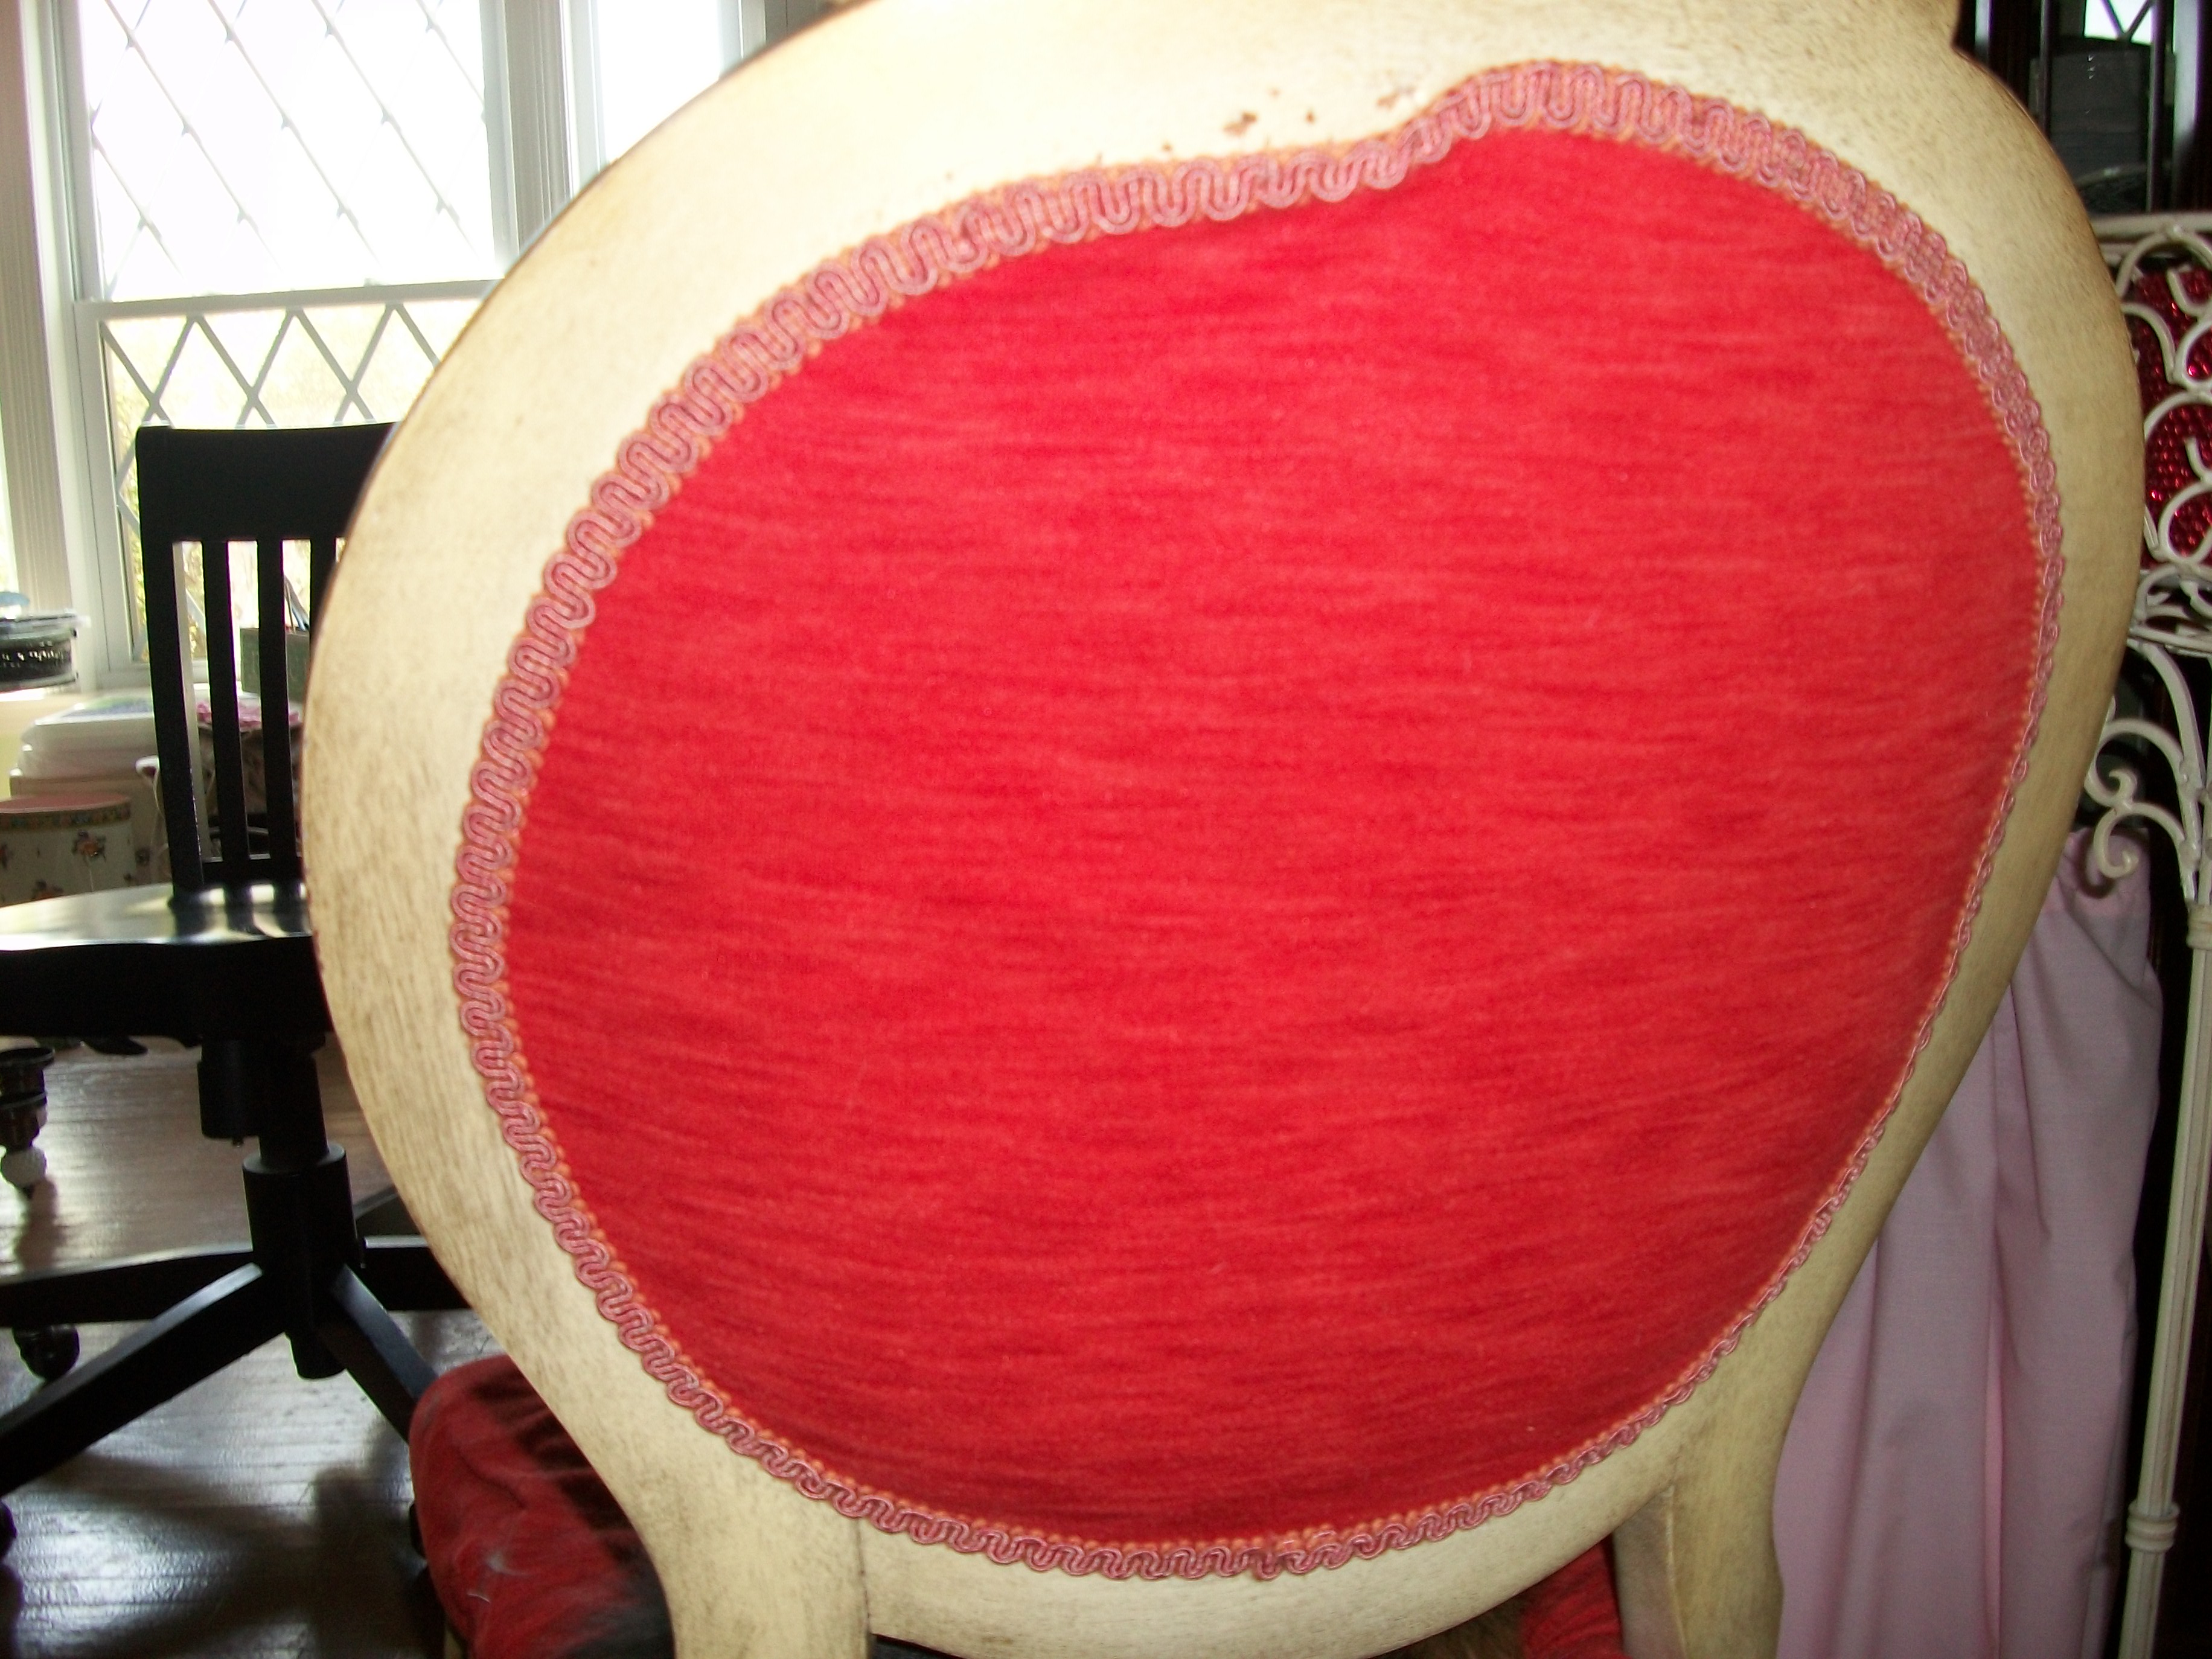
Here are some closeup pictures. I love, love, love the back of this chair. It is an adorable mix of patterns, I think. (I have to say I adore JoAnn’s for their fabric patterns and colors!)


 For the record, I was not compensated by Krylon or JoAnn’s or the crazy cool flea market where I bought the chair. I would happily recommend any of them to you if you were in the market for a cute little chair that is easy to salvage.
I am linking to Start at Home for her awesome furniture and paint linky party. She’s very sweet to newbies like me, so go check her out. You’ll swoon over her pink dresser.
I am also linking to Miss Mustard Seed because she is an awesome and creative inspiration for so many of us. She’s the person who made me think that somebody somewhere might want to see something I’ve done. ❤
I am linking to AtoZ Home Stories. I love her blog, and she is one of the kindest bloggers I’ve followed. She always has something nice to say.
Have a happy day!
Shannon


I have 6 of these chairs that need to be updated (unpainted). What is the trick for the buttons on the back?
I bought a little kit at JoAnn’s, but I think they sell them at Walmart and Hobby Lobby. It lets you cover your own buttons, and it is very simple to do. Make sure the one you get has a little shank on the back so that you can run a needle and thread through it. Then mark the spot where you want the buttons with a washable fabric pen or something very light. I don’t know if this is the right way, but I ran my needle through the foam from the back side and then through the needle and back through the foam. I did it twice using fishing line because it is really sturdy. I went back and added quilting thread just in case. Pull as tight as you can, and tie it in the back by the foam. Then you put your back fabric on after you’ve done the buttons.
Mine were not nearly as tight as I wanted, but I was doing it by myself. I think if I had had someone helping to push the button towards the back, I could have gotten the thread tighter, but it is still not bad. I also think, but I’m not sure, that using cotton instead of foam as the front layer against the front fabric of the chair might have allowed for more tension. The foam is not very forgiving, which is usually what we like about it.
I know there are wonderful tutorials about how to do this, and I spent some time on youtube figuring it out. Please send me a picture when you gets yours done. I would LOVE to see them, and I hope they turn out great! Thanks for stopping by, and have a happy day!
Oh my Heck what nice words you said about me!! Thank you so much. And of course thank you for linking up I love your chair it turned out BEAUTIFUL!!
Oh, gosh! Thank you, Brooke! It’s not great, but I figure that anything we do is better than doing nothing! Thank you for your link parties! They have inspired me to post some things I hadn’t had the courage to post before!